The One Custom Setting you Should Use when Shooting on Automatic
I like to think of point-and-shoot photography more as “point and create.” There’s nothing novice or basic at all about this style of photography and I profoundly feel that all photographers should spend more time in this realm as a way to improve the essentials of photography, like composition and lighting.
As much as it can be helpful to stick with point-and-create style cameras and full-automatic settings, there is one camera tool that I feel everyone should be using, even if shooting on full auto. And a hint: it has everything to do with light—perhaps the most important aspect to all photography!
Exposure Compensation
I’m not one of those writers to lead you on without giving you the punch line to the article.
We’re talking here about harnessing your exposure compensation settings on your camera. And again, the point is that every single photographer should be using this technique, especially if you are shooting on automatic settings. One of the greatest things about exposure compensation is that it is essentially hitting the easy button for nailing the lighting in each photograph.
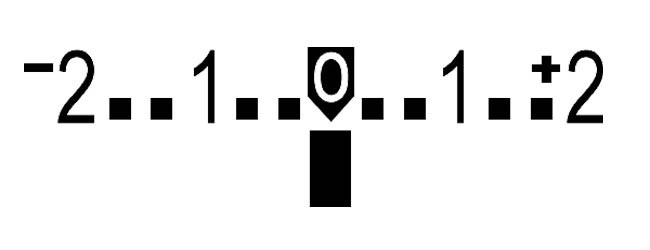
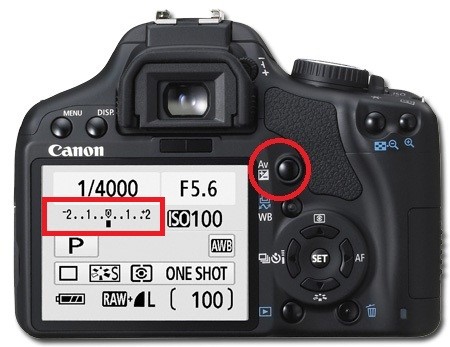
Essentially what I’m recommending is that you access this part of your camera’s menu and be prepared to dial your exposure to the positive (+) or negative (-) end of this spectrum. Going toward the positive end brightens your photo and to the negative end darkens your photo. That’s it!
Why you Should Use It
The basic reason here is that your camera is like a mini computer and it works hard to try and figure out how bright your scene is and how bright you want the photo to be. The problem is that these smart little cameras don’t get it right 100% of the time. And frankly, they dont’ get it right 70% of the time!
As you begin to become familiar with adjusting your exposure, you’ll find that fully automatic misses it quite often…maybe even 30 or 40% of your shots could be improved—if only you had a way to make subtle changes to the lighting of your scene before you take the shot!
How to Use It
The trick here is that exposure compensation adjusts your camera settings in a way that lets in more light to your sensor in small, calculated increments usually in “thirds of a stop.” Don’t worry about this terminology now, but the gist is that each “click” on the dial is going to subtly lighten or darken your ensuing shots.
Here’s a key thing…
Most cameras don’t allow you to adjust exposure compensation when you are super duper fully automatic. I’m talking about the most automatic of automatic settings—like the green square on the camera mode wheel. However, don’t despair just yet! There is a solution.
If you set your camera on P mode, this still gives you full auto, including automatic settings and automatic focus, but you now may adjust your exposure. Voila! It’s all win-win in this setting.

Get Creative
The brilliance of having control over exposure goes beyond just accuracy. Sure, it’s great to replicate scenes in front of you perfectly in-camera. Exposure compensation allows this wonderfully!
However, harnessing your exposure compensation will also give you extraordinary creative control of your photos to begin to access your inner artist. I’m not going to go into vast detail on all the scenarios where this applies, as that would likely take 100 more pages, but I’ll give you a couple examples…
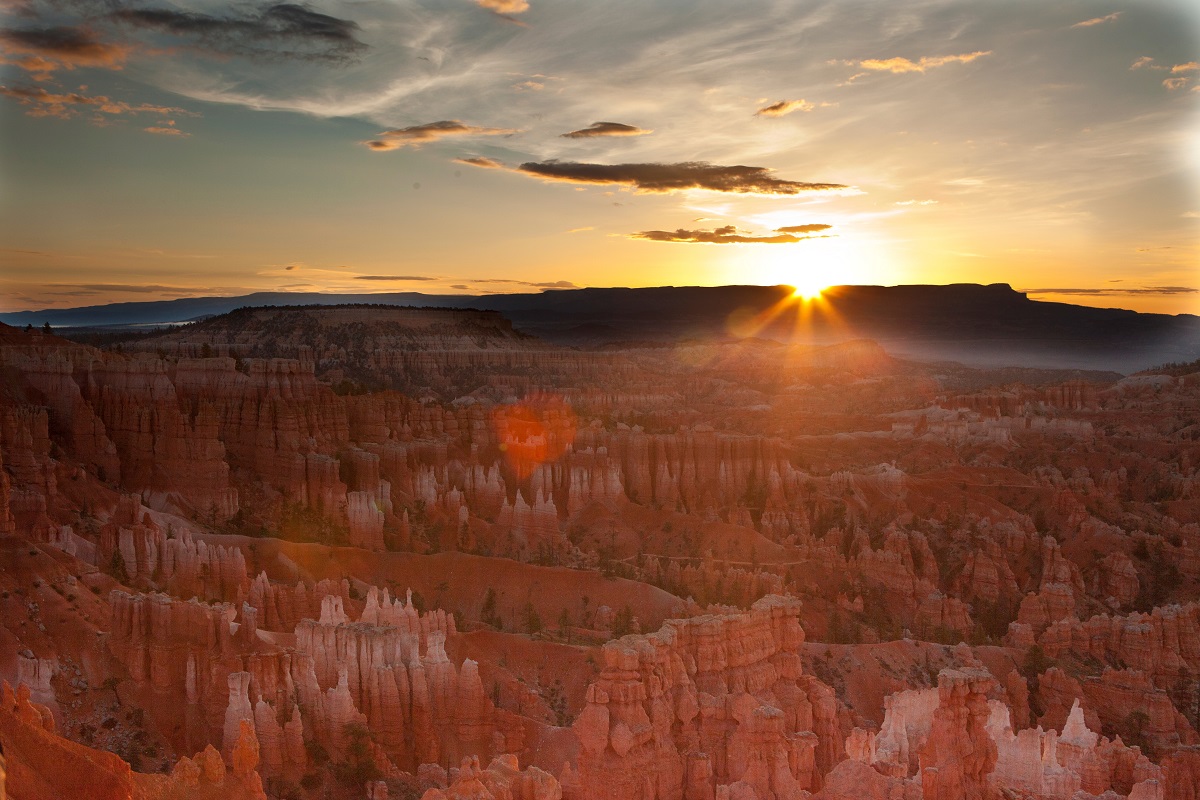
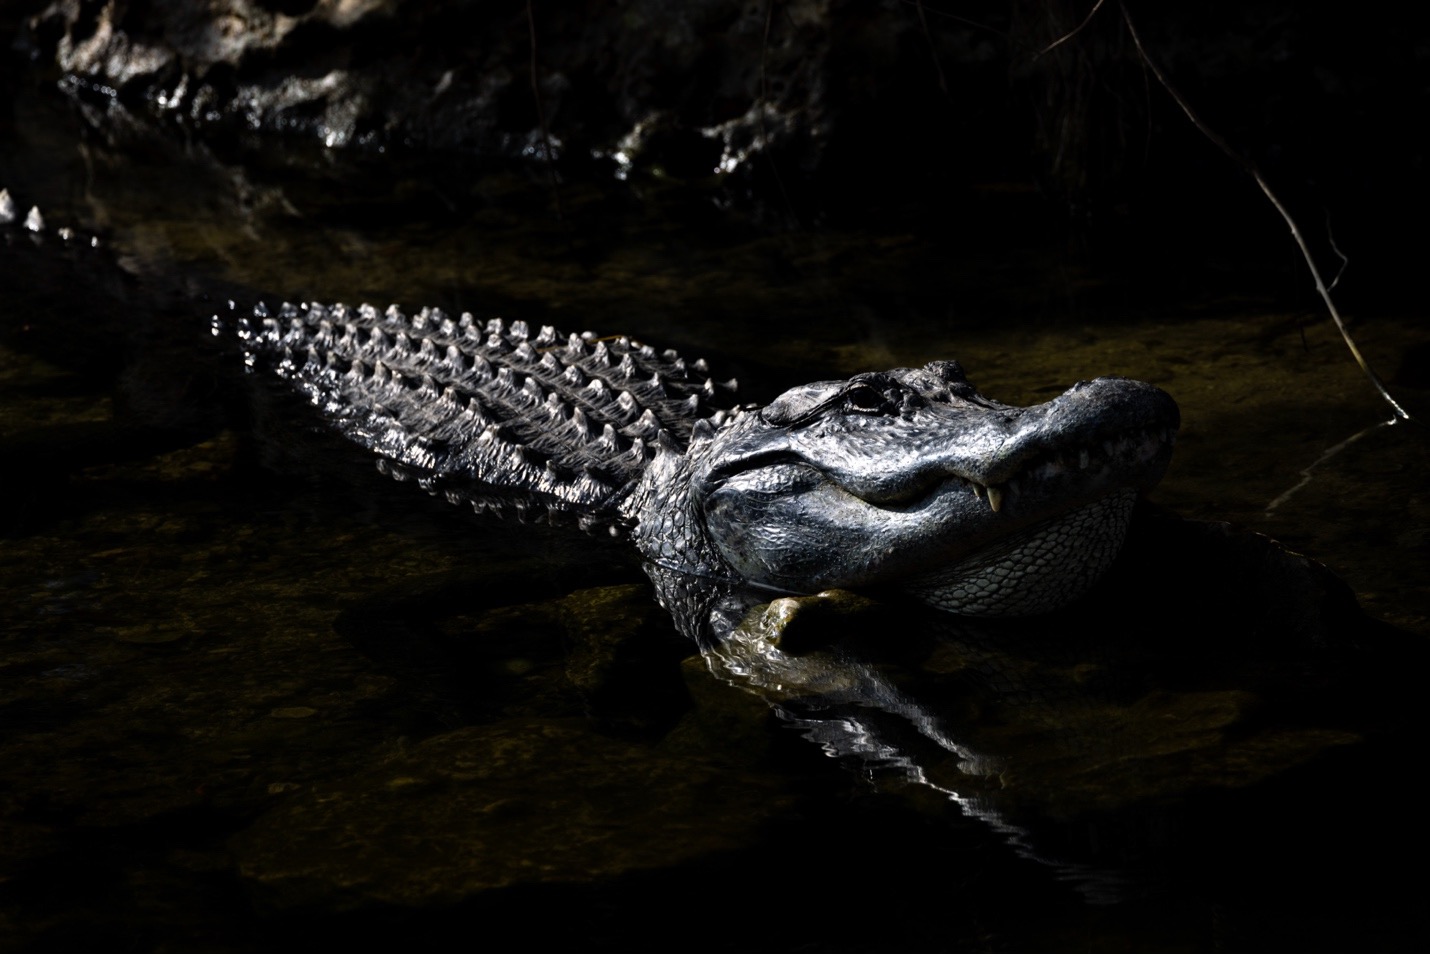
Are there intense bright spots in your scene that look like they are too bright and overexposed? We call this “washed out” in the photo world. Try underexposing your shot to make those bright spots darker. You’ll find that this darkens the entire photo, but that’s ok! See how this can create a really compelling look in the photo below?
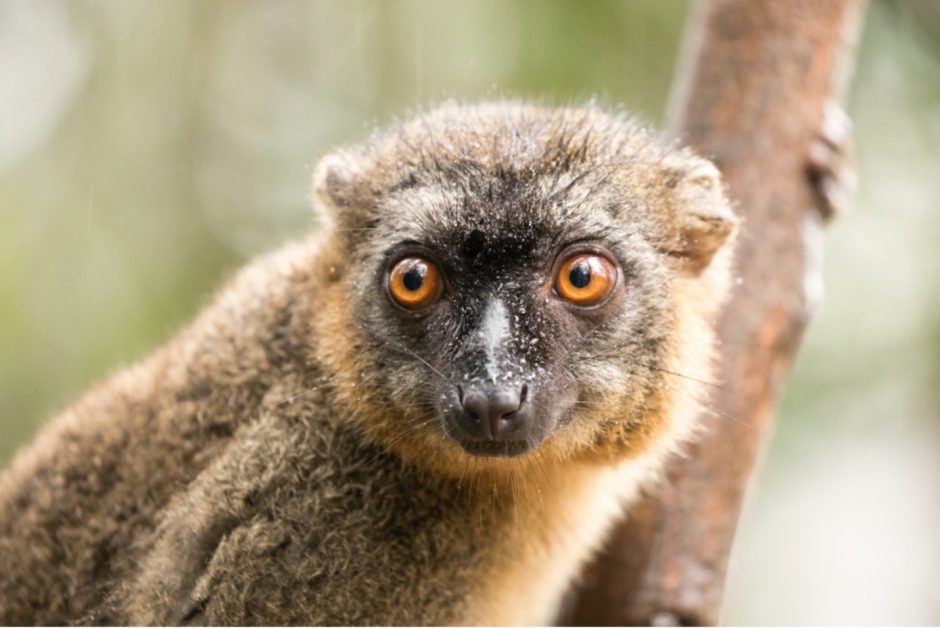
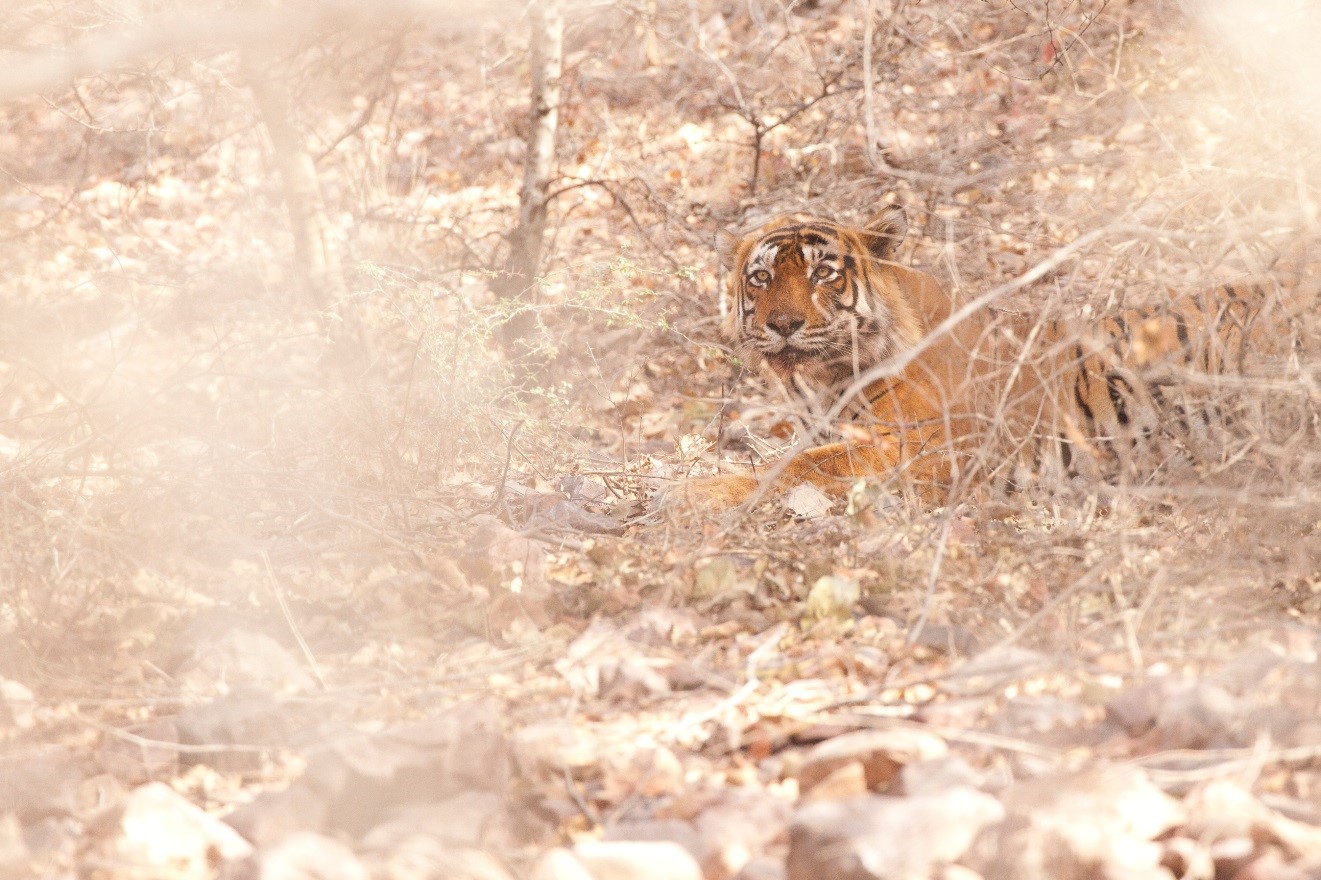
Another example might be when your subject is shrouded or darker than the surroundings. What if you overexpose your shot now to create this unique etherial look? It serves two purposes…1) it properly exposes your dark subject and 2) it creates a really unique look to the rest of the scene.
Take a look at the shot below of a tiger from a photo safari in India. We came upon this young cub and it was fully hidden in the shadows. However, when I overexposed the photo, it became brighter than what I was actually seeing in real life, and because this brightens the entire photo, the surrounding bushes took on this bright, wispy vibe. Really cool if you ask me!
Putting it All Together
A big part of using this technique is training your eye to see the opportunities. This requires practice for sure!
My advice is to set your camera to P and get familiar with adjusting exposure on your photos throughout each photo session you engage in for a couple of weeks. Force yourself to take photos each evening, even in your local park, and start to experiment with small exposure changes, like 1 or 2 notches in each direction. And then start experimenting with big changes, like all the way to plus or minus 3 full stops (again, usually each click is 1/3 of a stop, so 3 full stops is likely 9 notches).
You’ll quickly see the capabilities, as well as which types of photos these adjustments are appropriate for. Not every photo needs an adjustment, so keeping your exposure on “zero” is a great starting point for each day that you’re out photographing. However, as you begin to harness this skill, you’ll find that you will get more accurate photos, when that’s your goal, and you’ll also have an incredible creative opportunity for other types of shots when drastic changes create unique, beautiful effects.

And there you have it—one simple tip that I recommend for all photographers out there, especially those that have settled on using full auto for quite some time. It’s a game-changer and I’m excited for your world to be opened up if this is new to you!
All the best,

Court
Leave a reply