What’s in My Camera Bag? Madagascar Wildlife Adventure
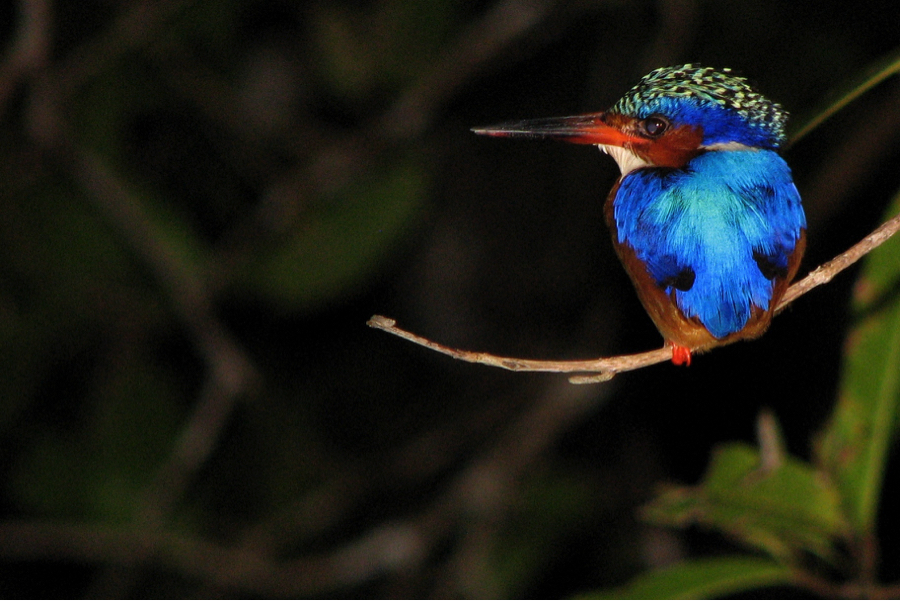
Madagascar is a wildlife photographer’s dream. And it’s also a travel photographers dream. As well as a landscape photographers dream. And heck, it’s a macro wildlife photographer’s dream, too! That is to say, it’s got a lot going on and the photographic possibilities are vast. Be sure to really think about your gear, what you like to photograph, and consult our advice here to make the most of your Madagascar adventure.
Please note, photographic styles vary, as do conditions on the ground. While this is meant to be a guide for choosing your camera gear, you should consider your own photographic interests first and foremost.
Ultra-wide angle
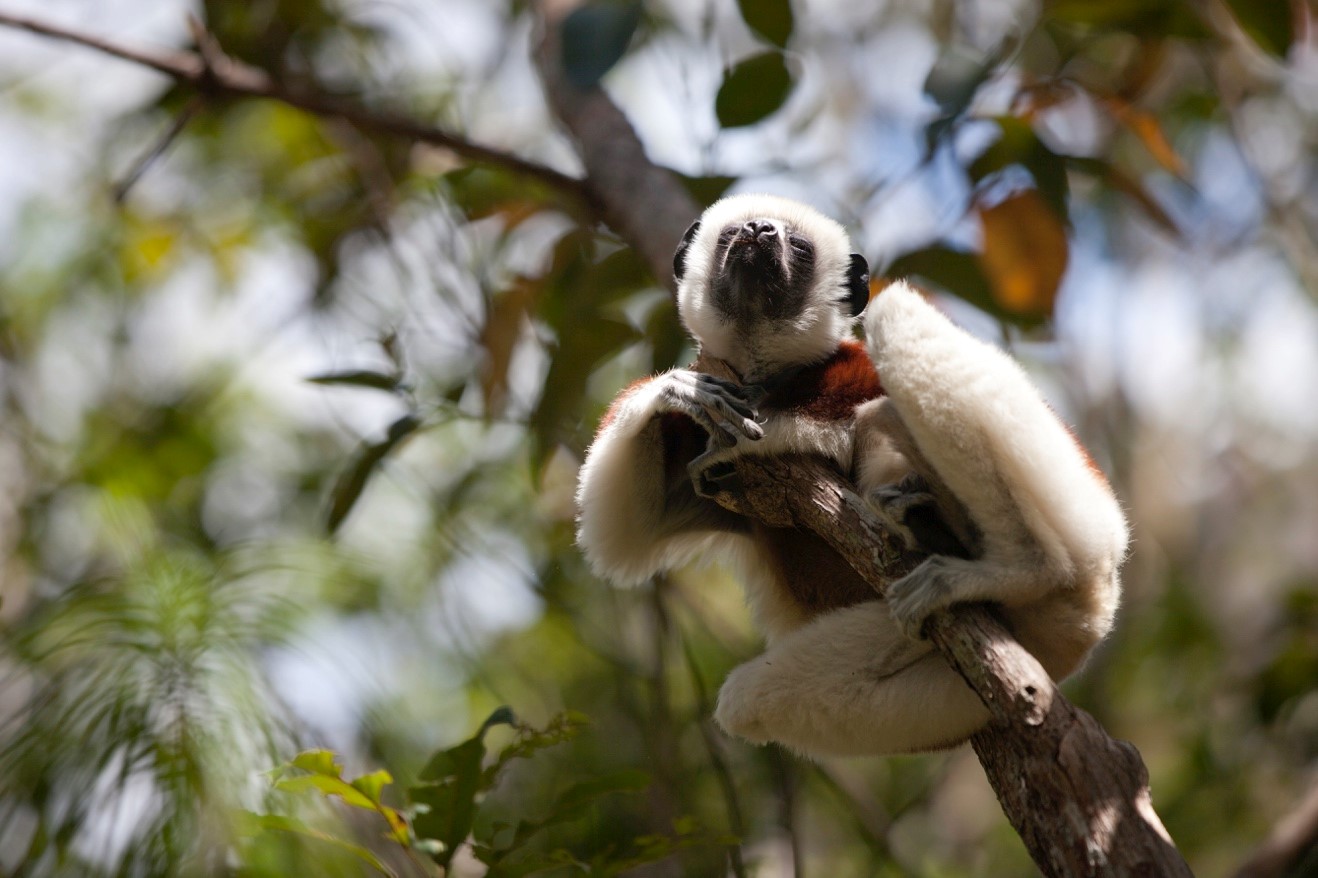
When you continue reading, you’ll realize that this may be a lens that you “sacrifice” to make room for other things. However, it’s one of my personal favorite styles of lenses, useful for landscapes, people, and general travel photographs. This would be your 16-35mm (full frame) or 10-22mm (crop frame) type of lens. I rarely go anywhere without it, so while for me it is essential for Madagascar, it is indeed a specialty lens, and it may not be as high on your own personal list. Read on to see if it makes the cut…
Wide-angle zoom
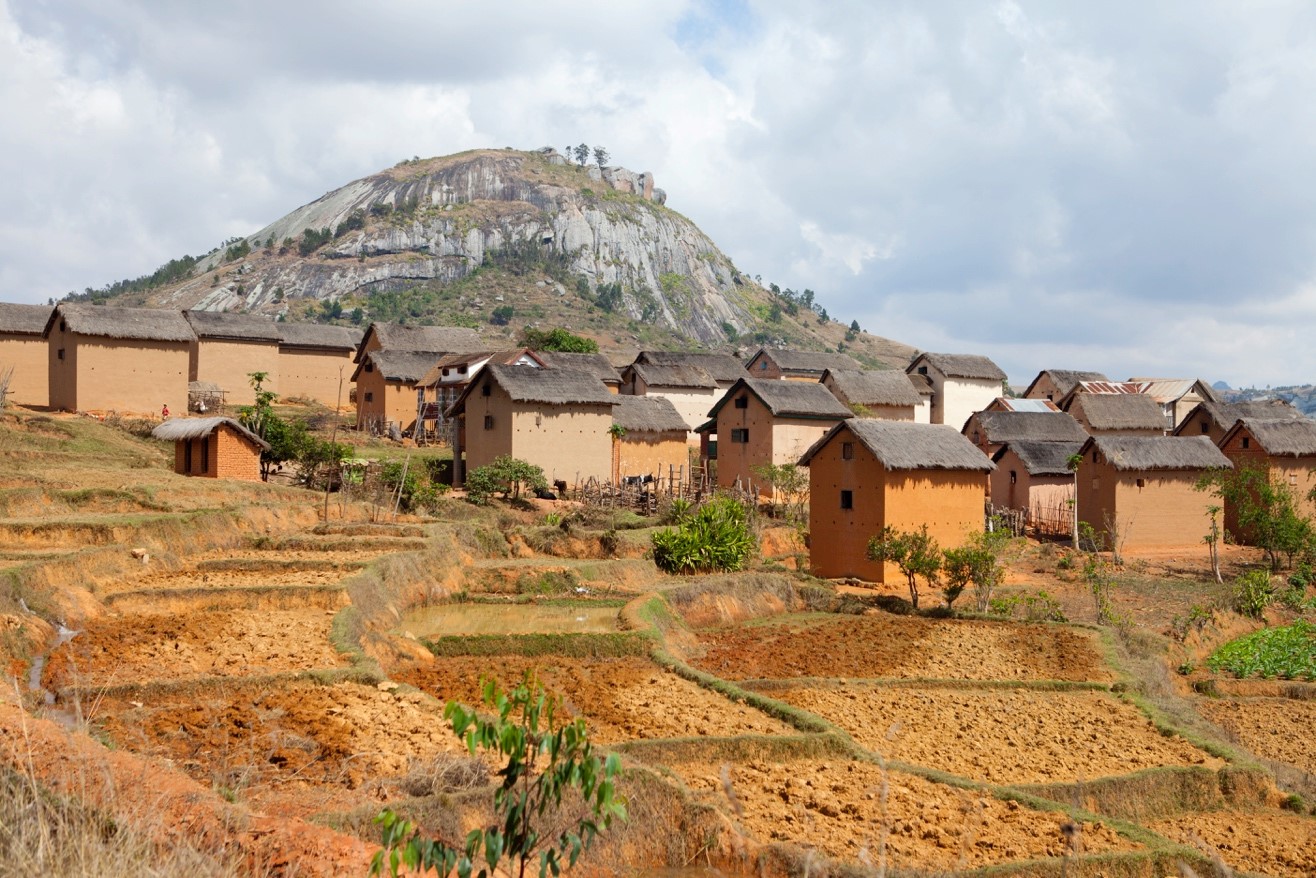
These are your “walking around” lenses. Nearly every photographer has one, and it’s usually indispensable. For me, my ultra-wide is my walking around lens, but most people prefer a 24-105mm (full frame) or 18-55 (crop frame) because of their versatility. They are great for landscapes, people, general travel, and even macro photography (when zoomed all the way in, and at the minimum focusing distance). I would recommend you choose between an “ultra-wide” and this “wide-angle zoom” for your general landscape and travel photos while in Madagascar.
Zoom telephoto
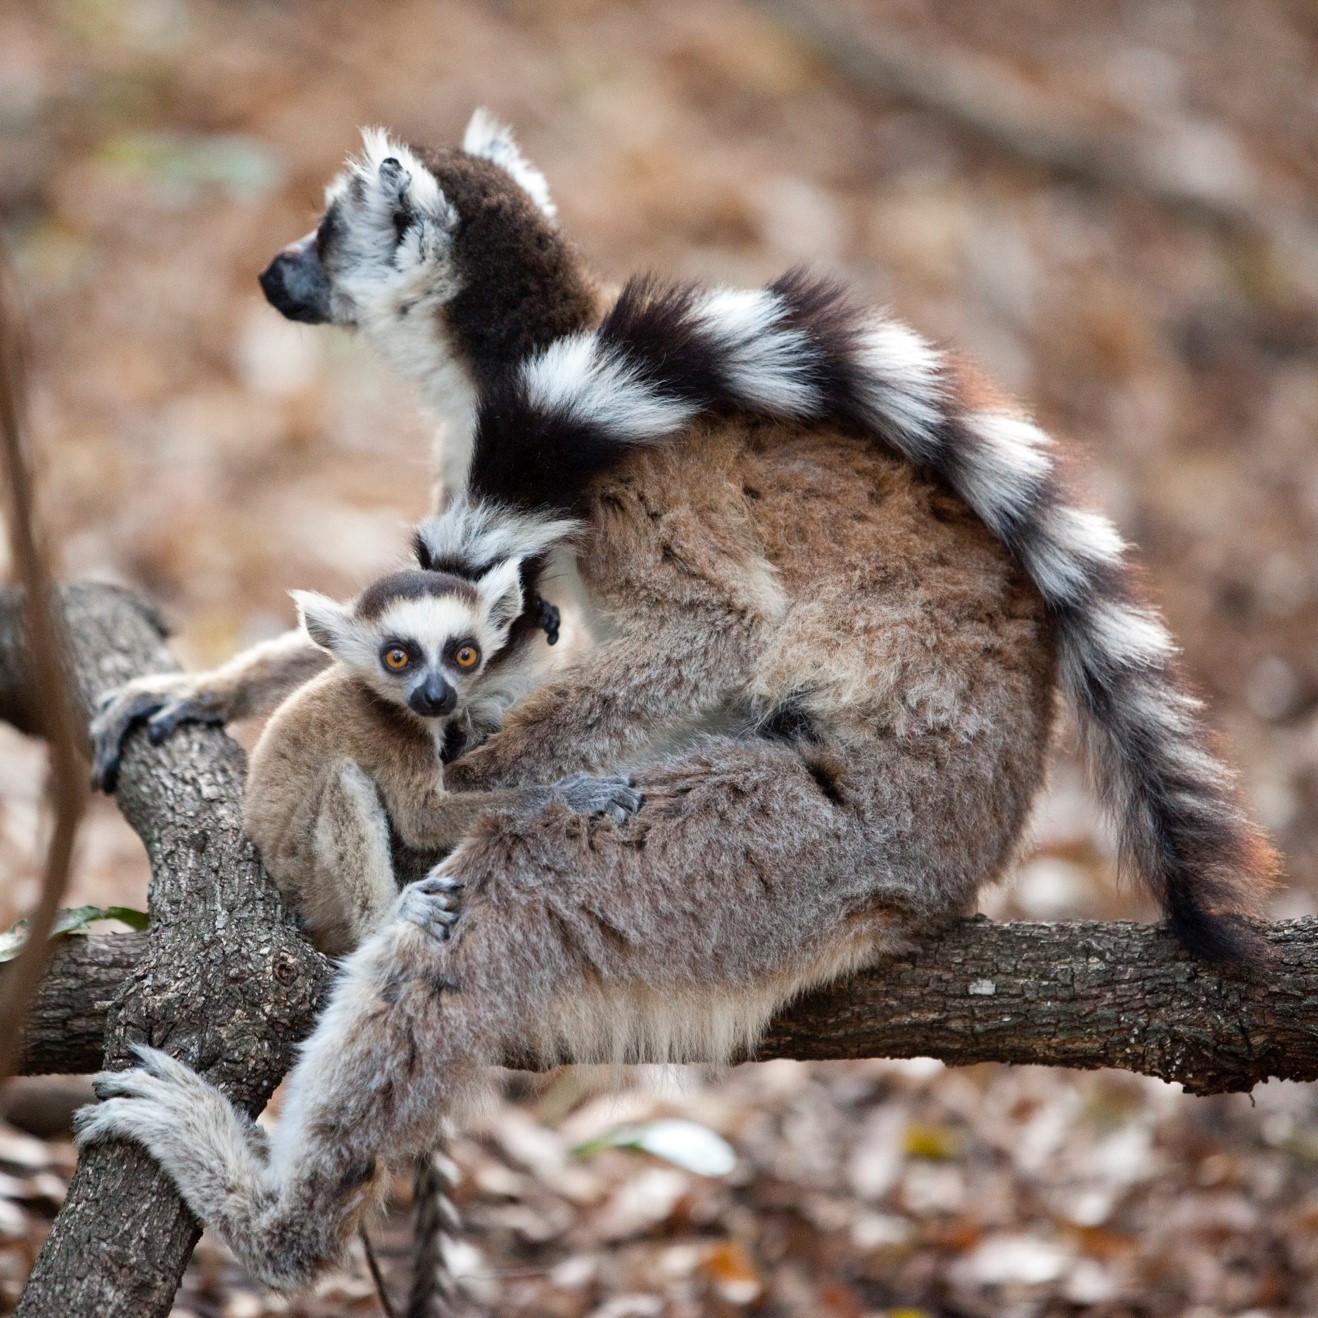
This is going to be your “go-to” for wildlife shots while on the trip. These are your 70-200mm, 70-300mm, 100-400mm, 80-400mm lenses. The trick with these is to find something that covers most of the range that you plan on shooting. For example, if you’re an avid bird photographer, you’re going to need to bring a lens that’s on the upper range, extending to 400mm. Fortunately, in Madagascar, you can get somewhat close to the lemurs and other wildlife, so I do like these zoom telephotos opposed to super telephotos. Much of the activities you’ll be doing involve hiking, so the portability of this category of lenses is really nice.
One thing to really consider with your go-to telephoto lens is how much light it lets in. In other words, it’s maximum aperture. Madagascar does have some dense rain forests and cloud forests where light can be limited. For that reason, there is indeed an advantage to having a lens capable of shooting at f/2.8 or f/4 throughout. They tend to cost quite a bit and/or are a bit heavy and bulky, but I’d be remiss if I didn’t at least mention the fact that light can be limited. However, this is not all day every day. Some days you’ll have great lighting. But there will no doubt be times when you wish you could shoot at a faster shutter speed in low light conditions.
Super telephoto
I’ve rarely taken a trip when I’ve had enough telephoto capabilities. There will always be that one shot, or those handful of shots where you wish you had a bigger lens. It just comes down to risk and reward. The risk of bringing a super telephoto (500mm or 600mm) is that you are going to be lugging that heavy thing around quite a bit, and because of weight restrictions on flights (or your back!), you may have to sacrifice other essential camera gear. But, the reward is that you’ll be able to photograph animals further away, or get shots of lemur faces really really close. Personally, it’s too much firepower for me, so I leave this one at home in favor of a 100-400mm.
Macro lens
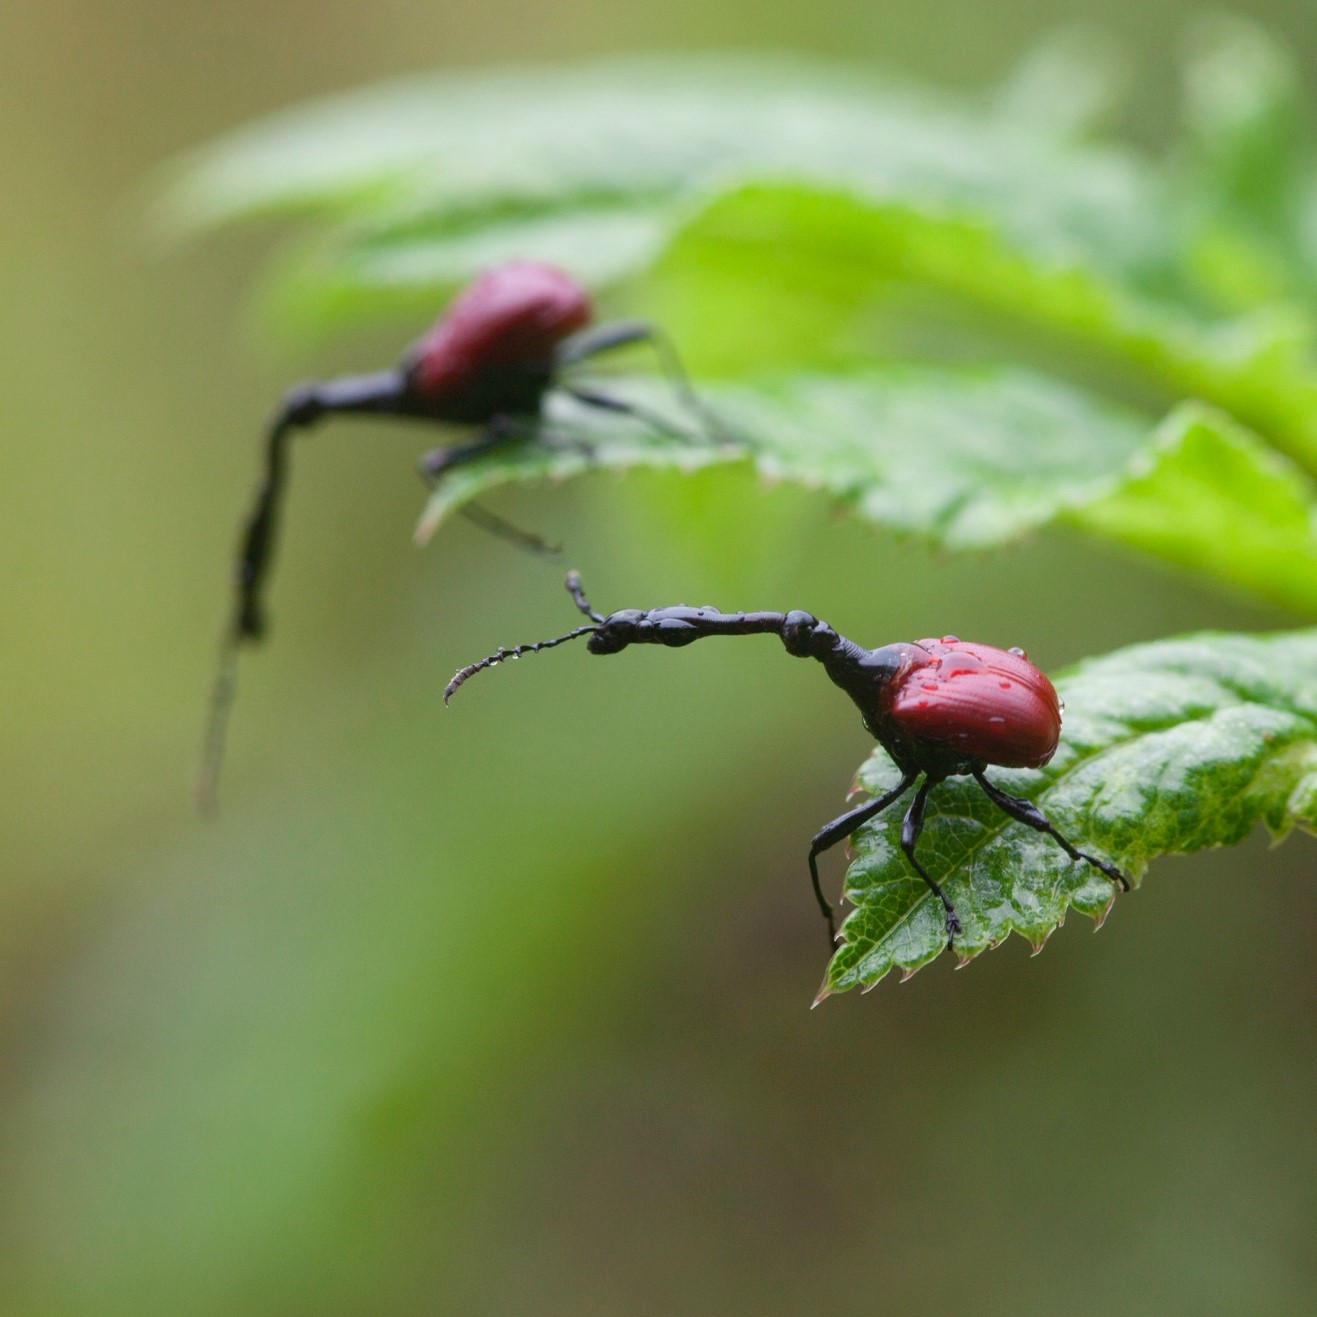
Madagascar is a wonderful place for macro photography, as there really are a number of fascinating insects, tiny flowers, and even tiny chameleons! It usually takes a bit of work to invest in a macro setup, as you generally need a flash to get the right effect, and this means it’s not real easy to switch between lenses in a moments notice. But, when on night hikes, they can be great fun. I personally love macro photography, and considering Madagascar is one of the best places for it, I am sure to bring my macro setup with me.
X-factor lenses
Because of the need to bring some combination of the above lenses, you’ll probably find that you don’t have much room for any creative lenses beyond what we’ve already talked about. However, a 50mm f/1.4 is always a fun lens to have with you, as it can make for some fascinating travel photography. In addition, a fish-eye lens can be really unique and give you photos you just can’t get any other way. However, make sure you have room only after you’ve considered the above lenses.
Tripod
A tripod is indeed nice to have on the trip, but generally can be quite cumbersome. Since most of what you’ll be doing is hiking, this is just another thing to lug along with you. Sure, it’s great if you have a big telephoto lens, and it’s essential for low light landscape photography, but I would recommend that you really consider how much you’re going to use it before packing it. Unless you plan on doing lots of HDR landscape work, videography, or long-lens bird photography, it can probably be left at home.
Flashes
A camera flash can be nice to have on the trip, mainly for night time photography and macro photography. Certain species of wildlife react differently to bright camera flashes, so you’ll have to always check with your guide first on whether you should be using a flash or not. However, if you plan on photographing at night, you’ll very likely need to either use the flash already on your camera, or use an external flash that you bring with you.
Other Accessories
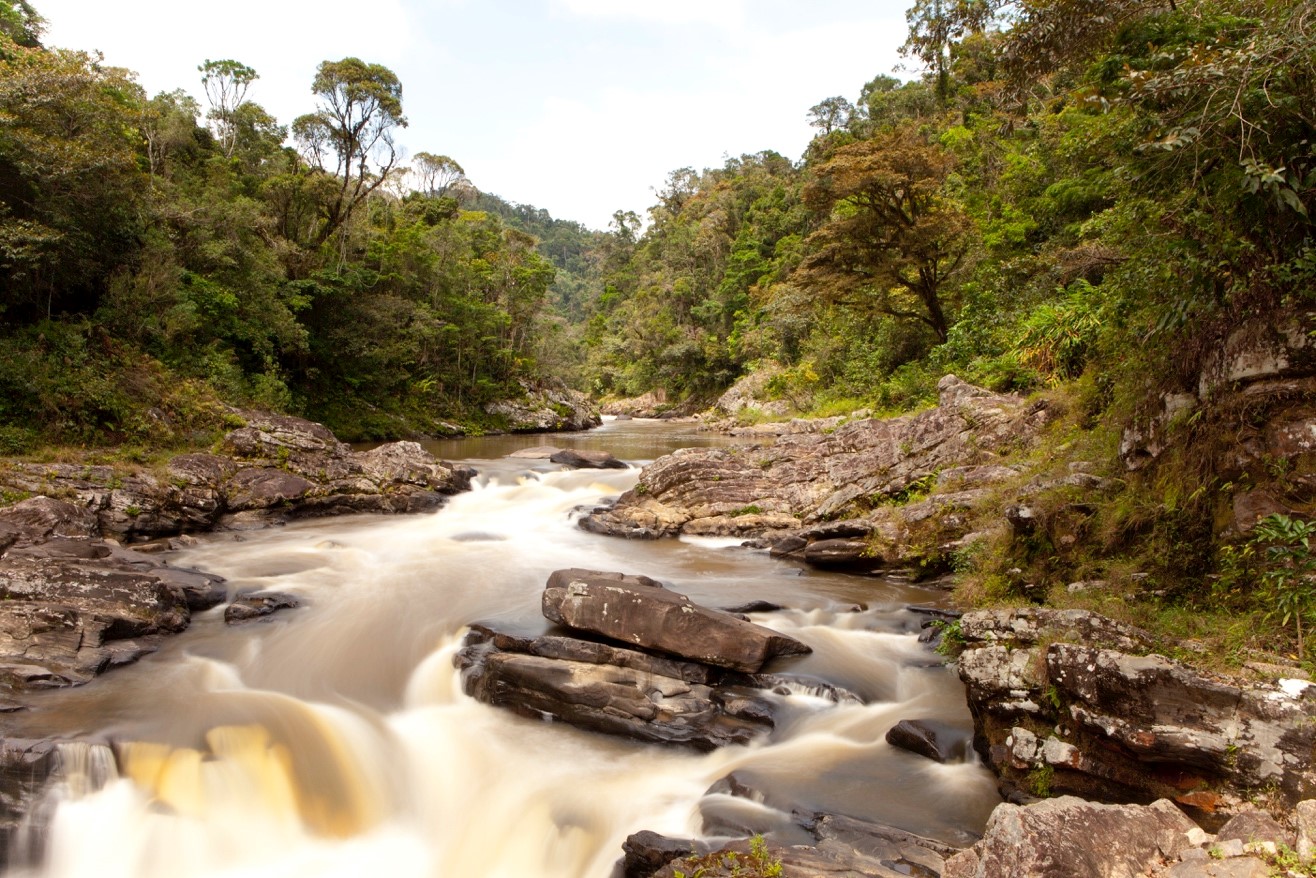
Normally I’m not a big filter person. However, Madagascar does lend itself to some nice opportunities to use neutral density and graduated neutral density filters. When in the rain and cloud forests, there are a number of running streams that can look really nice with a long exposure shot. Since these are usually in sunlit areas, you will likely need a neutral density filter to properly expose them.
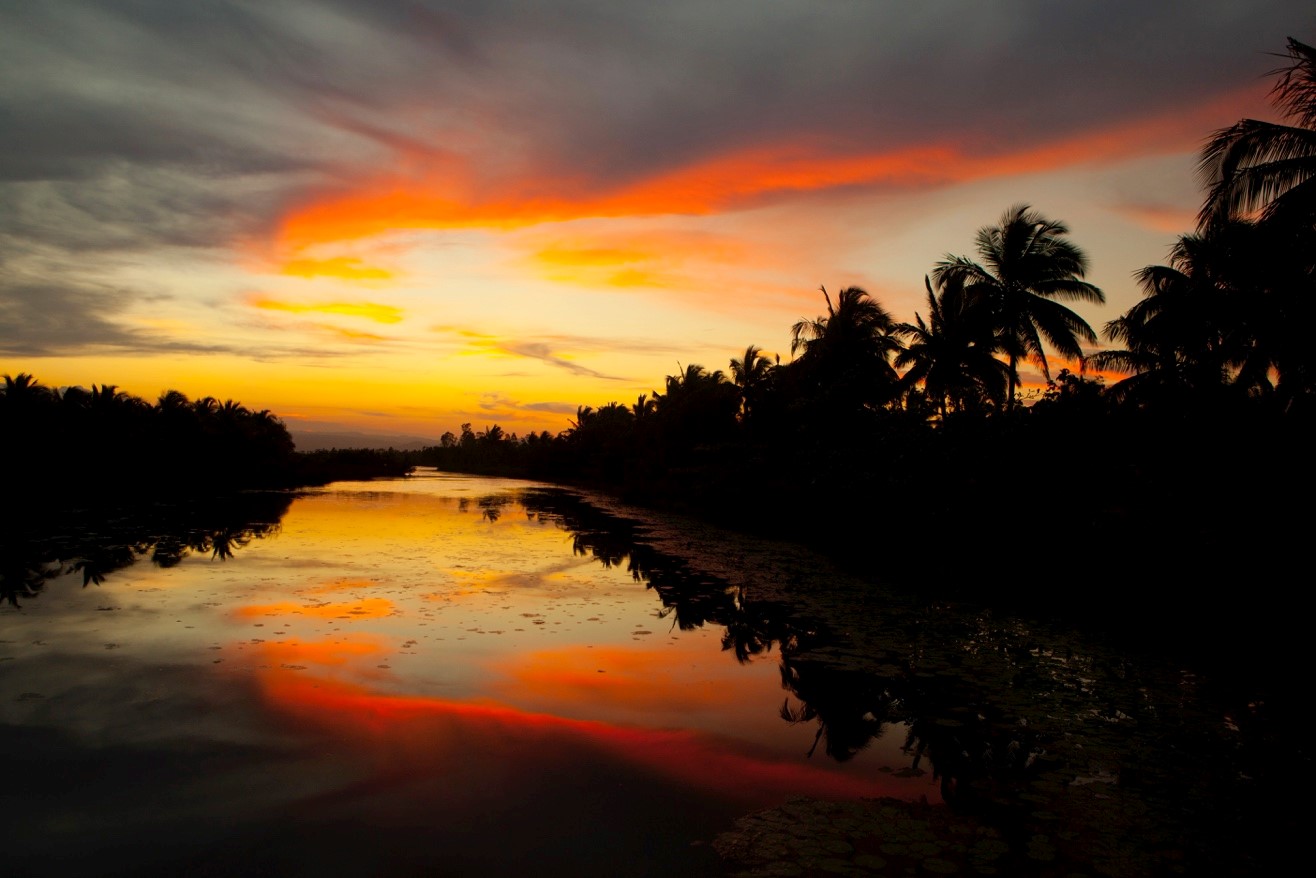
A graduated ND filter is nice for sunsets, as Madagascar (especially the coasts of Anjajavy) can have beautiful sunrises and sunsets. I wouldn’t go out and buy one just for this trip, as most of what they do can be done in photoshop, but if you already have one, you may wish to pack it along.
As you can see, there are a few options you have between telephoto distances, maximum apertures, ideal wide-angle ranges, and any “extras” you think you may like. It can indeed get a bit complicated! However, if you do want to pare it down, the two most important lenses are 1) your zoom telephoto and 2) your “general” wide angle lens. From there, you can consider a macro or perhaps even an ultra-wide angle lens, but these are just icing on the cake.
As always, don’t hesitate to leave a comment below if you have your own ideas of best setups for Madagascar, or have questions that we can expand upon!
Go forward and give it a shot,
Court
Leave a reply