
5 Techniques and Tips for Photographing Polar Bears
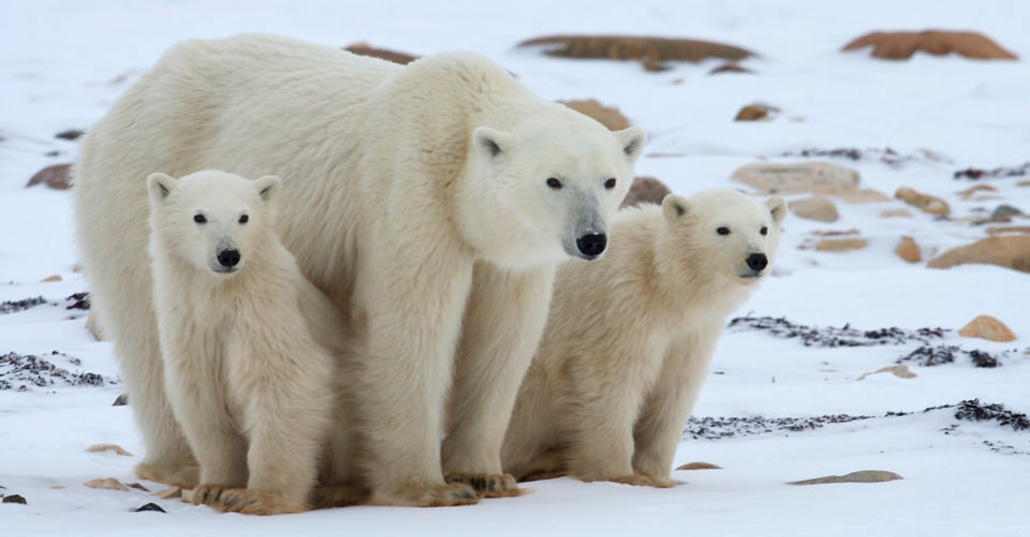
It’s hard to find any nature photographer that doesn’t want to go on an adventure to photograph wild polar bears in the Arctic. They’re one of the most impressive animals on the planet, they are extremely topical in the world of conservation, and they are pretty darn photogenic, too…
Whether you’re headed up north this year or in the years to come to photograph polar bears in arctic Canada, these tips will help you come away with perhaps some of your most awe-inspiring and cherished wildlife photos to-date.
Be sure to have the right camera gear
The very best camera out there is…the one you have with you.
I quote that saying a lot, and it’s true. However, these little phone cameras we have in our pockets can only go so far. They are phenomenal at landscapes, travel photography, and of course great with video and even slo-mo. However, they’re not that great at wildlife photography.
Although polar bears often get astonishingly close, you just won’t do the photos ops justice if relying solely on an iphone. Sorry to break it to you.
All other cameras out there, including point and shoots, along with more advanced mirrorless and DSLR cameras will do a great job. You don’t have to overthink it.
You can read more on what is in my own camera bag for a polar bear photograph expedition HERE, but the gist is that you want capabilities to shoot wide angle (landscapes) along with zoom telephoto in the 70-300 or 100-400 range. More zoom/telephoto is great, but you don’t have to have the biggest lenses nor fanciest equipment to get some amazon shots. Those that do bring the biggest and best gear will no doubt be rewarded, but don’t let this fact stop you from bringing what you’ve got and maximizing the potential with whatever camera you have.
Plan on over-exposing your shots
The way that cameras perceive light and dark is, well, very computerized. That is, they are a digital instrument, and they think like a digital instrument. As a result, they generally try to expose for (a fancy way of saying the way they choose how bright the photo should be) an average of 18% pure gray across all pixels.
You certainly don’t have to memorize this trivia, but it’s good to understand its impacts.
Basically when photographing a white bear in what can be oftentimes white, snowy, or icy conditions, the camera will still try and achieve an average of 18% gray. This results in a scene that is darker than what you actually saw with your eye.
You’ll notice it as soon as you put it on your computer—the snow will look gray and the bear will look dirty by being overly darkened.
The solution to this is simple…over-expose your shots (when presented with white bears and a light background caused by snow or ice) by 1/3 or 2/3s of a shot. If you’re not familiar with how to do this on your camera, it’s worth a quick google search along the lines of “how to adjust exposure for my Nikon Coolpix 300” (or whatever camera you have).
And voila, you have proper exposure.
Dabble with a bigger depth of field for big shots
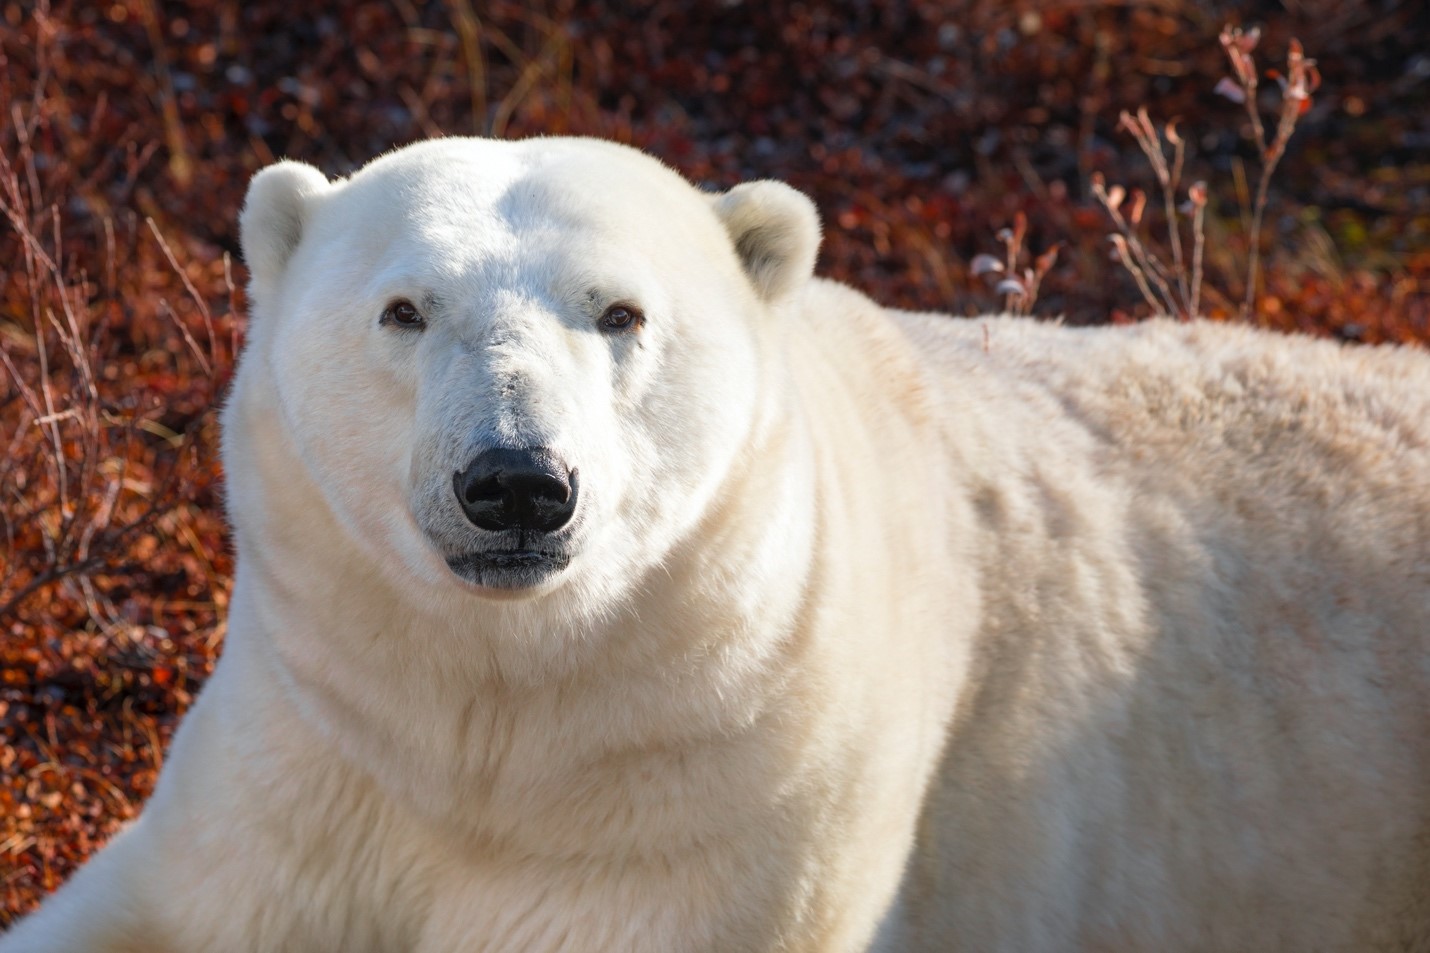
Because of the awesome proximity you’ll likely have to these big creatures, you’ll certainly want to “fill the frame” with the bear at times. This might be composing your photo with just the bear’s face from edge to edge or otherwise.
For shots like these, you’ll want to make sure to increase your depth of field to a higher level than you’d expect.
While with most wildlife photography, a portraiture-style setting results in that pleasing blur in the background or foreground, when filling the frame with just the bear’s face or body, you will likely want the majority of the bear in focus. For example, if it’s a full face photo, you of course want the eyes in focus, but also likely the ears, nose, and forehead.
In cases when the bear’s head is your entire frame, you’ll want to go with an f/number in the range of f/8 or even greater. This will result in the entire face and/or body being in focus, rather than just certain features like the eyes at the expense of everything else being blurred (like if you were to shoot at, say, f/4 or f/5.6).
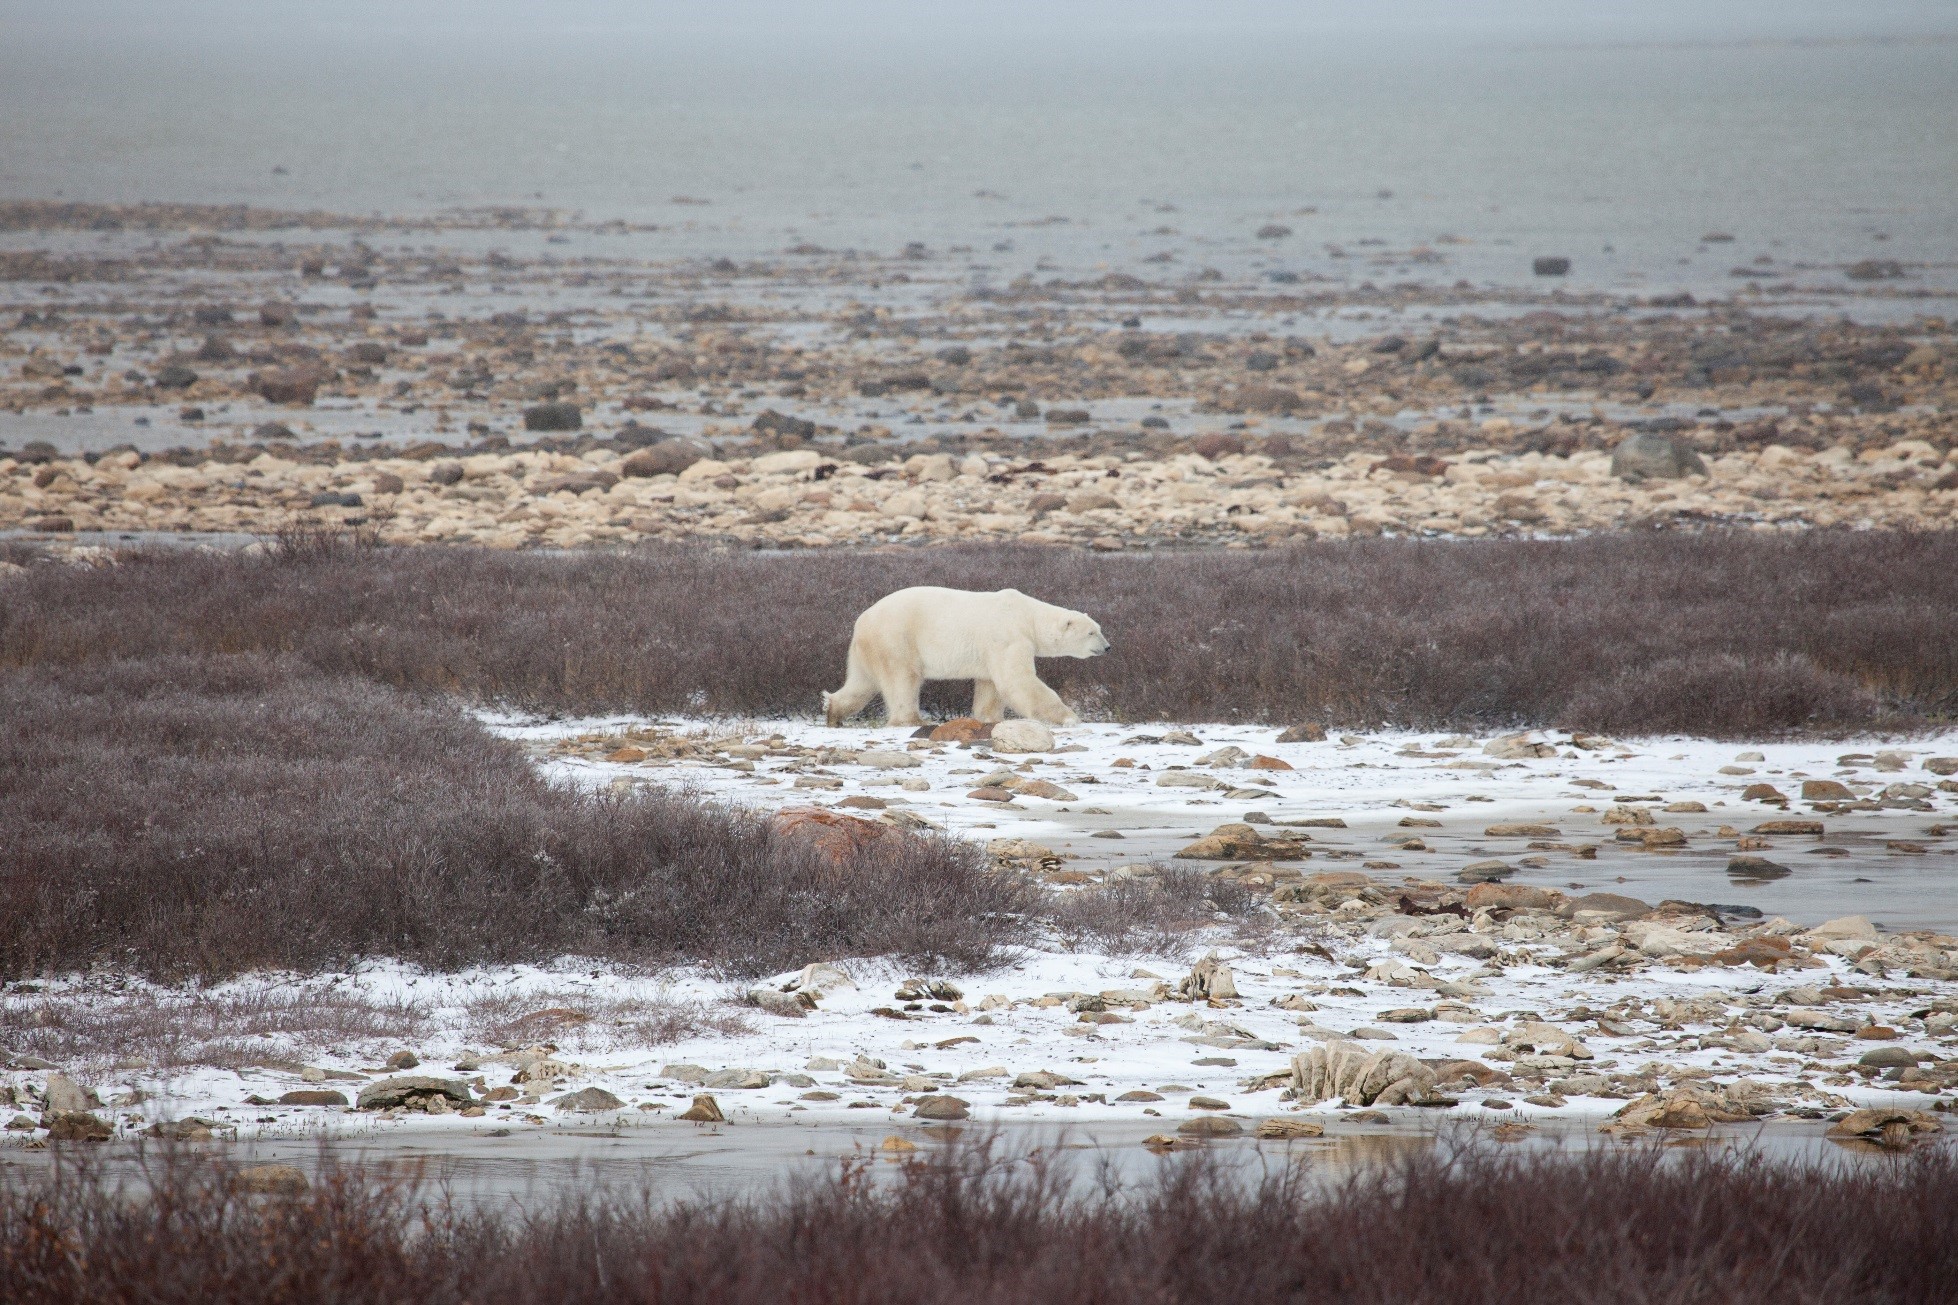
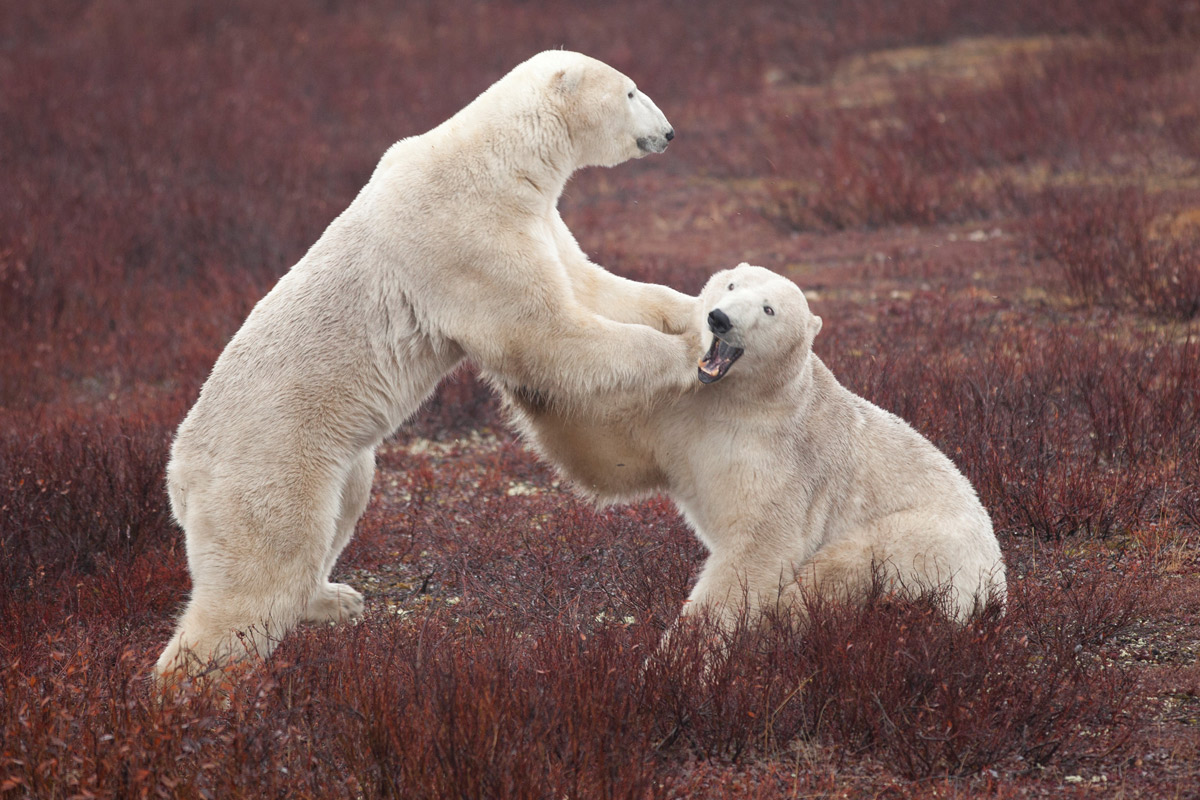
Capture the habitat of the polar bear
Those edge-to-edge compositions of the bear’s face is certainly a great photo, but be sure to spend some time “zoomed out” for maximum effect.
One of my current favorite ways to showcase big wildlife is to ease off of my zoom and telephoto and instead prioritize for photographing bears and other big wildlife in their natural habitat. Part of the reason is that you could technically be photographing a bear in a zoo and get the same face photo. But more importantly, the landscape of polar bear habitat is fantastic and adds so much to the story behind your photo.
So be sure to spend some extra time scanning the horizon and landscape with each polar bear sighting and think about how to incorporate landscape elements into a landscape photo that just happens to contain a brilliant polar bear.
Think deeper – Tell a story with your polar bear photos
A photo with an interesting story behind it oftentimes makes for a better photo…period. Including elements of that story into your photo is the key.
This is a bit of an abstract concept, so let me tell you one of my techniques for making sure my photos tell the story.
If I take a photo, show it to a friend, and then have to explain where I was, what I was doing, and how I was able to get such a cool photo, that means the photo didn’t have a strong storytelling element. I had to tell the story—the photo didn’t.
But if my photo can stand on its own, with me providing only minimal context, I find that it’s a much more engaging photo. It’s more engaging to my audience and more engaging to me…and that actually makes it a better memory for me, too.
So, next time you’re rumbling over the tundra in search of polar bears, think a little deeper in how you tell the story of your experience with your photography. Sure, snap the “magazine cover” photo of the bear, as that will no doubt be cherished. But scan your surroundings and see if you can incorporate some other elements.
Is there a vehicle like yours you can include? That’s a phenomenal “picture yourself here” shot!
Can you include another photographer in your photo? That’s a great way to showcase your photo adventure to others!
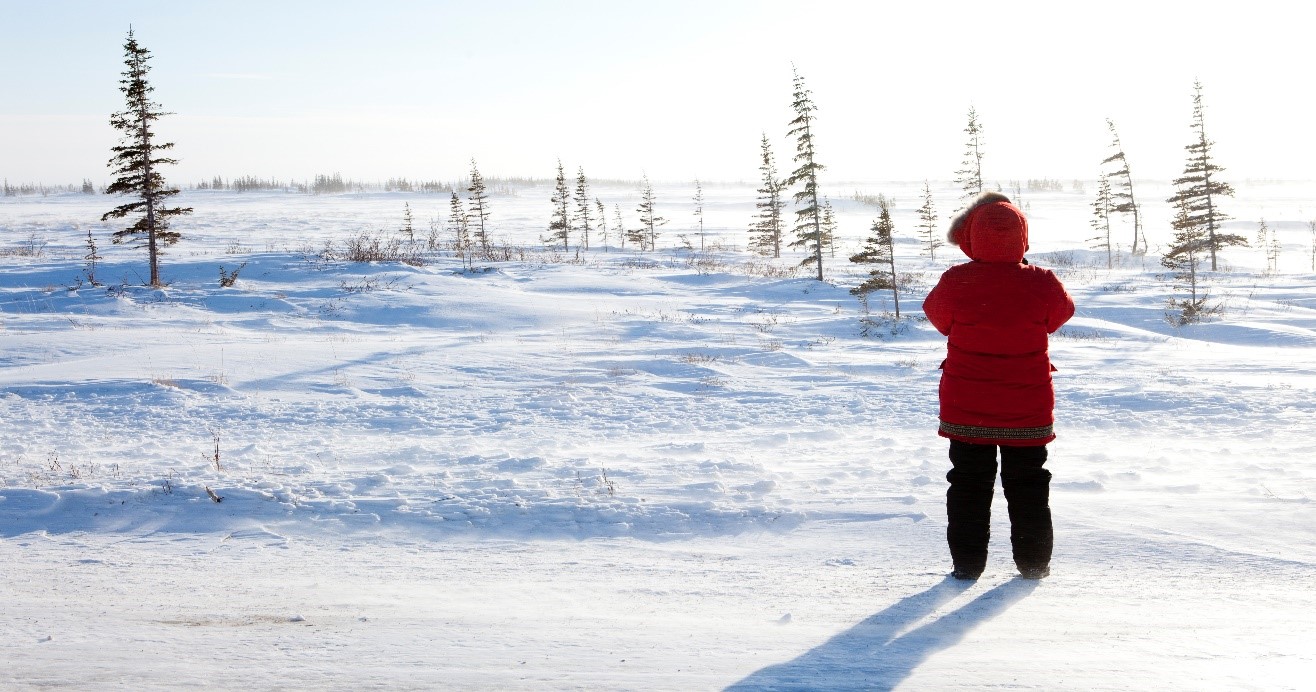
Not ever photo opportunity works for this storytelling angle, but it’s important to be aware of the potential here and always be ready to incorporate.
If you’re headed up to photograph some polar bears I wish you the very best, and I might just see you up there!
Cheers, and be well,

Court
Leave a reply