4 tips for making the most out of photography in the Canyons of the American Southwest
Simply put, the Canyons of the American Southwest offer some of the very best landscape photography in the world. While mountains, meadows, and ice fields in other places are great, there is just something truly magical about the red rock, incredible textures, massive vistas, and big skies of the national parks in Utah and Arizona.
If you’re headed to this special region anytime soon, follow these guidelines to get the most out of your photography. It’s hard to take bad photos in this beautiful region, but with a few simple considerations, you can elevate your photography to all new heights.
Maximize your depth of field and get the right focus
When photographing big scenes, you’ll want to get as much in focus as possible. There are a few ways to do this. If you are comfy shooting in advanced settings, you can manually dial in a high f/number. Generally speaking, I like to aim for f/8 or higher to maximize depth of field. Some cameras will max out at f/8, and that’s fine. But if you have a DSLR or mirrorless camera, I recommend trying to get to f/11 if possible. It’s not a major difference, but if will get things a bit more focused and result in a crisper shot at all distances.
If you are shooting with automatic settings, look in your cameras “scene settings” or other menu for the “landscape photo setting.” Generally this is depicted by a small mountain icon. This will force your camera to maximize depth of field and retool settings to achieve such. It’s an easy button for landscape photos!
Pro tip: when shooting a big landscape, with significant distances, focus about 1/3 of the way between you and the extent of your shot. That is, if there is a landscape feature way in the distance, and you want to pick a point about 1/3rd of the way there, focus on that, and then shoot. Focusing too close or too far may jeopardize focus on the rest of the scene.
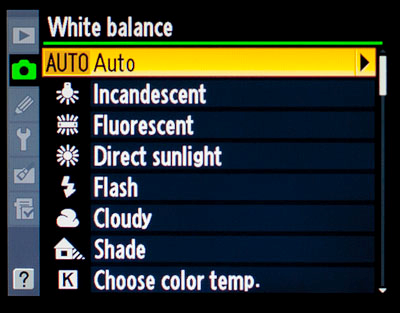
Set your white balance
Most cameras default to auto white balance, or AWB. This is ok, but I’ve found that for the reds, oranges, yellows, and various shades of gray in “canyon country” the shade or cloudy white balance really makes the photos come alive. By injecting a bit more yellow into the shot, it helps these colors pop and come alive from the screen, paper, or whatever medium you’re viewing the photos on.
Aim for even lighting
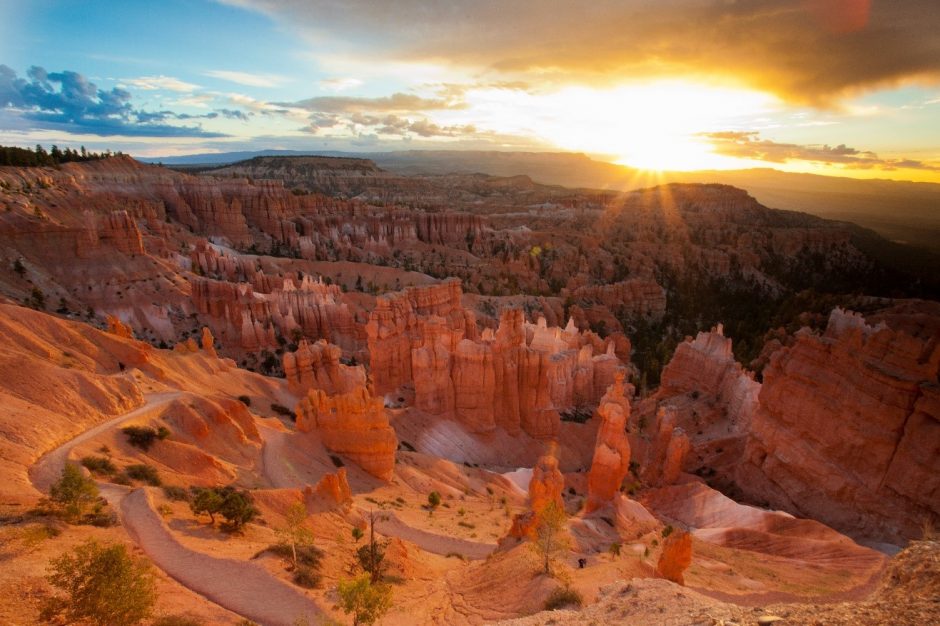
With the big open skies and oftentimes bright sun of the canyons regions of Utah and Arizona, you’ve got to be careful with harsh contrasts and harsh shadows. While there are certain cases where this can be absolutely breathtaking, in general I recommend you aim for more moderate, even lighting.
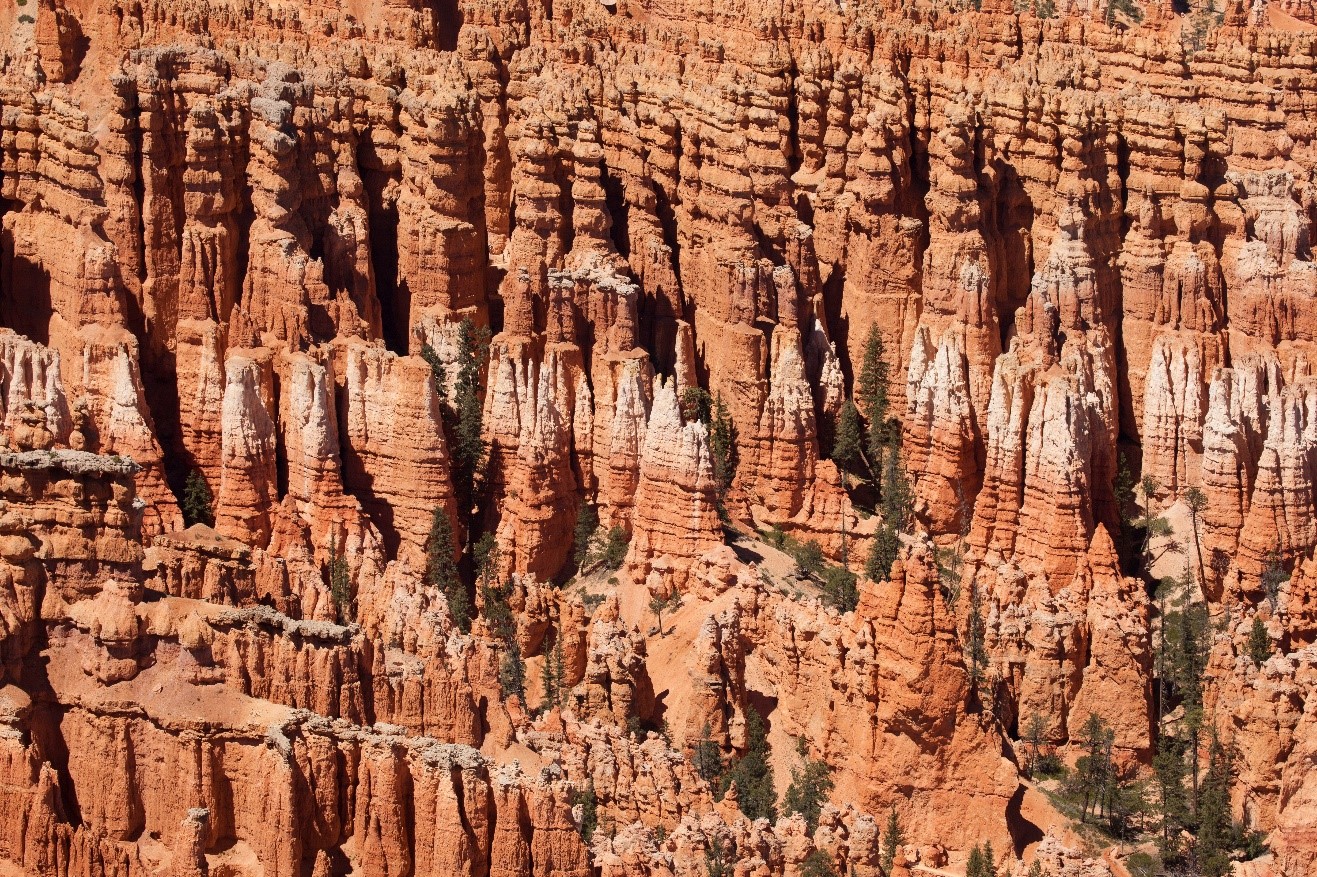
The above photo is nice, but notice how there are lots of dark shadows among the stone pillars (hoodoos)? It works, but it appears a bit harsh, doesn’t it?
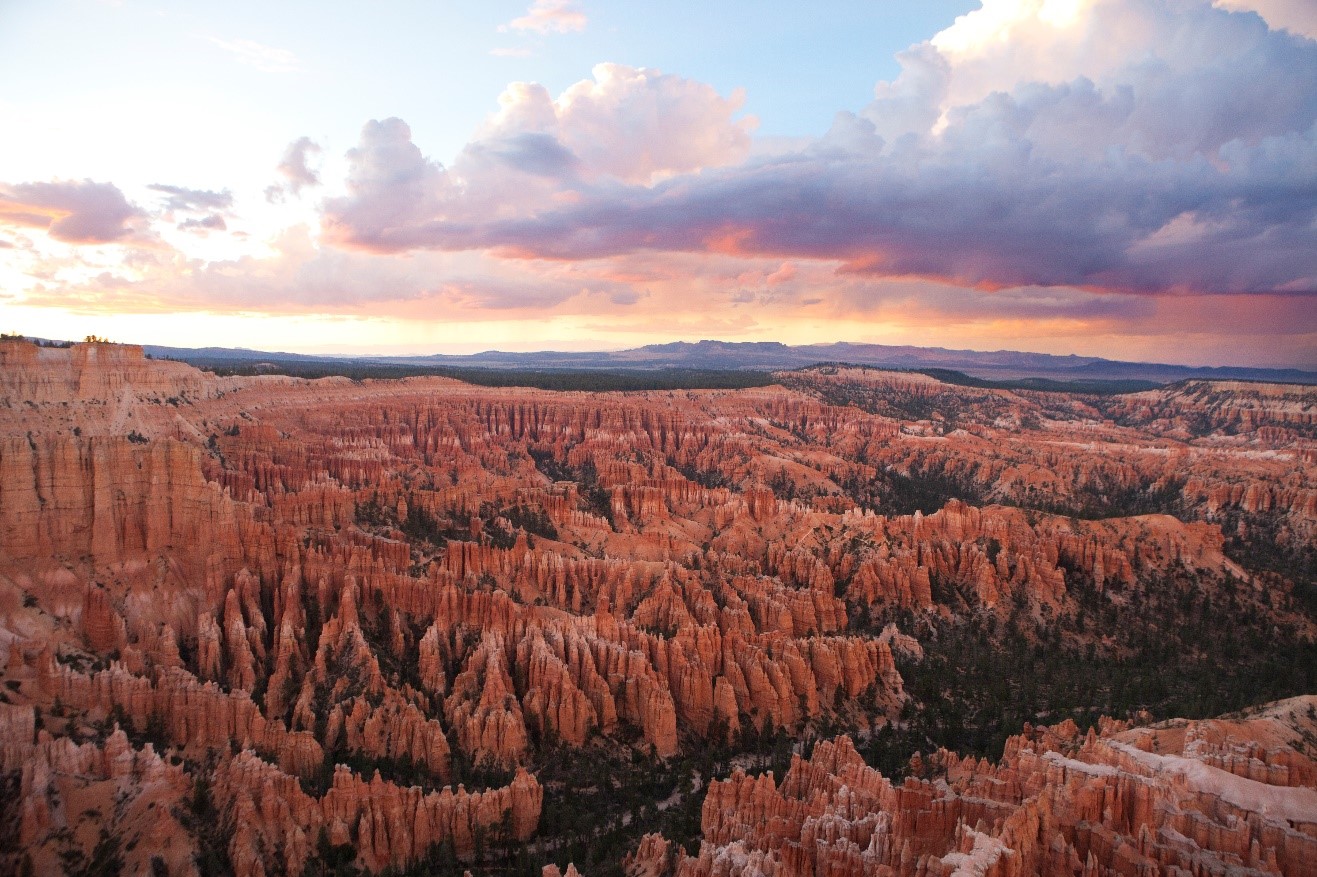
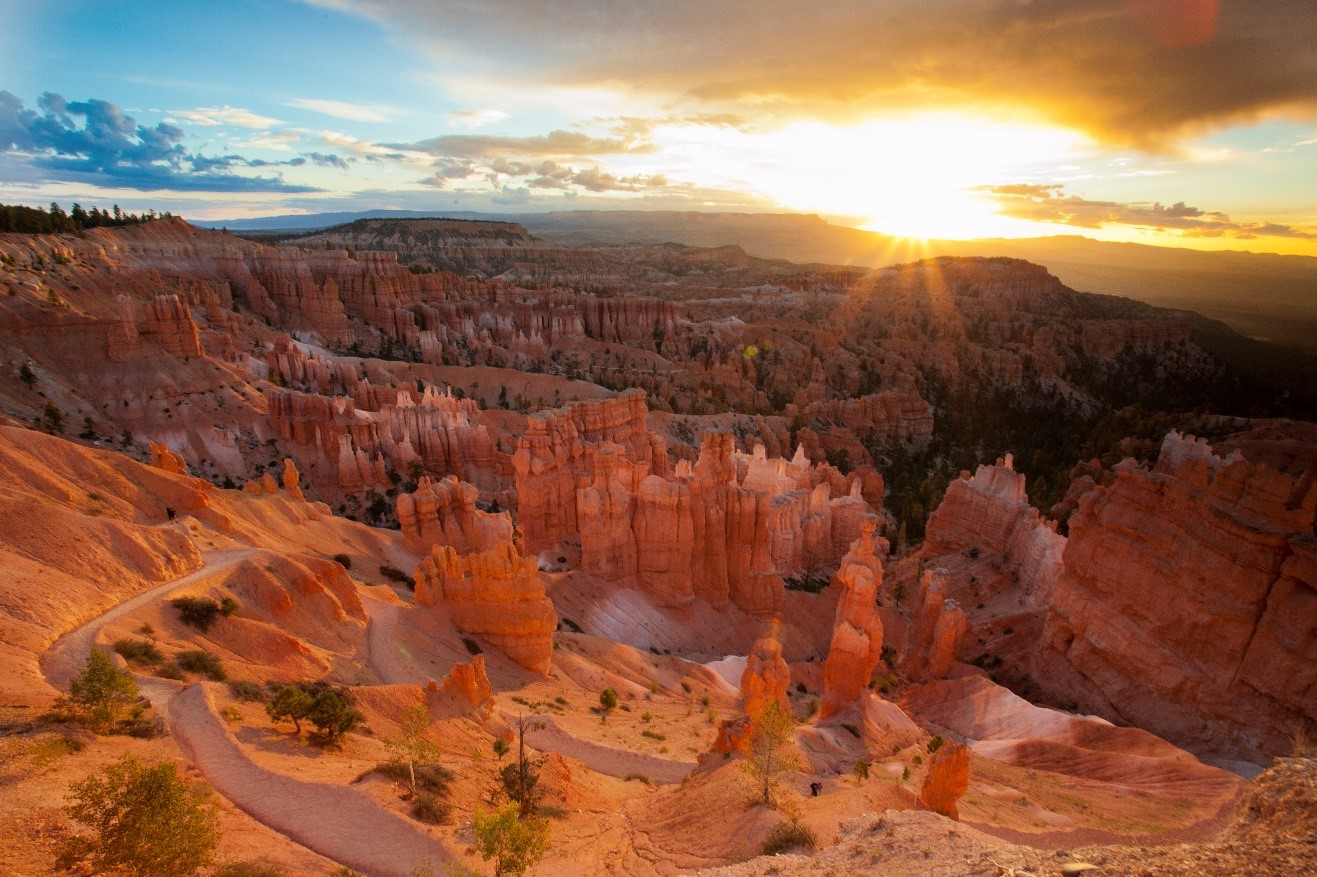
One way to avoid harsh shadows and bright spots from sun is to shoot at low light times of day…early and late. Depending on where you are, you may not want to be in location right at dawn…perhaps a bit after is ideal. And in other places, just before dawn allows you to set up for sunrises. I’m particularly drawn to sunrises in Bryce Canyon National Park, and by going with a special photo trip, you can also grab stunning shots like the below.
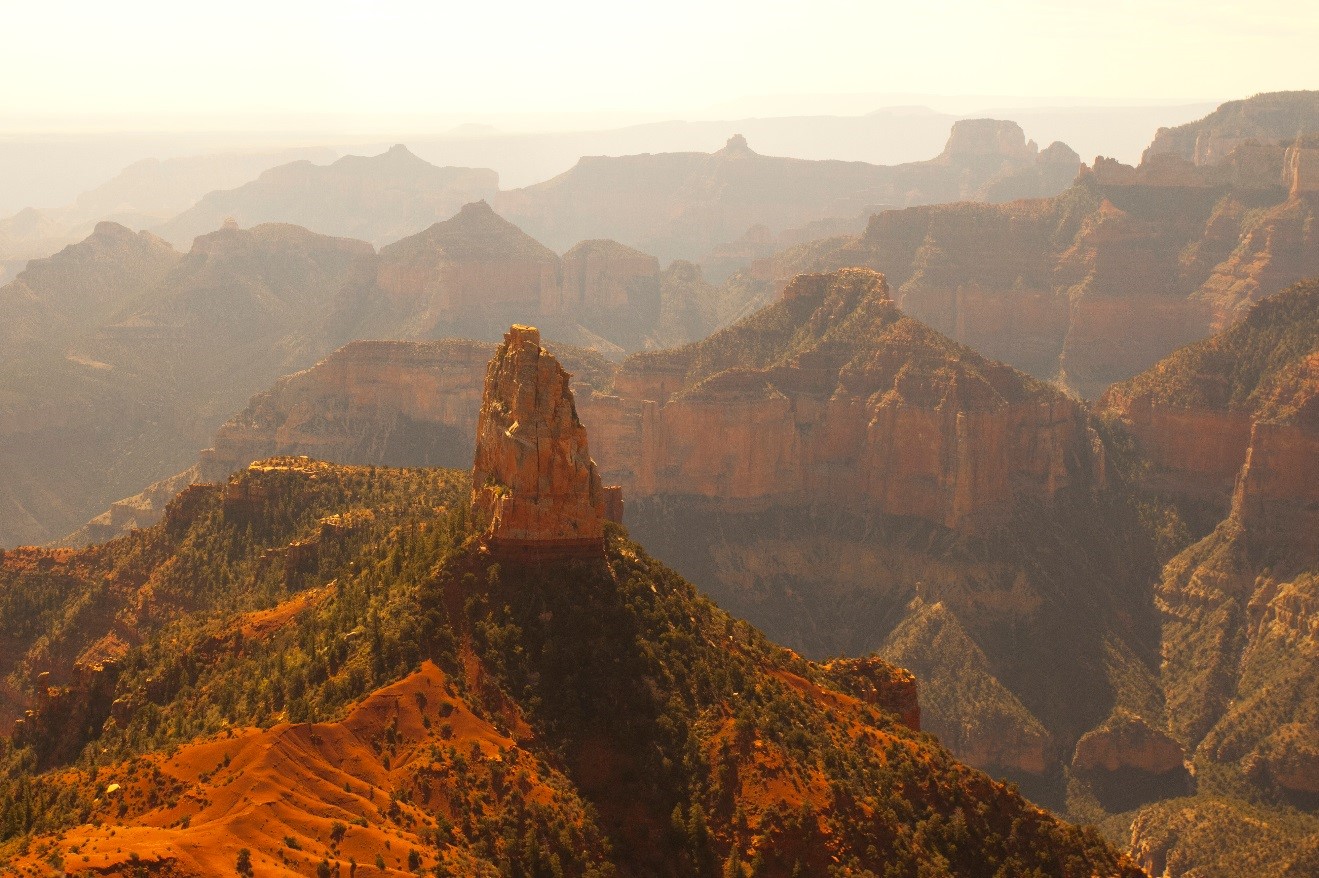
Another way to avoid direct, harsh, HIGH contrast light, which is very unique to this region, is to get down into the canyons! In most other places of the world, this is just not possible, as they either don’t exist or it’s just too treacherous. But in places like Zion, Grand Canyon, and Bryce National Parks, the trails ARE the canyons!
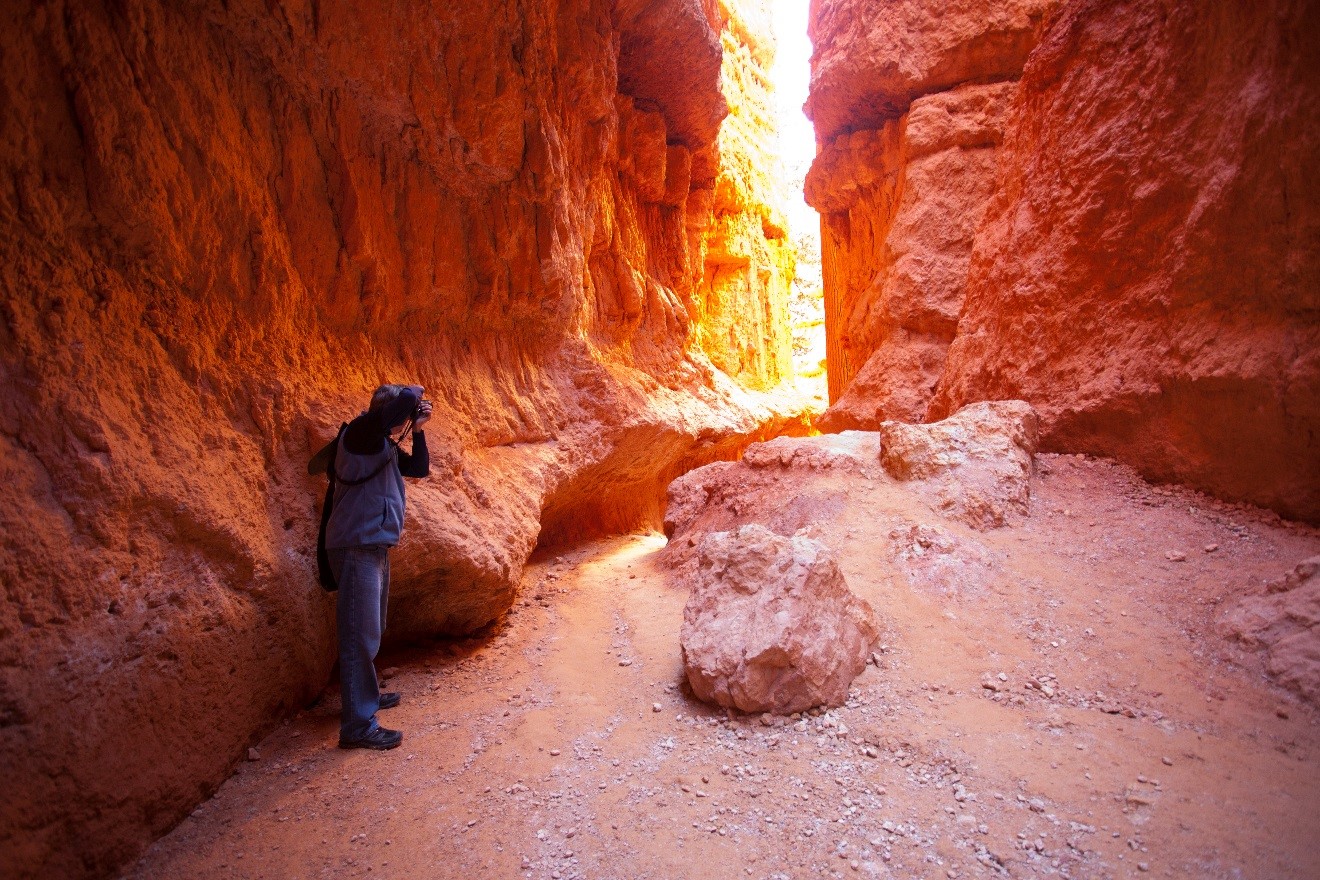
When photographing below the rocks, look for unique angles of gradual, directional light, and you’ll be rewarded with really unique colors, textures, and overall impressions in your photos.
Pick a point of interest in each photo
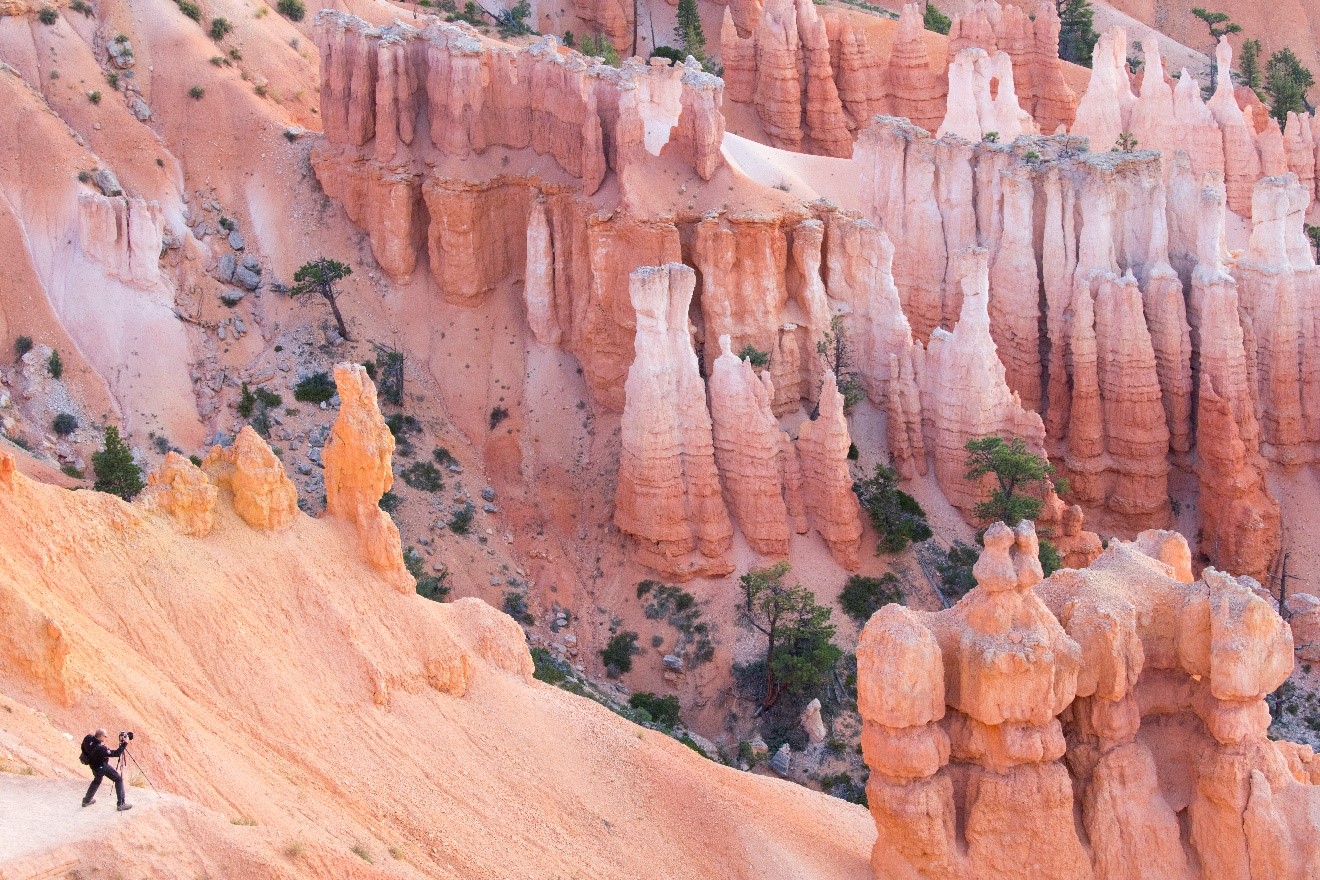
One final tip, which is more of a universal landscape photography tip, is to pick some sort of focal point, or feature in your landscape shot. Having something in the foreground can work absolute wonders for your photo, so before just snapping away, spend a moment or two looking around for a neat-looking tree, bush, or heck, even a fellow traveler! This provides context, which is gold when showcasing amazing scenery.
Photography in the national parks of the Southwest US, aka Canyon Country, is a trip of a lifetime. If you haven’t been, you must go. If you’re headed there, you’re in for the time of your life!
Cheers,

Court
Leave a reply