Focusing
There are a handful of things that photoshop can’t fix, and one of the most important with good photography is focus. If you take a photo and your focus is off, the photo is relatively unsalvageable. In addition, experimenting with focus is a very quick and easy way to get more creative and artistic with your photography.
Throughout this section, you’ll see that we mention “aperture” and “depth of field”. Please refer to our “Aperture and F-stops” section for more insight on this.
What to focus on
What you choose to focus on has rather impactful ramifications to the end product of your photography. While it might be tempting to get everything in focus all the time, this is not always the best way to go – especially when it comes to wildlife photography. You actually want some of the photo to be out of the focus. Even with landscape photography, when one would think the idea is to have the entire scene in perfect focus, there are times when you want to isolate only a certain part of the shot and bring it into focus, leaving the rest of the scene with a beautiful blur, or bokeh, to it.
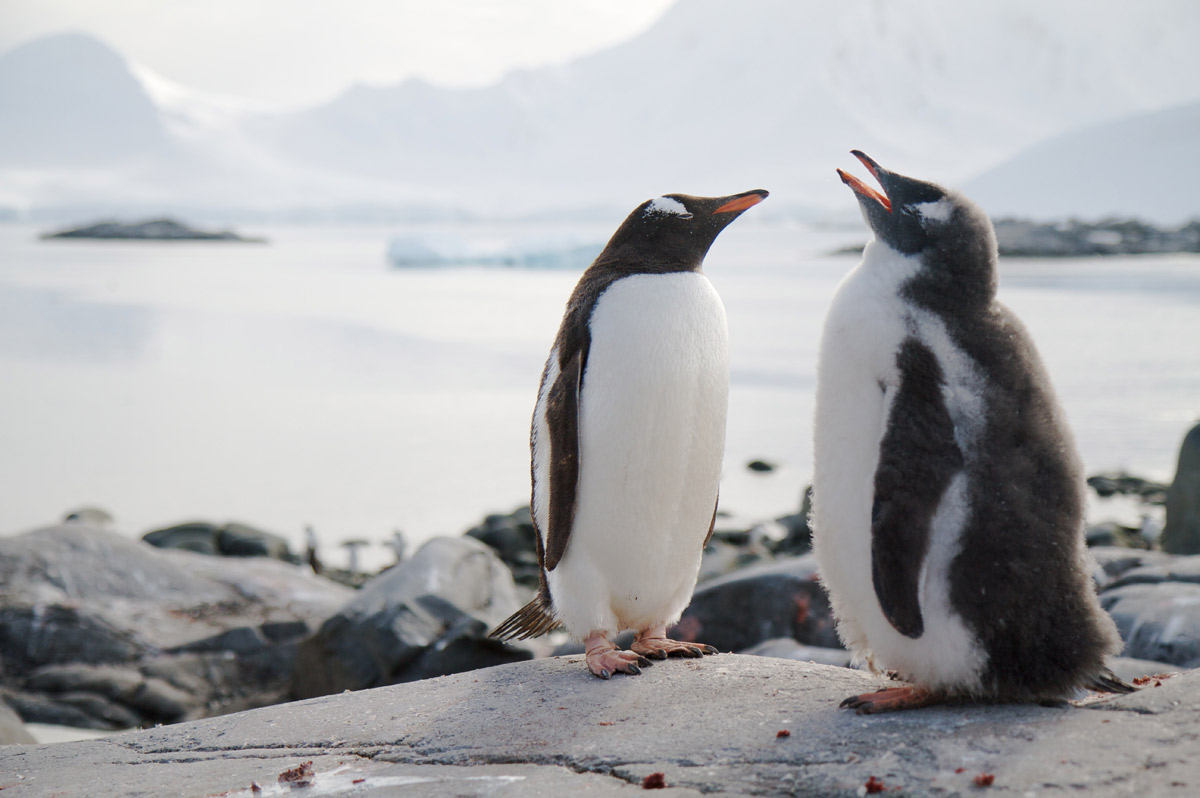
The above photo of two Gentoo penguins in Antarctica is a classic example of getting the subject in perfectly sharp focus, with the background blurred. This serves to draw the viewer’s eye toward the subject (the penguins) and minimize any distractions found in the background. For instance, if everything was in focus, the floating iceberg just behind the penguin on the left might blend in with the outline of the penguin, causing a bit of confusion on part of the viewer as to what he or she is “supposed” to be looking at.
Focus helps to isolate the subject from the background.
Yet there are indeed times when you want everything in focus, usually with landscape scenes.
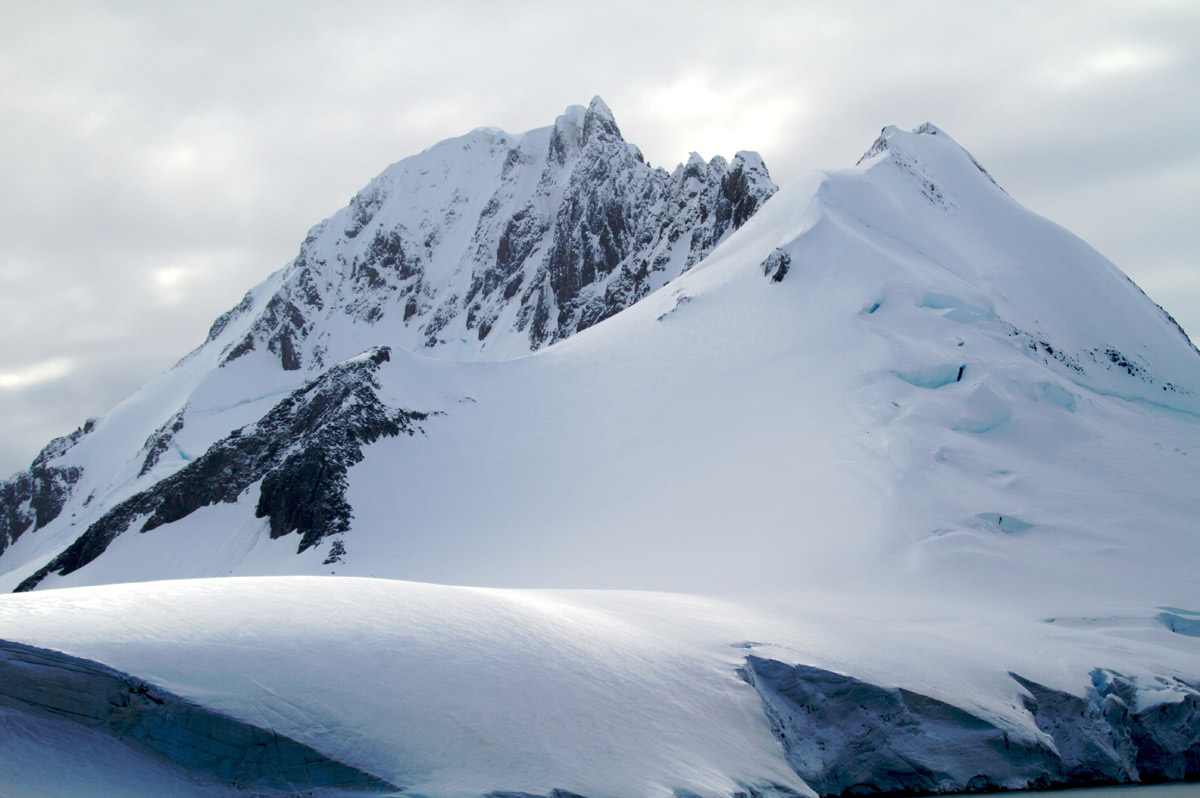
In the above photo, also from Antarctica, it’s rather critical to have both the foreground glacier and the rough background peaks in good focus. Thus, one would want to employ a very large depth of field to cover the immense distance between the foreground and the background. But the question still remains as to where one should focus. Even if you choose a very large depth of field, you still have to point at something to focus on.
With landscape photography, there is a general rule of thumb that you should focus on a part of the scene about 1/3 of the way from you to the farthest point of the photo. When looking at a large peak and glacier scene like the one above, it’s quite difficult to figure out exactly where 1/3 of the way is, but generally speaking you don’t want to focus on the closest thing, nor the farthest thing, as it could compromise the sharpness of the other.
Rules are always meant to be broken, and one should not always look at every landscape scene and try to get everything in focus. While you may indeed want to 9 times out of 10, it could be that 10th shot that finds its way on the cover of your trip’s photo album.
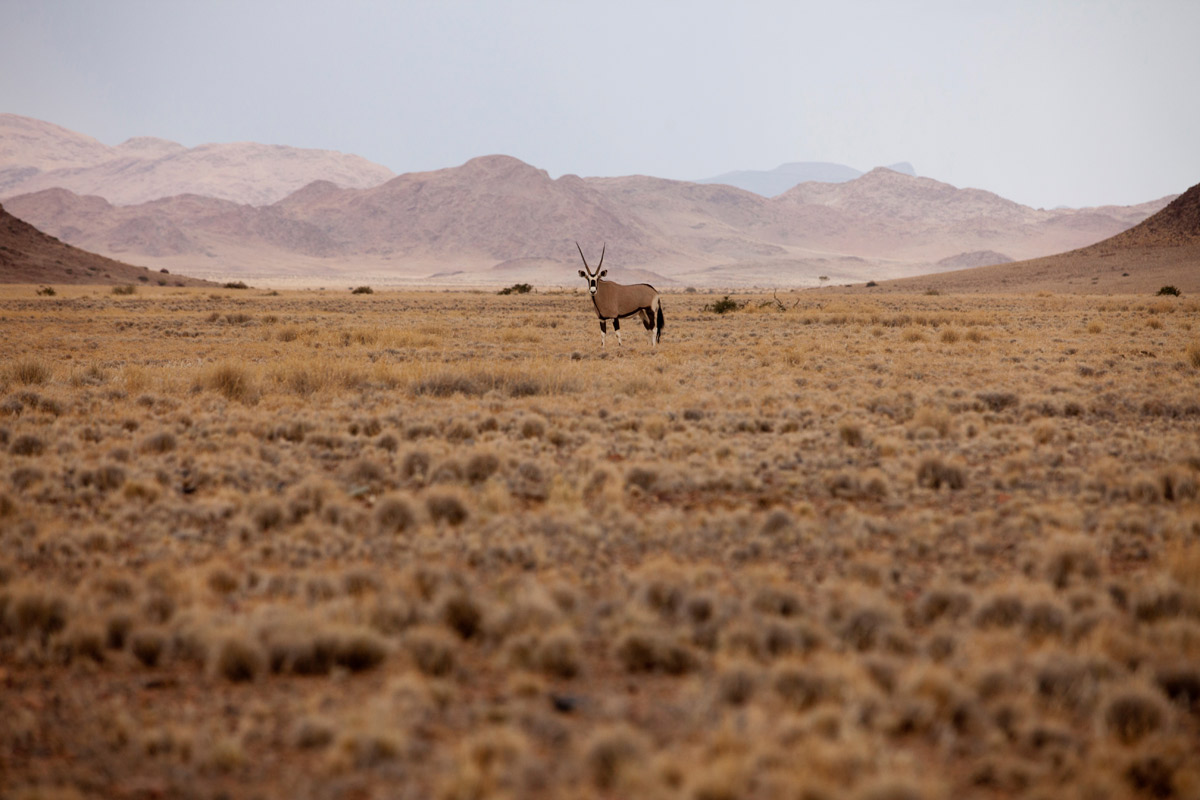
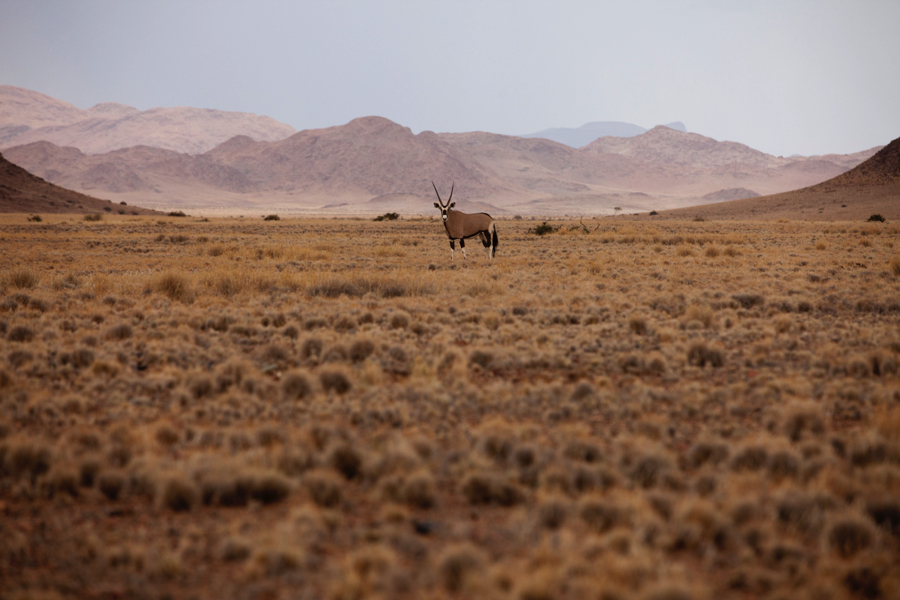
Above is an example of when limiting the depth of field makes part of the scene a bit out of focus. Here, the foreground is blurred, which accomplishes several things. First, it draws the viewers’ eyes into the subject of the shot – the gemsbok in the middle of the photo. Second, it minimizes any distraction from the textures and colors of the grasses in the foreground (further drawing the eye to the subject and the beautiful red and brown mountains in the background). Lastly, and most importantly, it creates a sense of vastness. And, when photographing in the Namibian desert you certainly want to portray the vast expanse of its wilderness!
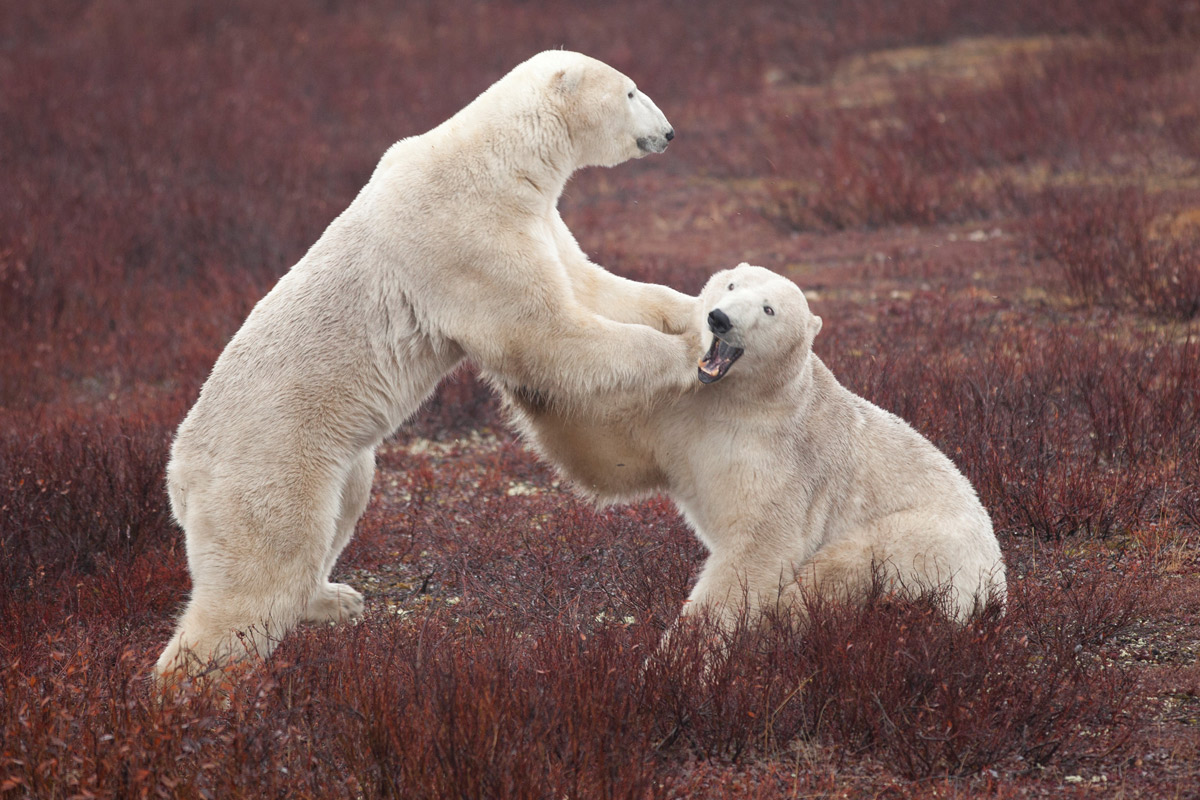
When the wildlife is the main part of the scene, you naturally want to get it into great focus. Here, focusing on polar bears, it’s not all that important whether the willows are sharp and in focus. Since it’s a relatively uniform texture and color, they wouldn’t detract all that much from be bears even if they were in perfect focus. Nevertheless, because this was “an action scene”, I needed to increase my shutter speed to freeze motion. As a result, the camera had to compensate by limiting the depth of field such that anything too far away from the camera got out of focus.
It goes without saying that you should focus on the bears for this shot. However, there is a lot of bear in this shot! Should you focus on the paw, the nose, or somewhere in the middle of everything? While in this particular shot, you could get away with aiming somewhere in the middle, a general rule of thumb when photographing wildlife is to focus on the eye. If your depth of field is narrow enough that part of the animal is actually out of focus, the eye will be the most important part to get in focus. It creates the connection needed with the viewer.
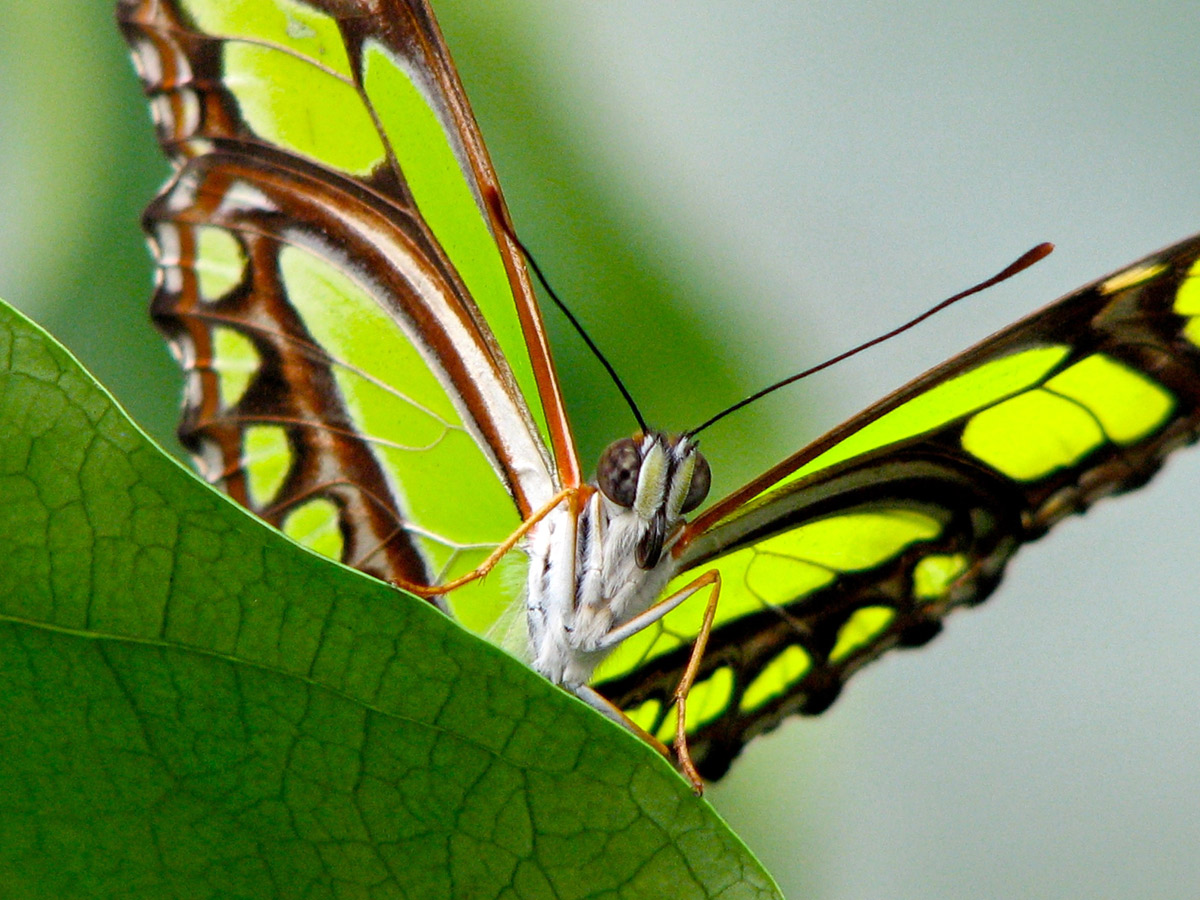
The above photo is a great example of focus priorities. On first impression of this scene, one would think that it’s absolutely critical to have all parts of the butterfly in focus, from antennae to wing tips. However, in order to blur out the background, a narrow depth of field was chosen, which did end up blurring part of the butterfly. By focusing on the eyes, it’s almost entirely missed that part of the butterfly’s wings are rather blurred.
By focusing on the eyes, the rest of the animal becomes less critical for sharp focus.
In summary, focus is very critical, as no matter how fancy of computer program you have, you can fix improper focus, or sharpen a completely blurred photo. There are several key things when dealing with focus in your photography:
- Blur can be good in a photo, as long as your subject is in focus.
- Correct blurring of the background can properly isolate the subject from a distracting background.
- In landscape photography, blur can showcase depth in a photo
- When the entire landscape is of interest, a maximum depth of field will result in sharply focused features
- When photographing wildlife, always focus on the eyes of the animal…even if this means part of the animal will be out of focus.
