Shot Setting Tips for Wide-Angle Photographs
When telling the story of your trip, don’t forget about photographing the experiences themselves. A nice wide-angle shot of a hiking trail is a great addition to the trip album.
Here are the steps needed to get this shot:
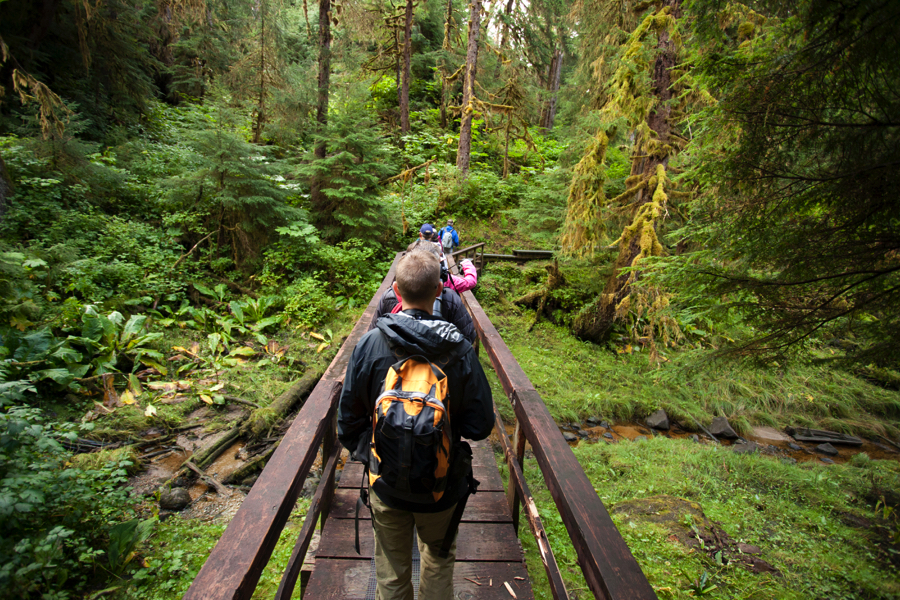
- First, you have to find the right scene. Something with good leading lines, even lighting, and vibrant colors (like the above photo) really adds to the shot.
- Next, use your ultra wide lens or be sure your camera is fully zoomed out. Essentially, you need to be able to capture as much of the scene as possible. Not just for the sake of the composition, but also for editing (more on this next).
- To get that great “picture yourself here” photo, you’ll need to either be higher up than the group (nobody wants the entire shot to be someone’s backpack or back of head). This can be achieved either by being up physically higher, like on an undulating trail, or steps on a boardwalk. Or better yet, physically lifting the camera above your head and aiming somewhat blindly can give a really wide look, as in the above shot.
- Once you or your camera is above the scene, be sure to focus on the person in front of you, for they are the focal point.
- Then, the photo really comes together once you can edit on the computer, for a “blind” shot with the camera lifted over your head often is composed a little off or a bit askew. Fortunately, if your shot is wide enough you can crop or align the photo so that it’s once again level.
Go forward and give it a shot,
Court
Photo of hikers (c) Court Whelan
Leave a reply