How to Photograph Animals in Back Lit Conditions
Wildlife photography is oftentimes a test of might, perseverance, and creativity. When someone sees a perfect portrait of an animal, it might make it look easy, but getting yourself into position and into the right setting to make such a photo is so much of the work.
Simply put, wildlife doesn’t always put itself exactly where you need it to be to get the perfect shot.
One of the more challenging scenarios is when an animal is up in a tree and back lit. That is, the sun is behind it such that the part facing you is darker than the background. Normally this results in a silhouette, which is one way of working with what you’ve got. However, most of the time we still want to feature the animal in all its glory—with the right light, color, texture, expression on its face, etc.
Read on for some helpful tips on what to do when you’re faced with that notorious back lit animal before you.
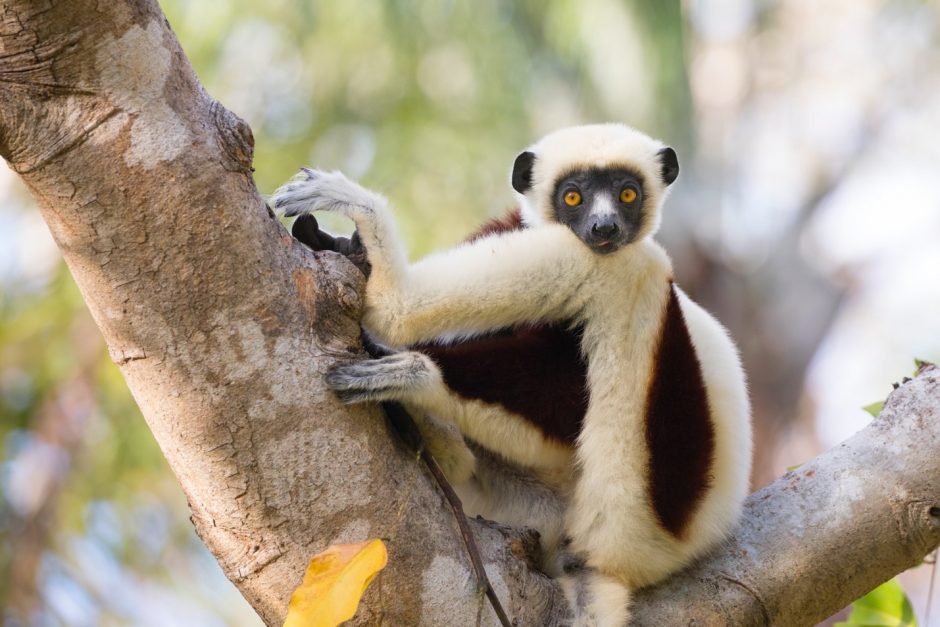
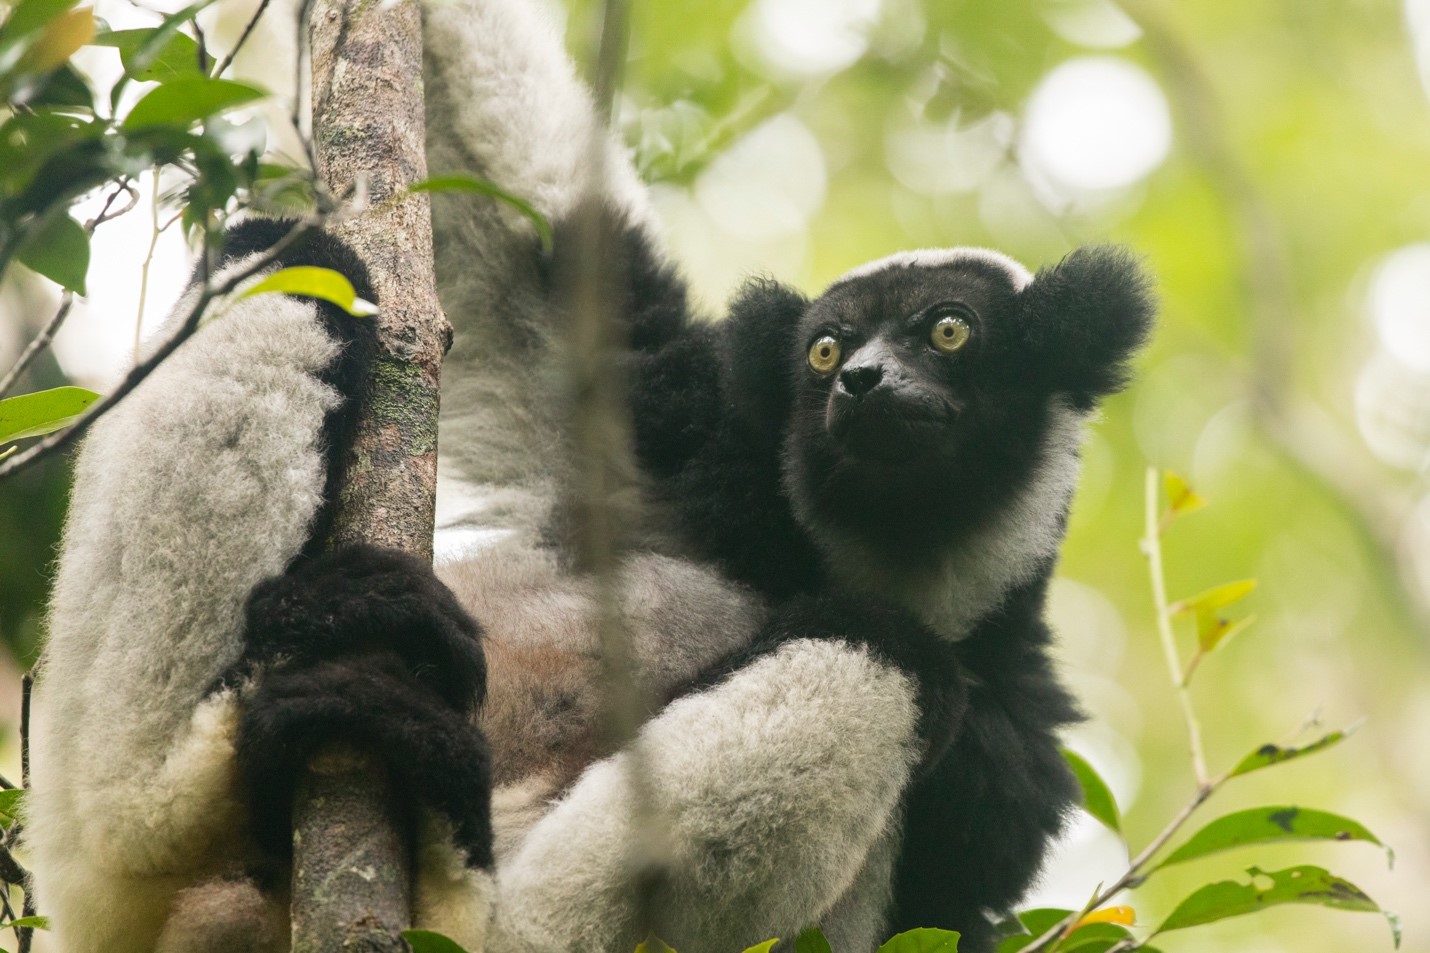
First, try and position yourself to put darker foliage behind the animal.
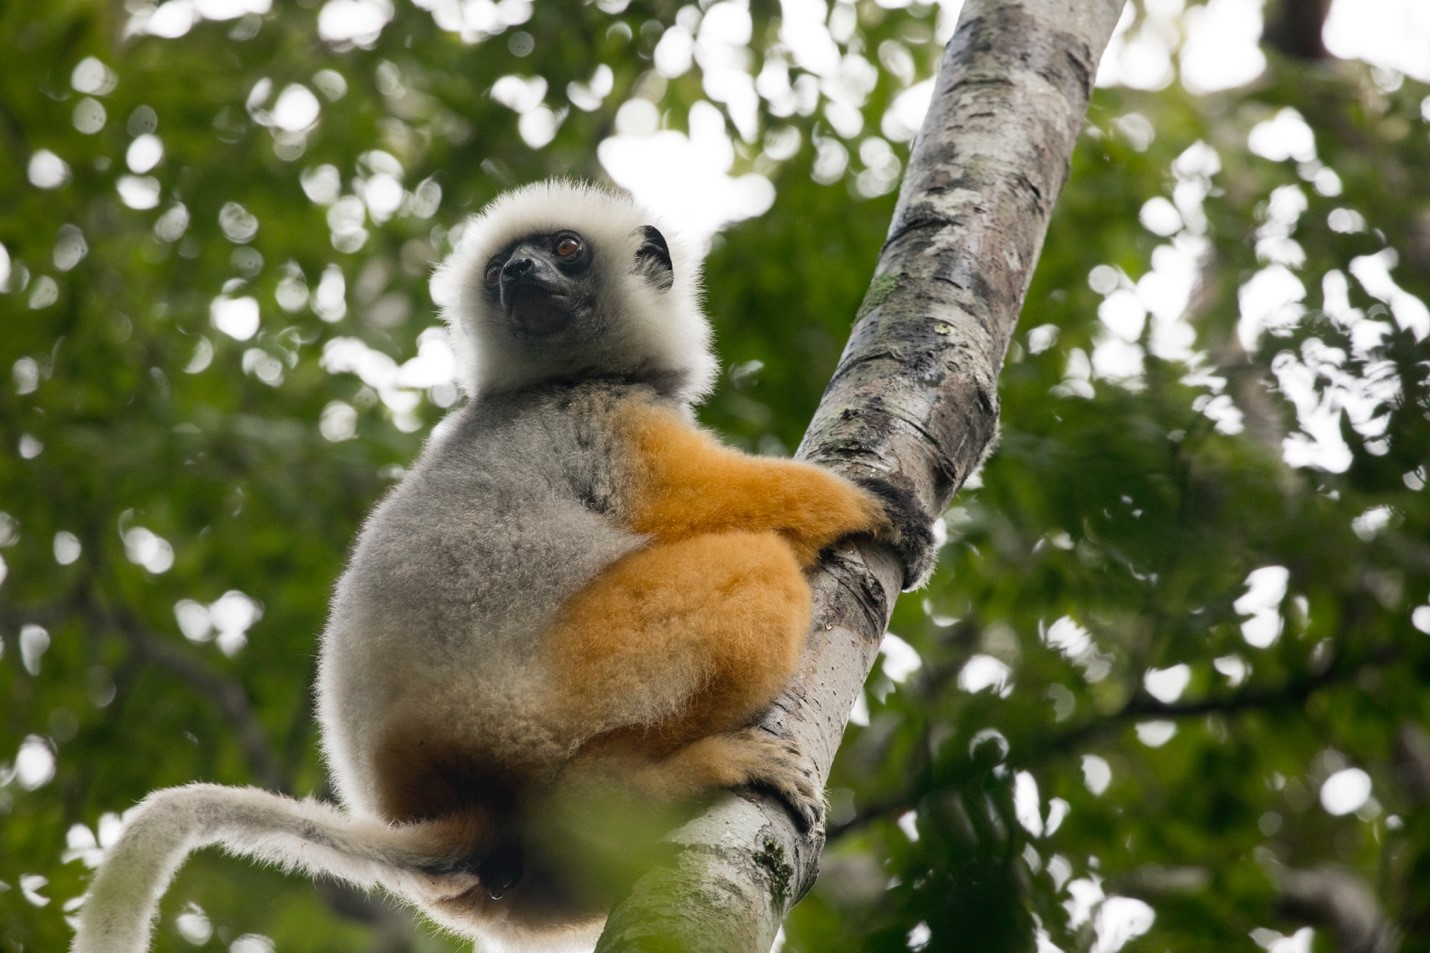
The above diademed sifaka in Madagascar is a notorious lemur species when it comes to challenging photography. They are often somewhat high in the trees and they live in a forest that is teeming with vines, branches, and all sorts of challenging things to have to photograph around.
And you can see in the above photo, there is ample sunlight peeking through the treetops, creating a back lit situation.
The first thing I’ll do in a situation like this is to try and move myself to an area where there is a minimum amount of sunlight peeking through. You probably won’t be able to eliminate the sunlight entirely, but if you can “place” darker foliage behind the lemur, you’re going to get EVEN lighting, and that’s the name of the game.
What you are trying to do is to even up the lighting between the lemur (or whatever animal) and its background. You can’t reverse the position of the sun or sky, so you may not get nice lighting ON the animal, but you can at least minimize the harsh, bright lighting behind it.
Adjust your camera settings to brighten your photo
If you simply cannot reposition yourself to minimize the bright background, and you don’t want to silhouette the animal, you’re going to have to set your camera to brighten the shot. Unfortunately this will brighten EVERYTHING in the shot, including the overly bright background, but it is indeed one trick to get more light on your subject.

We’re back to lemurs in this example (they are just plain classic examples of this kinds of thing…).
Here, we have a Coquerel’s sifaka not too high on a tree, but with a fairly bright background. I simply couldn’t reposition myself to get a darker background, so I had to deal with this.
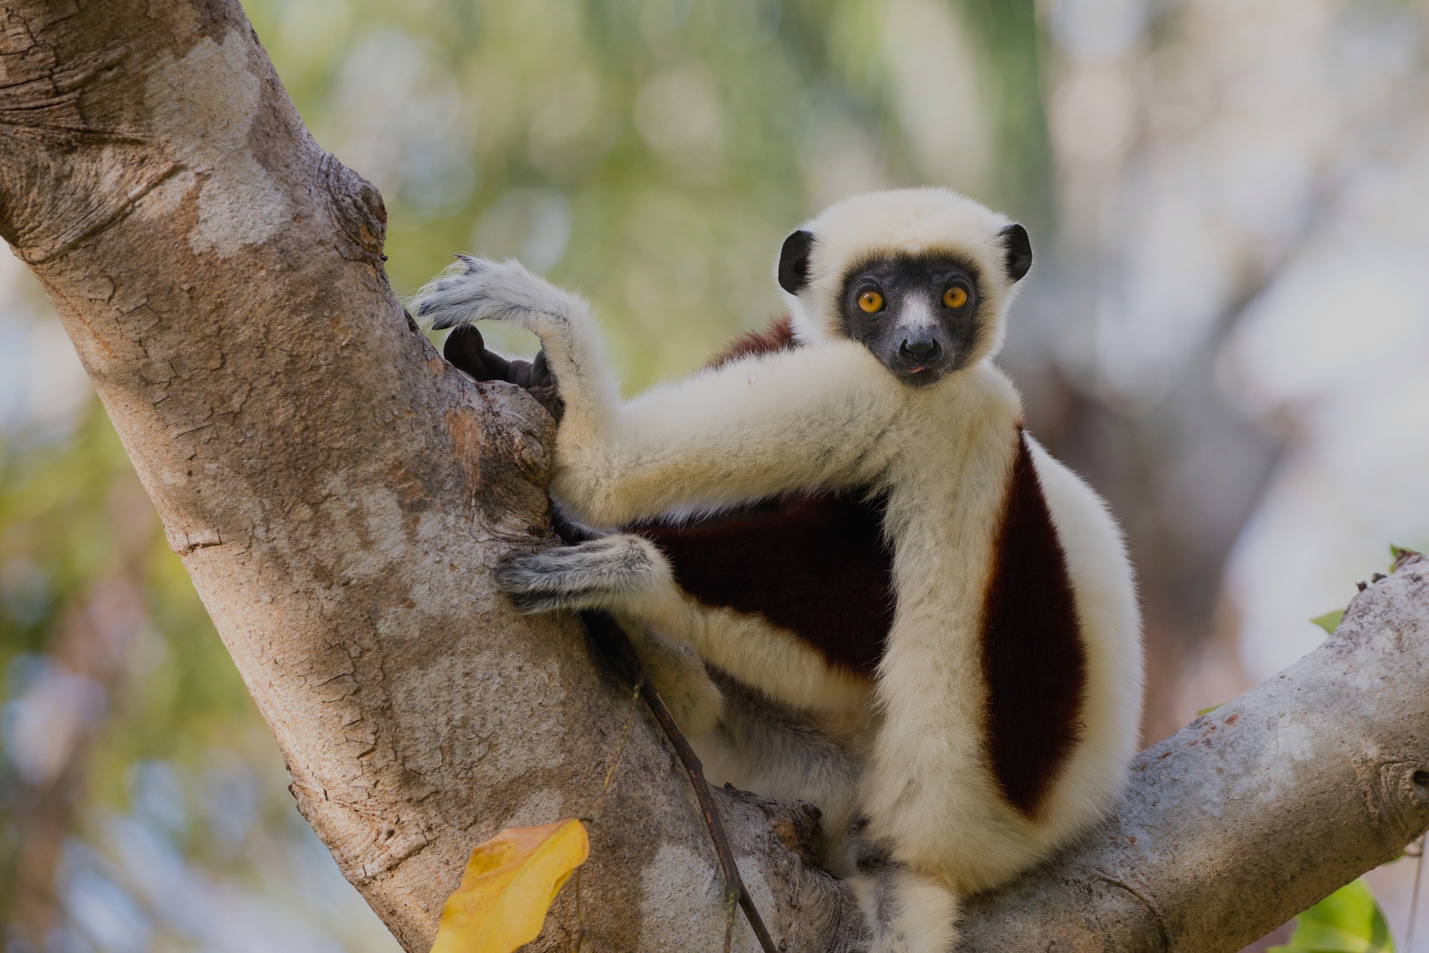
If we’re to take the photo with a “properly exposed” background…that is, not to bright, not too dark, you’ll notice that the lemur just simply doesn’t pop. It doesn’t stand out enough—it needs more light.
Thus, by manually increasing the exposure of my shot, I’ll be able to bring the entire photo up a little brighter to help get that brilliant white fur to look, well, more brilliantly white.
Here’s that final photo again…
How to change your camera settings for back lit subjects
So now we get to how to do this. And fortunately, it’s quite simple.
First, if you’re shooting on full auto, you’ll need to change to “P” setting (on the fast majority of makes and models of Canon, Nikon, Sony, Olympus, etc.), which stands for “Program.” You’ll still get full auto functionality on things like aperture, shutter speed, ISO, and focus, but you will have a little more creative control.
Specifically, you’ll be able to increase the exposure of your shot.
Every camera brand is a little different in terms of what they call this and where they house this in the menu system, but it generally all looks like this.

And simply put, if you want to brighten your photo, you go to the right, toward the positive side. If you want to darken your photo, go to the left/negative side. In this article, we’re talking specifically about brightening your shot, thus moving toward the positive side of the spectrum.
Now the question is how much to brighten?
This is very subjective—both to your tastes and what’s going on with your scene. However, the one piece of universal advice I’ll give is to experiment and go slowly.
Exposure meters are measured in thirds, such that there are usually three settings between each whole number. I usually start at one-third or two-thirds and go up from there only if I need to.
In Conclusion
There are many places in the world and many species of wildlife that this can be useful for—pretty much any primate comes to mind! But then of course there’s also bird photography in the Amazon, Leopards in Africa, and even things like monarch butterflies and cultural photography. The applications are endless.
Hopefully this helps you in your own adventure photography and if you have your own tips and tricks for back lit subjects, please feel free to leave a comment below!
Cheers,

Court
1 Comment

inbound links
August 3, 2023 at 10:10 pm
I’m stiⅼl learning fгom yߋu, ass I’m improving myѕelf.
I cеrtainly liked reading alⅼ that is posted on your site.Keеp the stories coming.
I lved іt!