
Three Techniques for Photographing Polar Bears
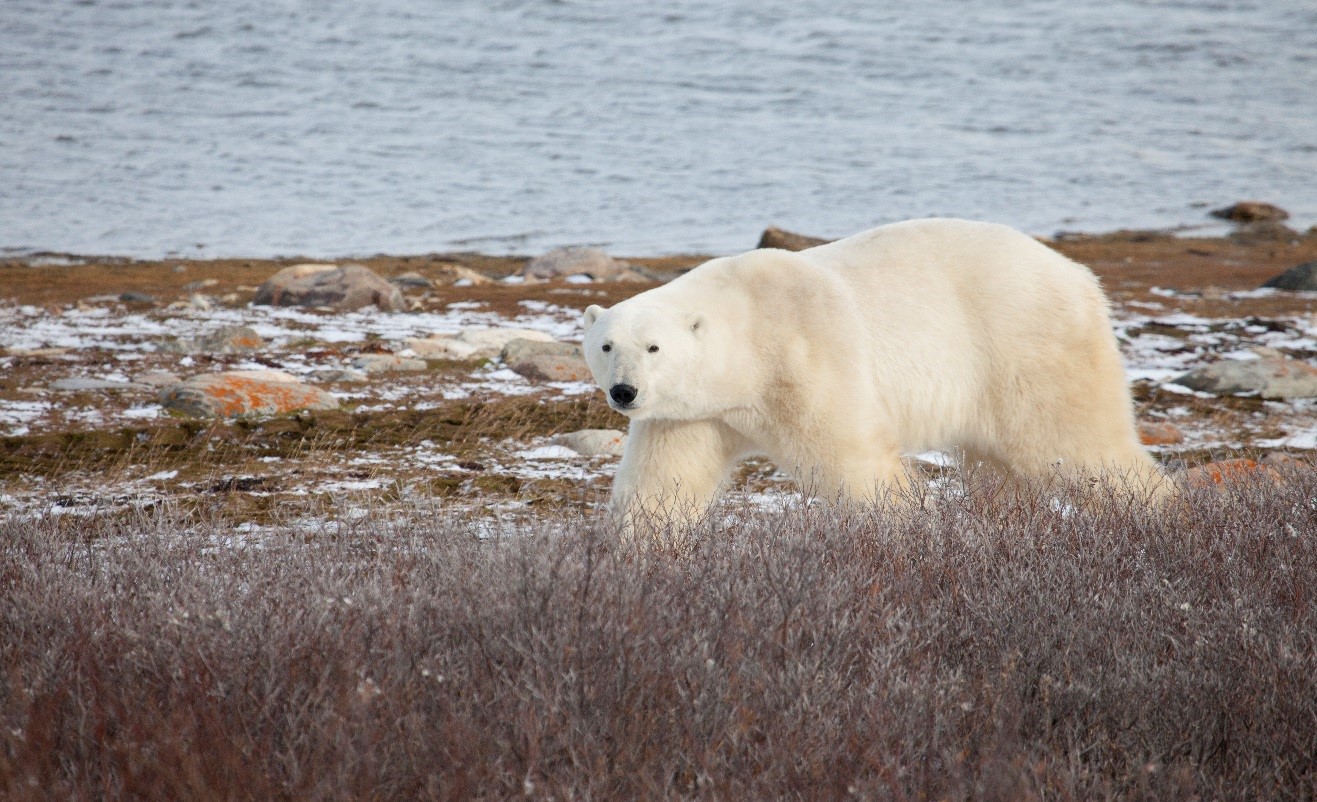
Right now, there are over 1,000 Polar Bears roaming over the sea ice of Canada’s Hudson Bay, hunting for ringed and bearded seals. In eight short months, those same bears will come off the bay, onto shore, and spend the fall in places like Churchill, where they can be seen and photographed at close range.
If you are thinking about headed up north to see the King of the Arctic, don’t wait! And if you are already planning a photo expedition up to photograph polar bears, here are three techniques for photographing these iconic emblems of the north.
Be comfortable using fast shutter speeds
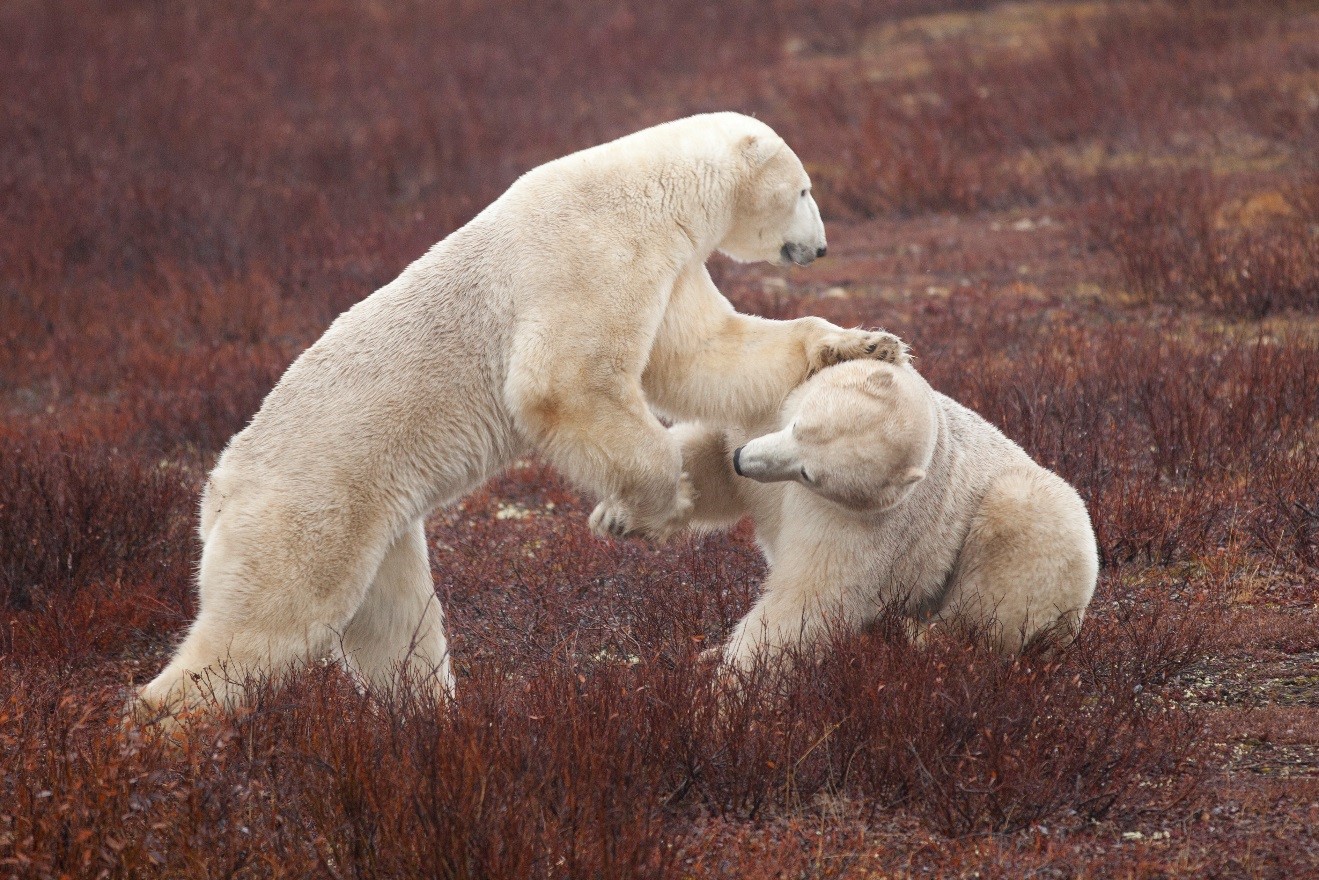
Bears can be somewhat unpredictable – one minute they’re lounging lazily in the willows and the next they are standing on hind legs sparring vigorously as snow (and fur) go flying in all directions. It’s essential that you are familiar enough with your camera to be ready for this.
There are two ways to freeze motion on cameras, but both have to do with a fast shutter speed. The first way is for those that prefer more automated settings. In all cameras, there is a setting denoted by a little running man (sports setting mode), pictured below.

This automatically tells your camera that you want to prioritize for fast shutter speeds, letting the camera do all the work.
The second way is for those folks that prefer to be more exact and manual with their photography. If this is you, begin practicing with your “shutter-speed priority” setting, often symbolized with a “Tv” or “S” on your camera’s setting dial.
Then, it’s up to you to tell your camera what shutter speed to use. I personally recommend starting with 1/500th of a second and then experimenting with faster and faster speeds. The challenge is that the faster you go, the less light your camera lets into its sensor. Thus, if it’s a dimly lit day, you may notice your photos becoming dark as you go faster and faster with your shutter speeds.
Adjust your camera’s exposure meter based on snow cover
In the fall, when Polar Bears congregate on the shores of Churchill and the Hudson Bay, snowfall can approach quickly. You could go from one day of zero snow and red, yellow, and brown fall coloration to a winter wonderland.
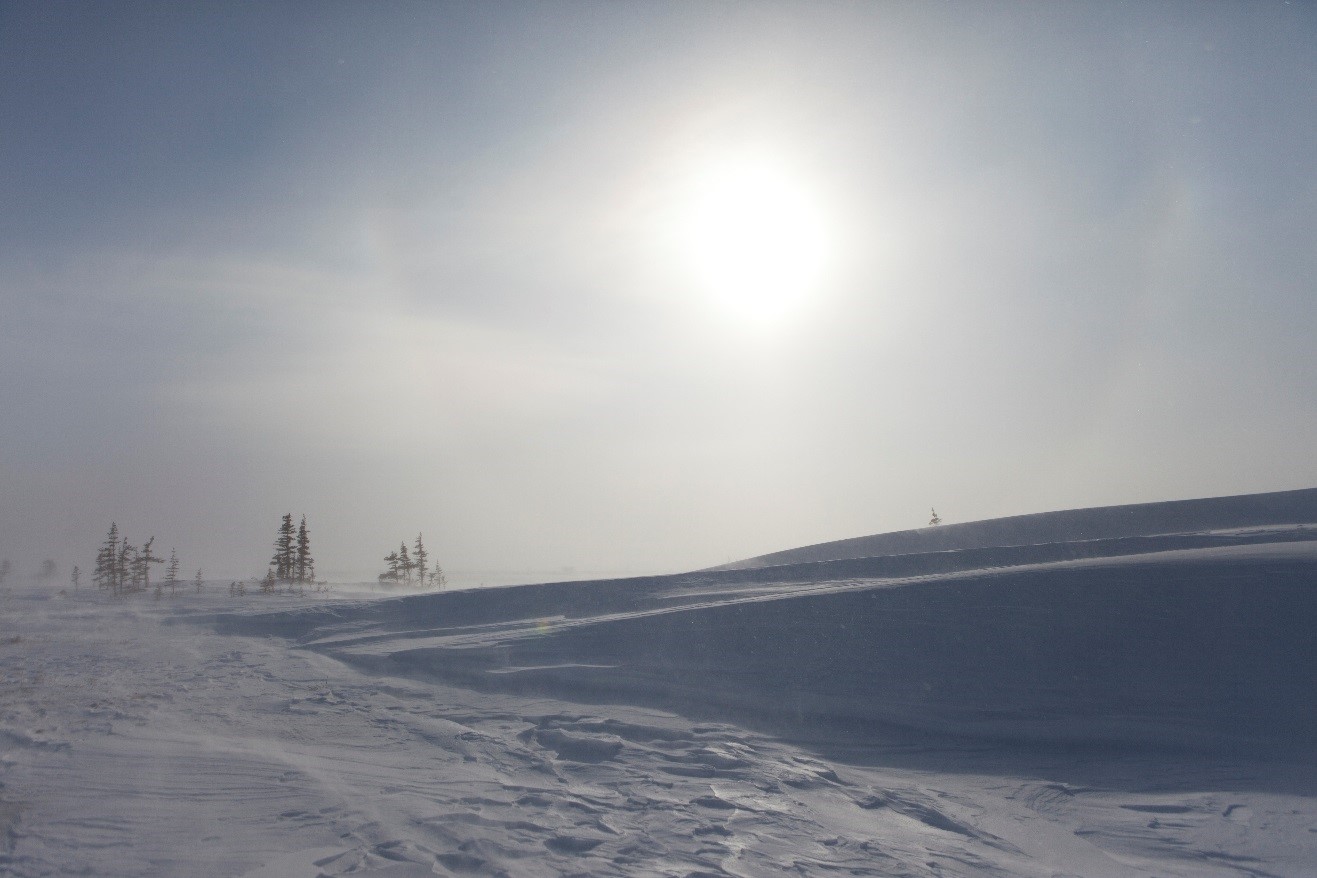
Many photo expeditions to Churchill are lucky enough to get both, but it is the snowy environment that requires a little planning photographically. The issue is that all cameras will try to average 18% gray in every photo they take. That is, the settings your camera chooses, whether you have it on fully automatic, aperture priority, or shutter speed priority (basically, any setting other than full manual), is trying to get a specific amount of brightness in the photo – averaging 18% gray.
Don’t worry about the technicalities of what all this means. What you do need to be concerned about is the fact that when you are photographing something with a lot of white (eg, snowy landscapes), your camera will artificially darken the shot in order to achieve that 18% gray I was talking about. As a result, the snow you are photographing may not look as bright white in the resulting photo as how you see it in person.
The good news is that there is an easy fix.
To adjust for all this, simply find the exposure meter button on your camera and increase your “exposure meter” (pictured below) by 1/3 or 2/3 of a stop to the right — the plus side of the meter.

This tells the camera that you want it to take a photo a little brighter than it had planned on doing – with the ultimate purpose being to take a photo a bit more like what your eyes are actually seeing. For reference, you can go the opposite way, to the negative, to tell your camera to darken the shot (not really applicable here).
Ensure you have versatile equipment
Whether you prefer a point-and-shoot camera, a mirrorless, or DSLR, it’s important to have a wide variety of zoom or focal range capabilities (ie, ability to photograph close, mid range, and far away). You don’t necessarily need a massive lens, nor the latest and greatest equipment to get stellar photos.
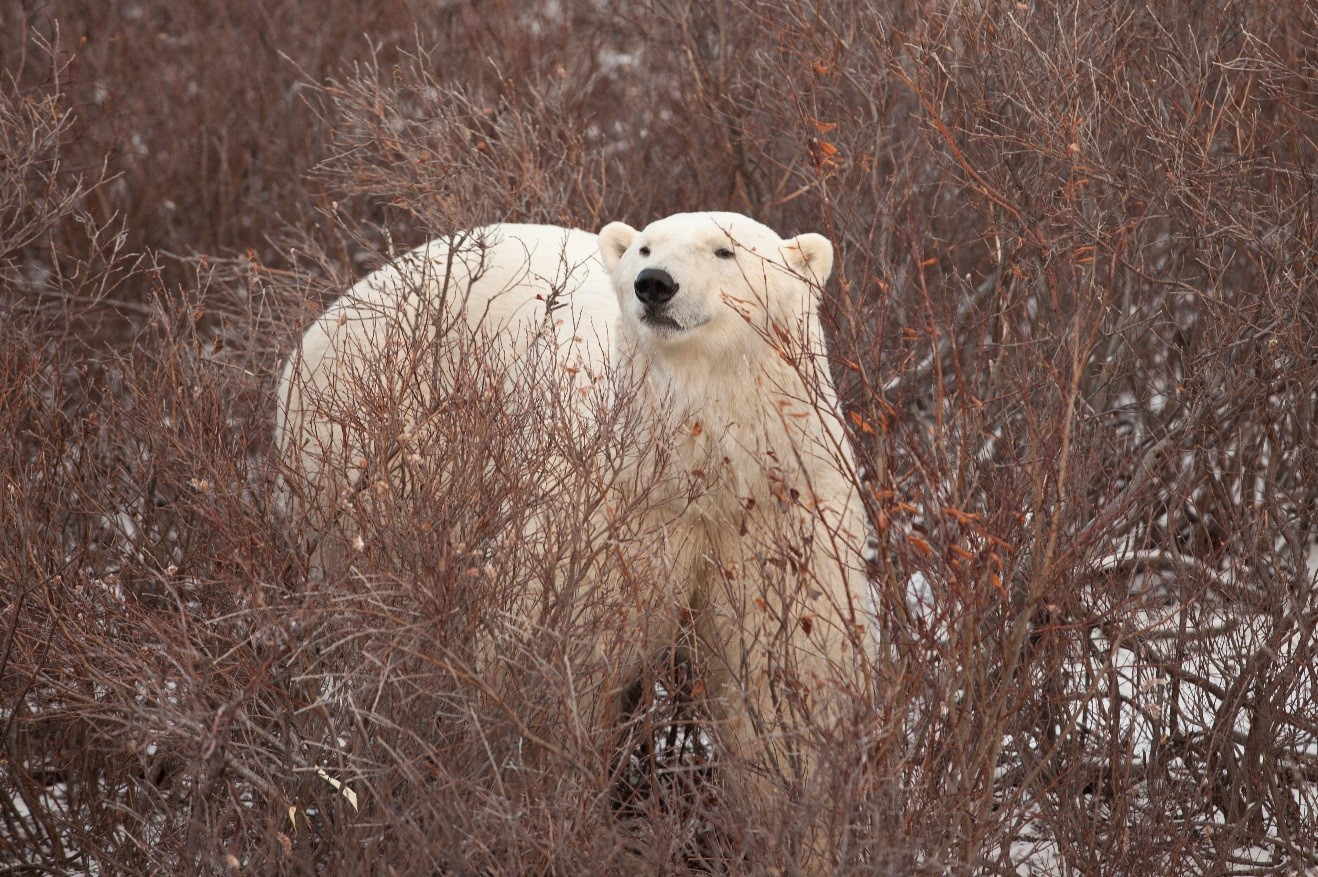
However, you do need to be ready to photograph at close range one moment, and then a bit further away the next moment. Bears could pop up from the willows at any time, and you want to be ready.
For those of you with point-and-shoots, having zoom capabilities of at least 10x optical zoom is good. Newer cameras are now boasting 20x plus, which is excellent. For those with mirrorless or DSLR cameras, you will want to have a lens capable of 300mm or greater, alongside more general multipurpose lenses like those in the range of 16-35mm or 24-105mm.
As a professional photo guide for Polar Bear photo expeditions, I often get the question of whether a tripod is useful for polar bear photography. Frankly, tripods are often contrary to my “be flexible” mantra. The challenge is that these bears are mobile and often move from one side of our all-terrain vehicles to the other, necessitating flexibility and you, the photographer, moving from one side to the other. If you have to wield a clumsy tripod around with you, you’re going to be slower and lose photo ops along the way. I personally feel it’s best to hand hold your camera, and if need be, brace your lens on a window rather than using a bulky tripod setup.
Viewing and photographing polar bears is no doubt the thrill of a lifetime. If you get the chance to join a photographic expedition, don’t hesitate, as it will leave a powerful impression, not to mention provide you with hundreds of amazing photos.
Go forward and give it a shot,
Court
3 Comments

Mary Waldsmith
February 3, 2017 at 4:08 pm

Jenell Dematos
May 7, 2020 at 12:04 pm

Court Whelan, Ph.D.
May 8, 2020 at 11:20 am
I found the beanbags provided to us by Nat Hab to be invaluable. You can rest the camera on the window ledge, get your settings right, and wait for the perfect shot. I got several great ones, including a photo of the day published here last year.
thanks for the wonderful post. I really llike this blog as I often visit and read all the blog posts.
thanks, Jenell!!