How to Photograph Tigers (or any wildlife) through Brush and Vegetation
No matter how lucky you are, there are going to be times that you encounter exquisite wildlife shrouded by dense vegetation while on a wildlife photo safari. Follow these steps to make sure you don’t just get the image, but you get a truly show-stopping capture out of it.
Get your focus point as small as possible
One of the most frustrating things is to use autofocus only to have your camera continuously trying to focus on the wrong thing…the branch in front of the animal, the vegetation in the background, etc. And as you know, you can’t get the shot until it’s focused – exasperating!
The quickest and most effective solution to this is to get your camera’s manual out and find out how to set your focus point to the smallest focus point possible, and have it manually set to the very middle of your screen. That is, don’t let your camera choose where in the frame it autofocuses…it should autofocus on one single point each and every time for accuracy.
Typically, your options look something like those below. Choose the bottom right option, with only the one small focus point in the middle.

This way, your camera focuses only on what is in this small red box. Not the branch next to it, not the leaves in front…just the box. This gives you precision accuracy of exactly what your camera is focusing on. Extremely helpful when photographing through the bush, whether you’re on a tiger photo safari, or really any wildlife safari at all.
Manually set your aperture to a very shallow depth of field
So now that you’ve managed to focus on the critter in question, how do you further isolate it from the rest of the distractions in thick brush? Obviously getting the animal in perfect focus is critical from the previous step, but it’s equally critical to demphasize the rest of the scene so that the branches, leaves, and other distractions don’t become, well, distractions.
In order to do so, you’ll need to tell your camera to have a shallow depth of field. There are two ways to do this. The first, which is preferred, is to set your camera on aperture mode (usually demarcated by an A or Av on the dial) and dial in the smallest f/stop number your lens will go to. Typically lenses don’t go below f/4.5 or f/5.6 when telephotos are involved, but some higher quality lenses will go all the way to f/2.8. The small the number, the shallower the depth of field, and the better the isolation of the subject vs. the environment.
The other way is to set your camera on “portrait mode”, which tells it to prioritize for shallow depth of field. There’s a little less flexibility with this method, but it may be easier to do on point and shoot cameras.
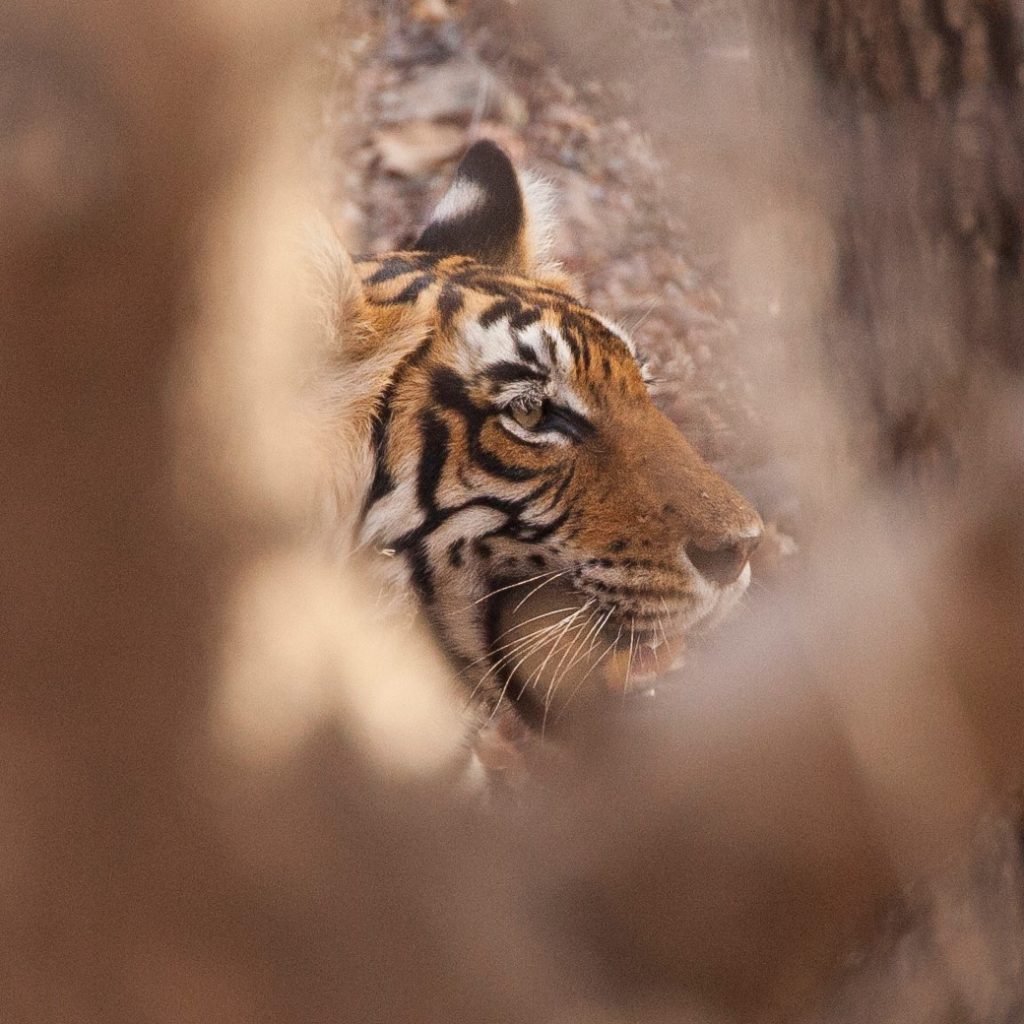
Take the below photo for example, where only the head of a tiger is showing through a tree trunk. If everything were in focus, it’d be difficult to tell where the tiger begins and the tree ends. By forcing the camera into a shallow depth of field, you get a really intriguing blur that actually makes a challenging shot quite compelling.
Pay careful attention to lighting
When dense brush is in your way, the animal is often undercover for a reason. Avoiding the sun is usually among top priorities, especially among big predators like lions, tigers, and leopards. This usually translates to the animal being shaded, and the outside brush being lit up. Although this can be challenging, try to embrace it and “make lemonade” out of the scene (you know, when life gives you lemons…).
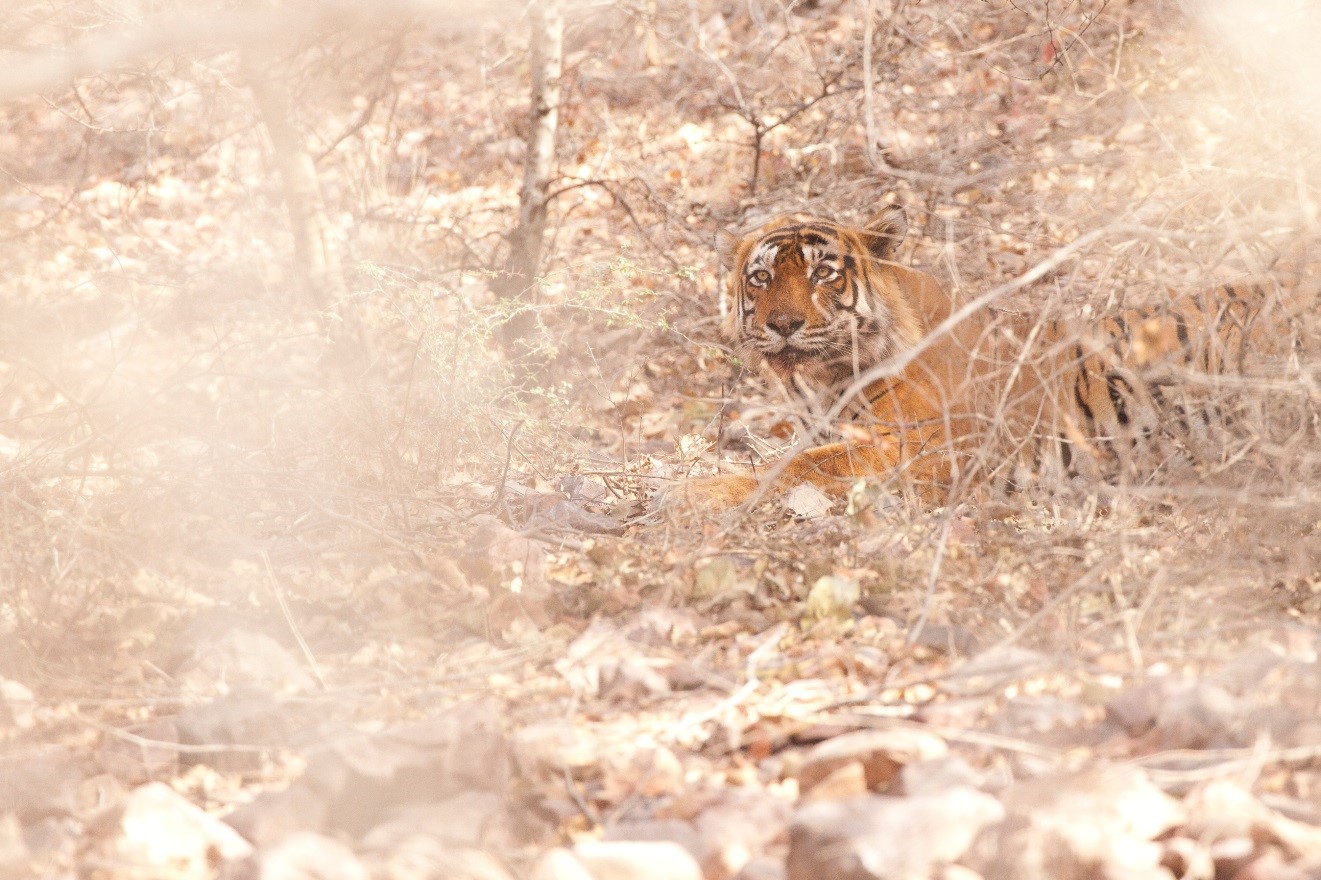
In the above photo, the tiger is actually in pretty dense shade, but the branches and brush close to me are slightly lighter. By setting my camera on “spot metering” the camera meters, or chooses the lighting level, based solely on the spot that I’m focused on. While I don’t recommend setting your camera to this for all examples in this article, it is helpful to know it exists and when it can be of help.
This is probably another case of having to check your camera manual on how to set it, but generally the menu system looks something like this.

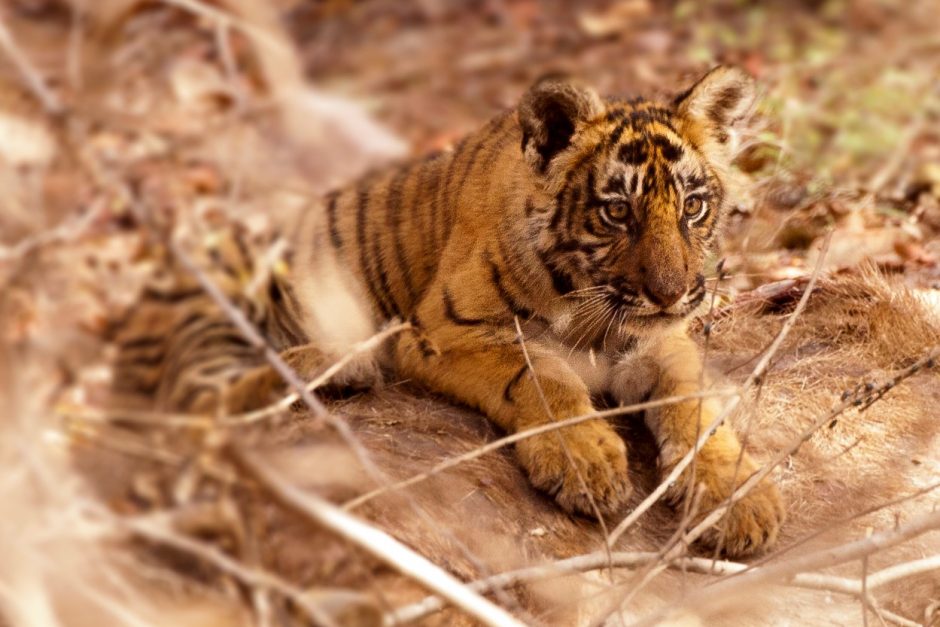
Showcase the shroud
Don’t dismay at a shrouded animal. This is natural behavior and is all part of the story. As a storyteller, via photography, this is a great time to showcase how difficult it is to get those “perfect” shots most people are after. In addition, you’re getting the type of photos most people don’t think to get, thus making your trip album or portfolio unique and different.
Think about how to use the surroundings and make the most of your scene.

Put it all together
Ok, so you’ve found your animal, it’s in dense foliage, but you can see enough of it to get some sort of photo. Time to summarize.
- Set your camera to the smallest focus point you can
- Put your camera on “aperture mode” and get the smallest f/number you can
- Think about the light – is it even between the brush and the animal? Is one darker or lighter? Consider adjusting by using spot metering
- Get creative and use the challenge to become an opportunity for a unique and compelling shot
I hope this has all been helpful and as the title goes, it doesn’t just apply to tigers, as there are many other examples where all the same applies. Go forward and get the photo!
Best,
Court
2 Comments

Bob Cooke, Stow, MA
September 13, 2017 at 1:48 pm

Court Whelan, Ph.D.
January 19, 2018 at 12:34 pm
Which of India’s tiger preserves are you offering — and would it be a photo expedition, or merely tourist? I’ve been to Ranthambore with OAT, but only got a short glimpse of one live tiger. I’d like a REAL tiger expedition, maybe to a more “tiger-populated” site.
Kanha and Bandhavghar are REALLY good right now for tiger sightings. We go to both, as well as Kaziranga, which is fantastic, too, especially for Eles and Rhinos.