Do you Need a Polarizing Filter for Nature and Wildlife Photography Expeditions?
Filter manufacturers may not really enjoy this post, but the truth is that filters are very antiquated in the world of digital photography. With the incredible abilities of programs like Lightroom, Photoshop, Picasa, iPhoto, and others, you rarely have the need for physical filters anymore. Now, with the click of a button, you can “cool”, “warm”, and color correct your photos after the fact with incredible precision and ease.
However, there are a small handful of filters that are still quite important to have, the effects of which cannot be perfectly replicated in photoshop or similar programs. These include Neutral Density, Graduated, and Polarizing filters. For this post, we’ll be talking about Polarizing filters.
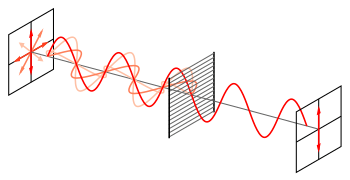
Credit: https://en.wikipedia.org/wiki/Polarizer
For starters, let’s look at what a polarizer even does. Basically, it’s a piece of glass that has invisible bars to it that only allows light to pass through at a certain angle or range of angles. As you can see from the above graphic, light starts out in all sorts of directions, but then passing through the Polarizer, it is filtered into a more orderly set of wavelengths.
To skip through a bunch of scientific explanation, the basic outcome is two-fold. One, you get rid of a good bit of reflection, and two it produces much deeper shades of blue when photographing skies. Most photographic polarizers are what’s known as circular polarizers, as they can be rotated to produce a gradient of polarizing intensity.
So, when might all this be useful?
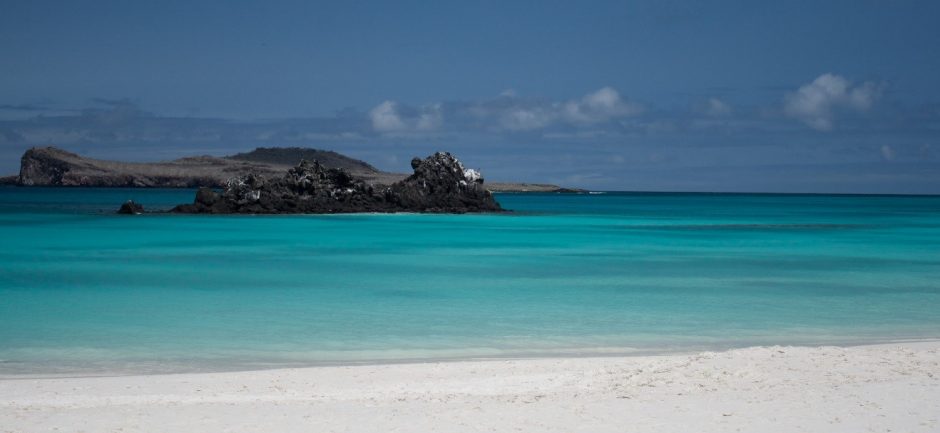
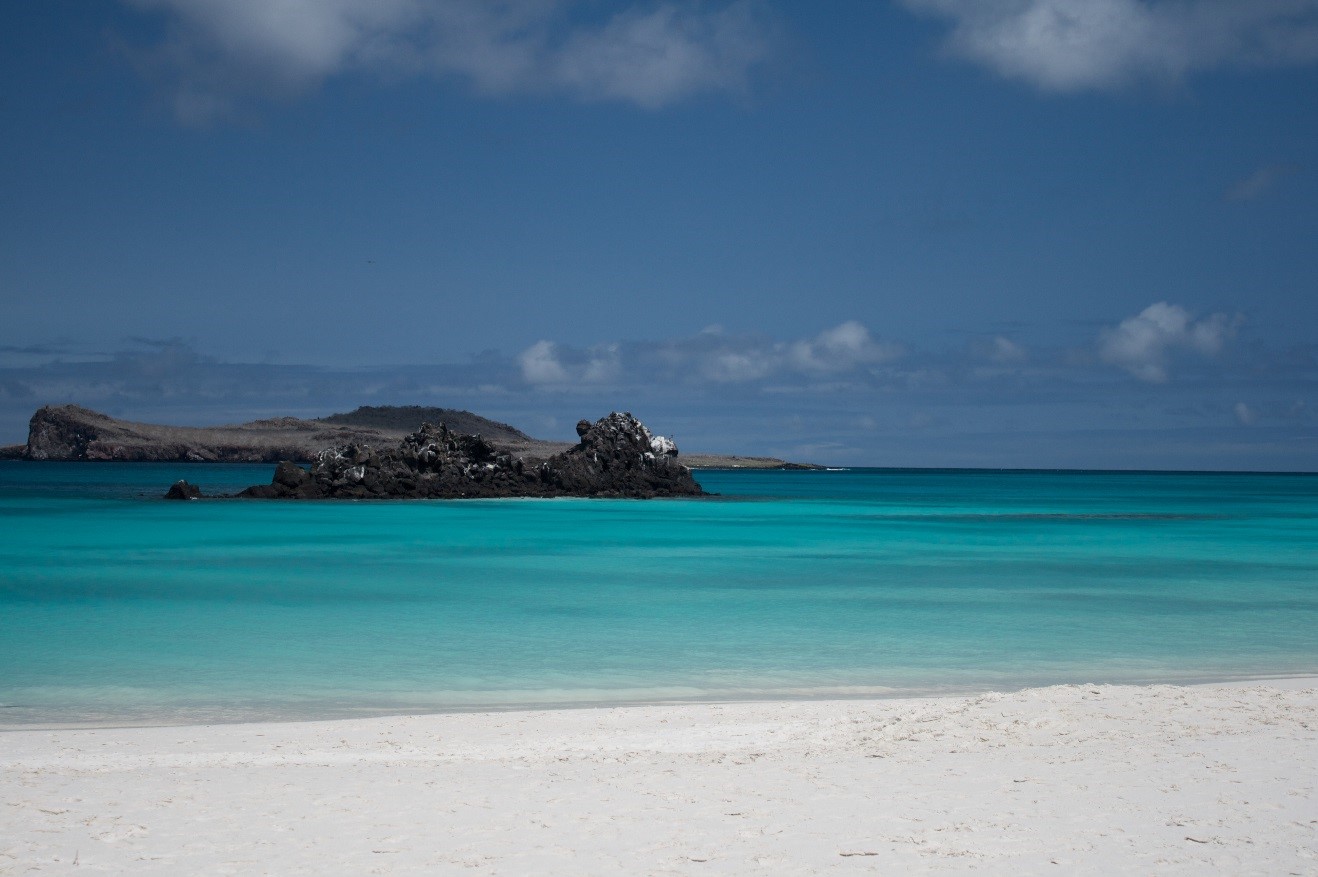
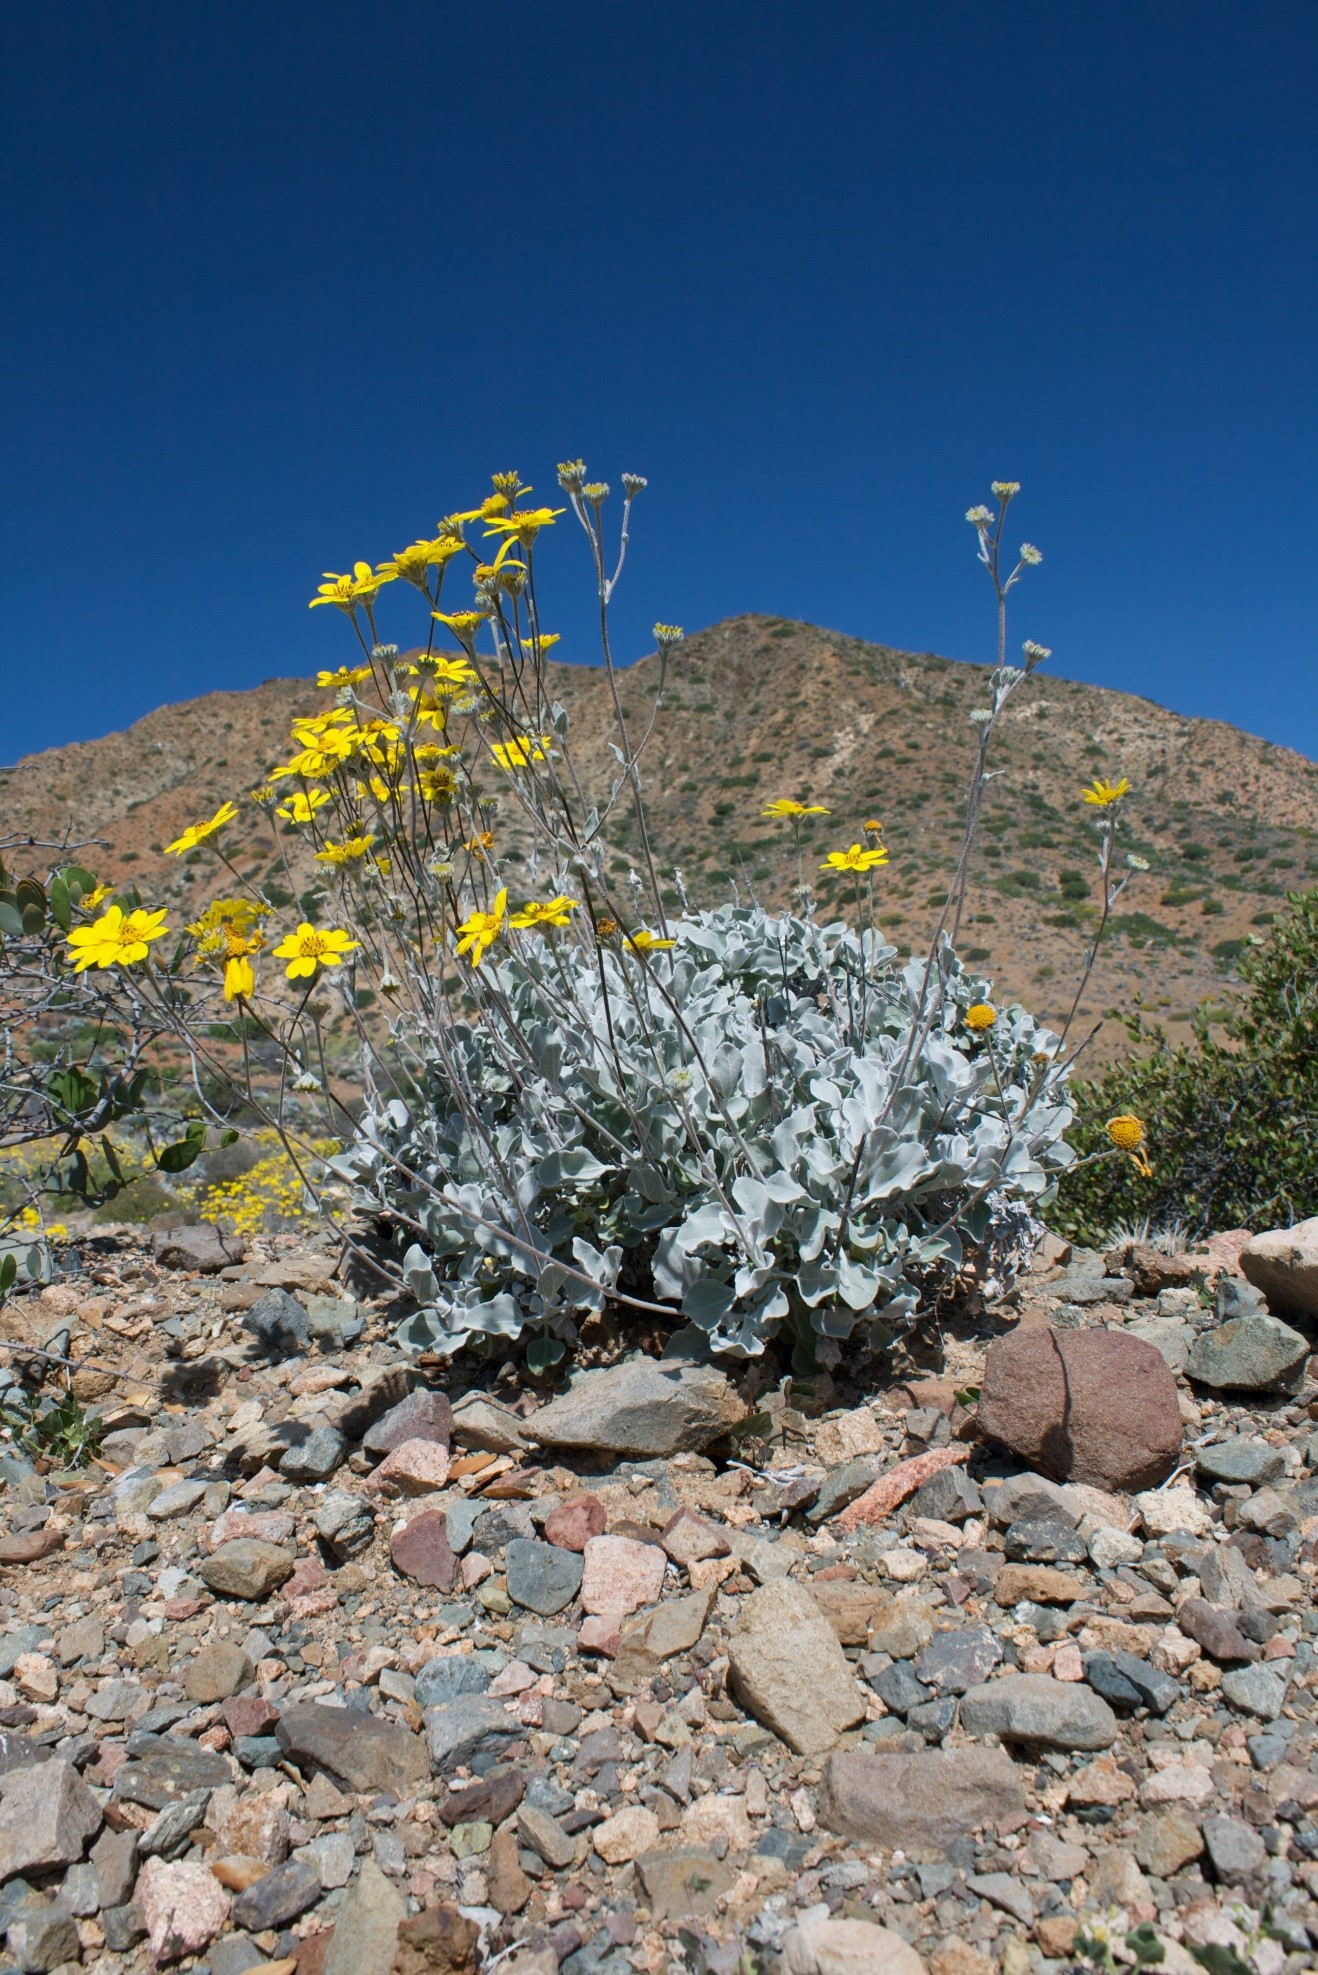
Filtering out surface reflection can be very helpful when photographing watery landscapes. But, not just any water…it has to be smooth, highly reflective water. For instance, say you’re photographing breaching humpback whales in choppy water…what will happen? Not much. Sure, the bright glare on the water will be cut down slightly, but frankly, not significantly. What if, however, you’re photographing a lake with river rocks below the surface? Yep! That’s a perfect time to use a polarizer, as long as you want to also capture the rocks below and the water isn’t too deep. Scenes in Glacier National Park are ideal for this, like the below.
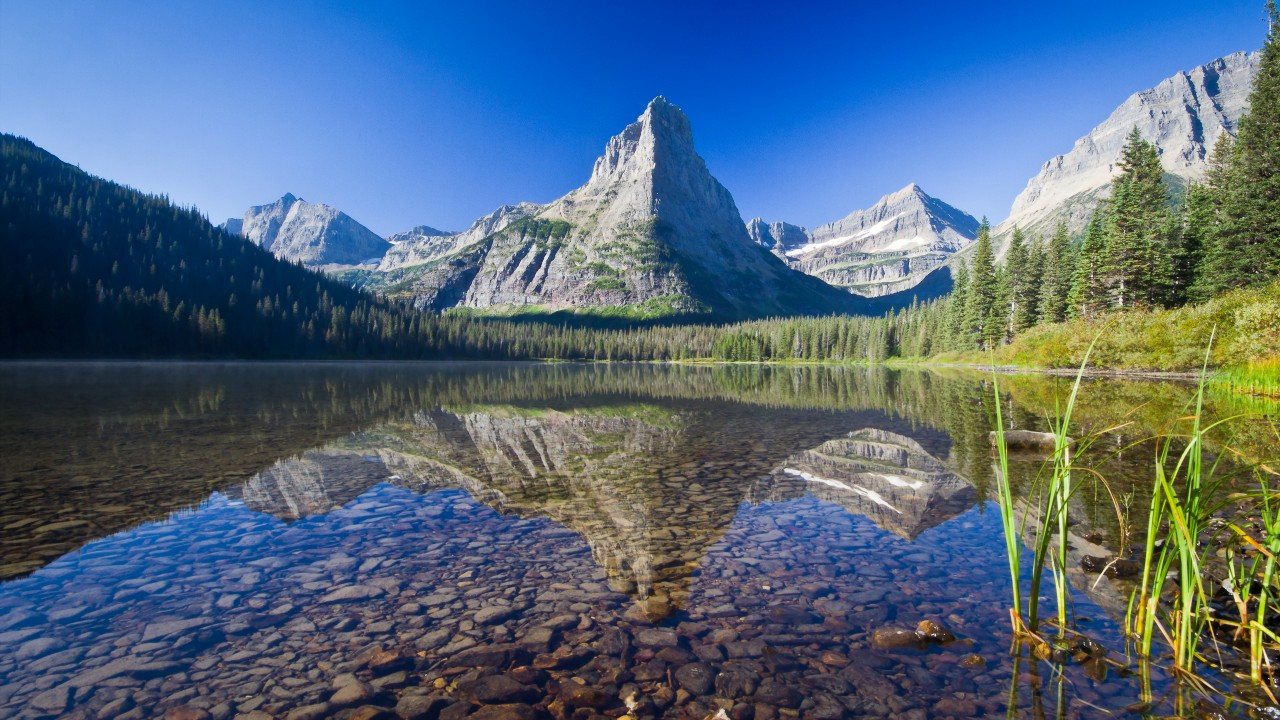
Credit: https://wallpapersite.com/images/pages/pic_w/4939.jpg
But truthfully, what most photographers enjoy most about polarizing filters is their ability to yield more saturated-looking skies.
The basic gist is that blue light is much more scattered than other colors. Thus, by polarizing (i.e., filtering) the blue light, you are providing some organization to the scatter of light and thus increasing its purity or saturated-look.
But now comes my take on it all.
Even though I’ve been a professional photographer for many years now, have guided hundreds of photo expeditions across the world and live and breathe photography as a career and passion, I very rarely encounter scenes where I can or want to reduce the surface reflection of water. It’s happened maybe 2 or 3 times in my entire career, to be frank. Thus, that’s not the draw for me. Most of the time I’m actually trying to get the reflection on a lake or pond to mirror the mountains, or clouds, or trees, or whatever.
I love saturated blue skies as much as the next guy. However, there’s one big problem with using the polarizer to do this. Once you take the photo with a filter on your camera, yielding very saturated skies, it’s difficult to remove this effect, should you not want so much saturation. On the other hand, it’s relatively easy to increase the saturation of skies on an under-saturated photo via photo editing software. Therefore, I find that you are really committing when you use a polarizer, such that you must know you want a heavily saturated blue sky before you even have the chance to review the photo on your computer.
So, it’s not a no-brainer for me to bring and use a polarizing filter. Mix this with the fact that a polarizing filter does limit the amount of light coming through to your sensor (i.e., you need a longer shutter speed, higher ISO, or larger aperture to compensate for the exact same shot without the filter), and I’m very on-the-fence about whether you need a polarizer or not. If you know that you’re headed to a place like Glacier National Park or China’s Jiuzhaigou National Park and will be in the company of many scenic, placid lakes, it very well might be worth it.
I often get the question of whether you need one in places like Antarctica, Greenland, or the northern Arctic, where there is lots of ice. My answer is…kinda. In these areas, when you get blue skies, you already get really great saturation and contrast and I don’t feel like a polarizer is worth the effort of taking on and off throughout the trip. You might be slightly different photos of icebergs with a polarizer, as some can have subtle hues of blue and in rare occasions green, which can be saturated via a polarizing filter. However, it comes back to my thoughts above, in that these can also be saturated in editing software, such that you may be spending money and time with little payoff by relying on a filter to saturate these colors for you.
At the end of the day, filters are usually small and lightweight, so they aren’t that much of a burden if you want to bring one. And, you might find that you really enjoy its benefits. However, if you choose to bring one, do use caution and avoid “over-polarizing” your skies. If you feel like you could be, take some shots both with and without your polarizer so that you make sure you get the shot you want.
Hope this helps, and if you have questions or thoughts on using polarizers, be sure to leave a comment below!
All the best,
6 Comments

Dan Muñoz
December 22, 2017 at 6:06 pm

Charles Arvey
March 12, 2018 at 6:42 pm

JOHN Speight
September 2, 2021 at 11:59 am

Court Whelan, Ph.D.
September 8, 2021 at 11:31 am

Jacob
October 12, 2021 at 6:34 pm

Court Whelan, Ph.D.
October 20, 2021 at 1:30 pm
Great info man. Very consistent and clear. Thanks
A polarizing filter can also be useful if you are shooting through glass such as windows or side of an aquarium. I like you, however, have found very little use of my polarizing filters over time.
I have a Polarizing filter, but it is not a CPL (circular).Can i use it on my digital camera?
interesting…if it’s able to mount to your lens somehow than I’d say yes. However, you also may not be able to adjust the level of polarization, which could either over or under polarize your photo. Let me know your brand of polarizer and I’m happy to research it for you!
There is some misinformation here about how a polarizer works. A polarizer blocks light with it’s electric field in a certain orientation, and lets other orientations through. Sunlight is randomly polarized, meaning it’s rays are have electric fields oscillating is all directions. It turns out that rays oscillating in some orientations reflect more strongly than others, esp. at certain angles (see Brewster’s angle, usually around 55 deg). At these angles, one can use a polarizer to filter out the light of the high refection electric field orientations, reducing glare and increasing saturation.
Basically, it filters light that is oscillating about a certain axis, which happens to reflect more, especially near Brewster’s angle!
As far as editing, you can desaturate in Lightroom. However, you cannot reproduce the effects of a polarizer in software.
Btw, the reason they use CPLs for DSLRs is because a linear polarized will screw with your optical viewfinder. A circular polarizer prevents this because of…math.
you’re hired! Great stuff, Jacob and thanks for sharing! I’ve found that if you decrease the luminance value of the blues, in lightroom or photoshop, you can get a similar effect as what a polarizer will give you for blue skies. But of course there is no slider in photoshop to fully take away reflection on the surface of water :). Thanks again for contributing!