
5 Tips for Cultural Photography While Traveling
Nature and wildlife photography might be my biggest passion, but there are so many stories to tell when diving into the realm of cultural photography that it simply cannot be overlooked. From mesmerizing architecture to evocative portraits, there is virtually no end to the “human element” of international travel. In this blog, we’re going to look at how to best capture alluring “people” photography while traveling and give you 5 key considerations to make when photographing the human side of your adventure.
Think ahead
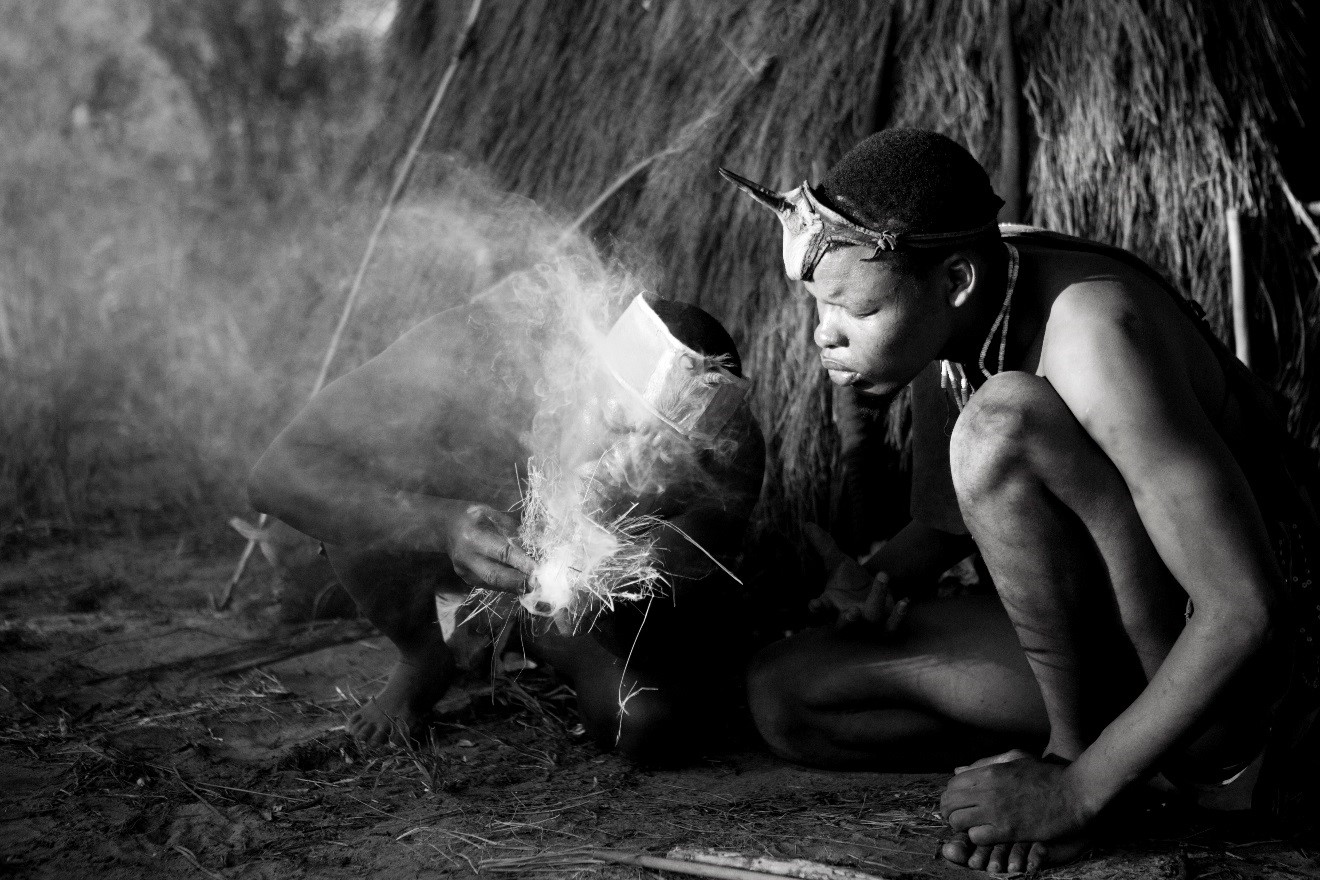
Very often when traveling, you’ll be fortunate enough to get a glimpse into the everyday lives and practices of people that live in the remote areas you’re visiting. How to capture and portray their traditions is largely affected by how you choose to process your photos. Vivid and colorful, or mysterious and evocative? Do you intend on showing it exactly as your eyes saw it, or do you wish to add in a little cultural mystique or antiquity to the photo? Very often, desaturating the photo or converting it to gray scale can have wonderful effects. However, the way you shoot the photo initially can make this easy and appealing, or dull and uninteresting. By anticipating a “conversion to black and white”, you can look for dramatic contrasts, evocative lighting, and scenes that portray that “scene from yesteryear”.
Don’t ignore composition rules
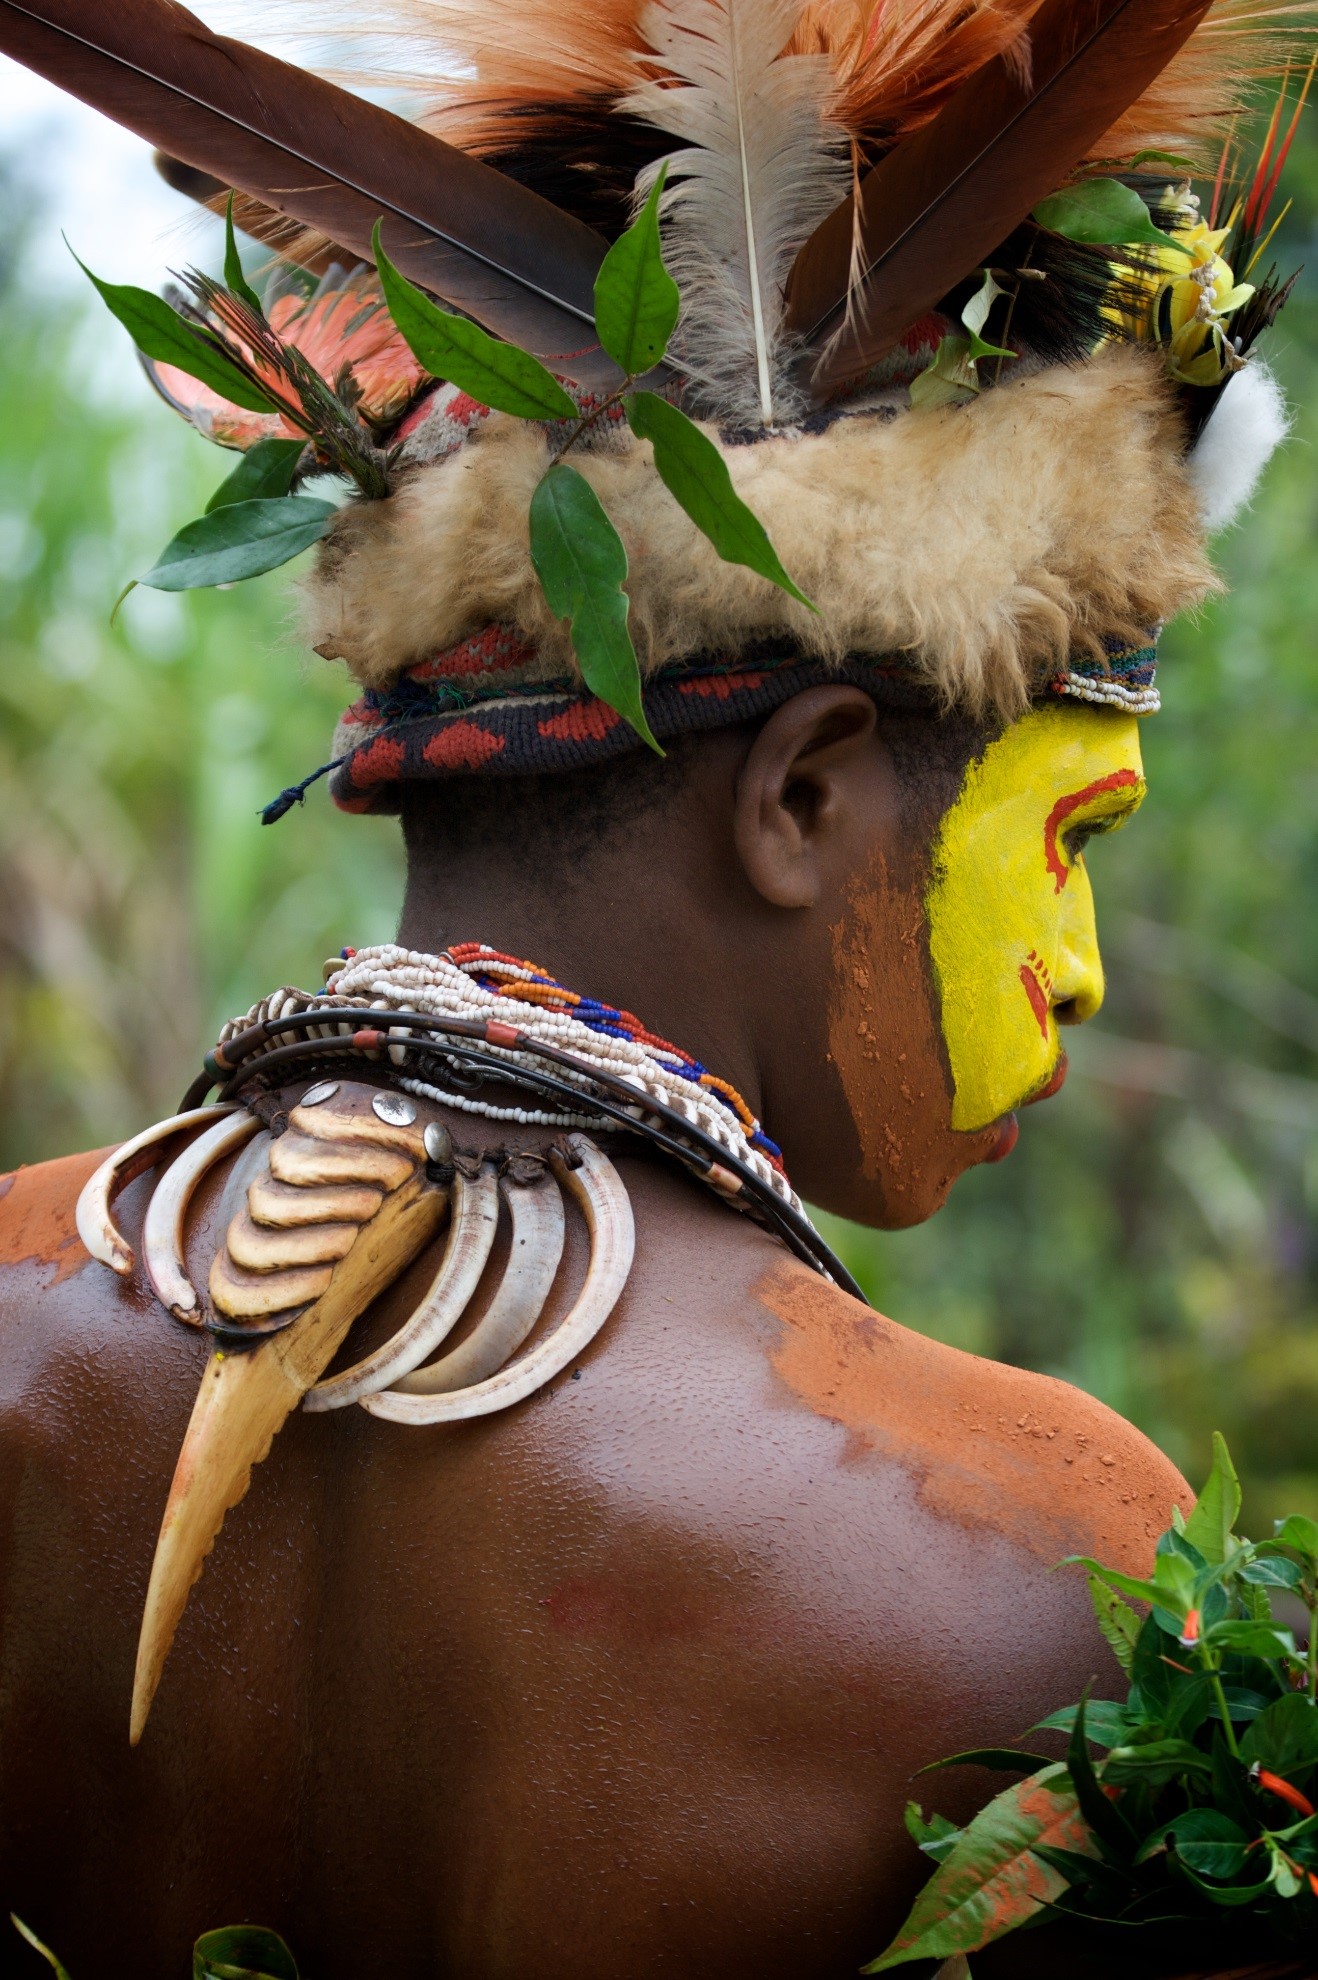
Just because you’re not shooting a vast landscape doesn’t mean that you shouldn’t pay the same amount of attention to the composition of your photo. Instead of trees, leaves, and mountains dominating your scene, forcing you to place each item in a well-planned part of your frame, consider the various shapes and lines of the person being photographed in the same way. Perhaps it’s the curvature of one’s shoulder or a prominent necklace that you want as the key elements to your photo.
Composition layouts such as the rule of thirds or golden ratio have just as much importance with portraiture – perhaps more so because of the limited depth and variety in the photograph. Think about leading lines and what they are directing the viewer’s eye towards. Instead of composing your photo to highlight one animal or a particular tree or mountain peak, look at the individual and pick out similar highlights to frame the photo around. Jewelry, clothing patterns, facial expressions, and behaviors are but a few examples.
Use a shallow depth of field to focus your viewer on what you want
This is a basic rule of portraiture, but given its importance with people and cultural photography, it’s entirely worth mentioning and going over in this article. The goal of this technique is to minimize “clutter” in the photo. Defining “clutter” is entirely up to you, the photographer. Maybe it’s a very complicated background or maybe it’s just the rest of the person’s face, allowing you to draw attention specifically to the subject’s eyes. There is no rule as to what you should or should not intentionally “blur”. But, the objective is all the same – to put added emphasis on a particular “highlight” of your photo.
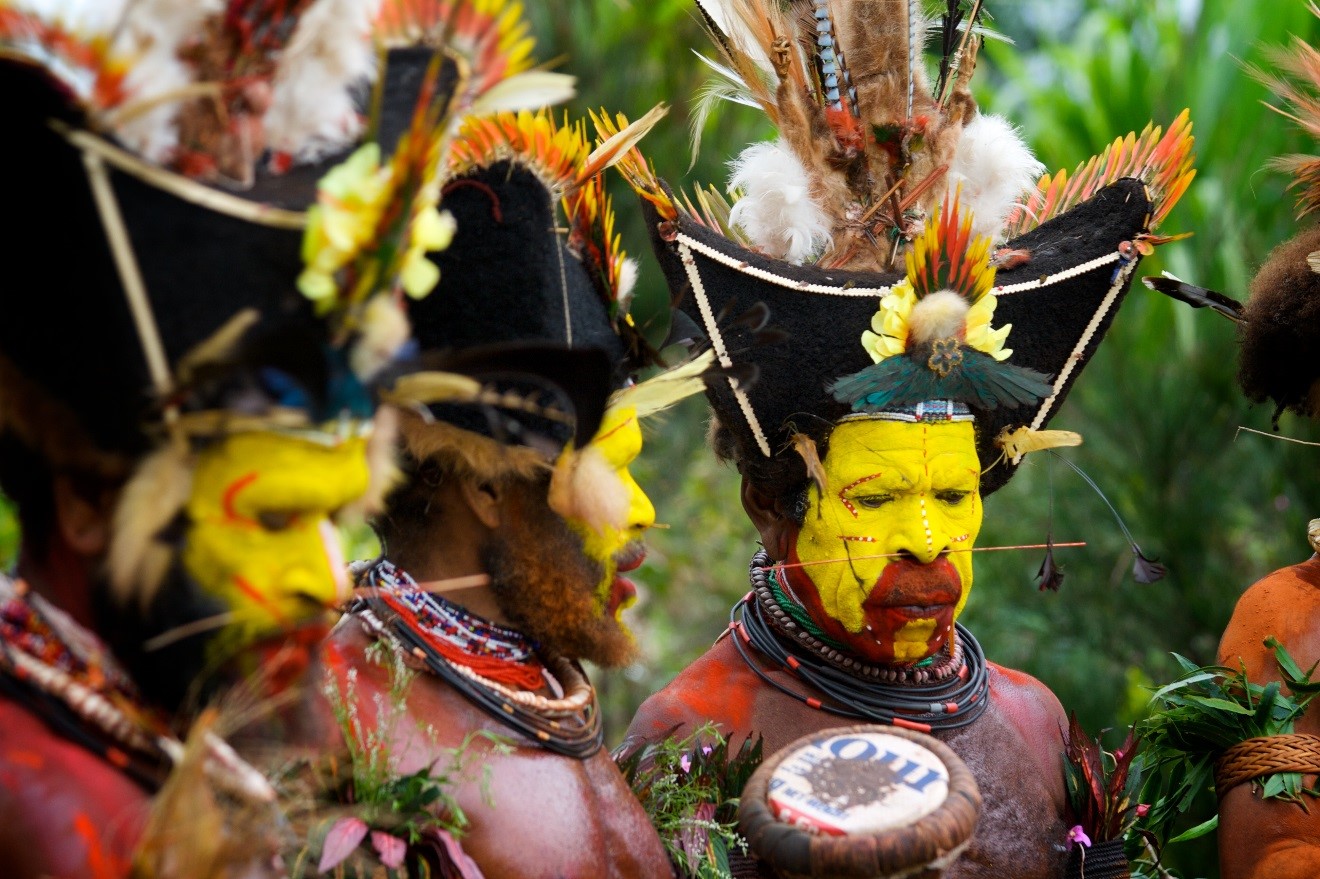
Take the above photo, for example. There are lots of things going on here. If we were to have everything in perfect focus, the viewer wouldn’t really be aware of the photographer’s “intended” subject and where to look first. There are feathers, colors, necklaces, sticks in noses – a lot going on, indeed! As a way to narrow this down a little, one of these Huli warriors was isolated by “defocusing” the others. This was accomplished by setting the camera to a narrow depth of field and focusing on just one man. Would it still be interesting if everything were in focus? Sure! But, it might have been a bit overwhelming, effectively taking away from the photo in the end.
Get close (if you can!) and partition the shot
It’s a little awkward to get really close to someone, especially if you don’t know them. But in cases it can produce really interesting images that are especially evocative. Take the below photo of ice forming on this young woman’s eyelashes.
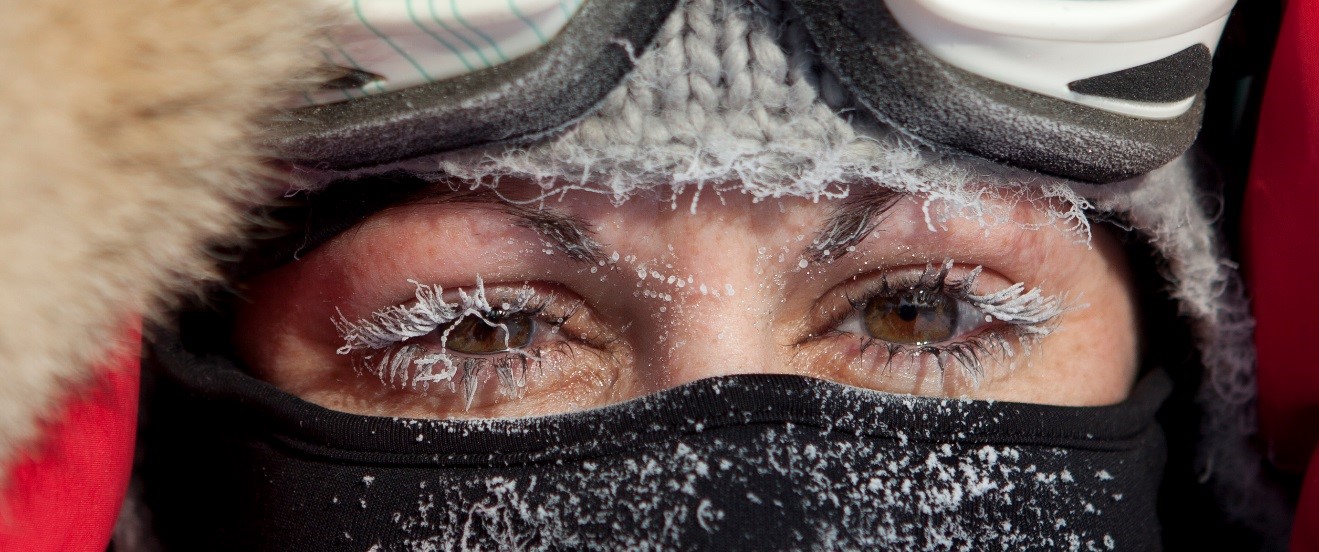
Would this have been a good photo if it were her entire face? Of course – she’s decked out in iconic arctic gear and even the background was gorgeous, with blue skies, billowy snow on all the spruce trees, and an excited pack of sled dogs clamoring to pull our sled. However, sometimes it can indeed be fruitful to break the scene down a little and ignore other tempting elements. Oftentimes moderation can be the key to a good photo, and choosing not to photograph all the other things made her exquisite eyelashes really stand out.
Look for eye-popping colors
In contrast to the first point, of taking the photograph and anticipating black and white conversion, certain scenes lend themselves to vivid colors.
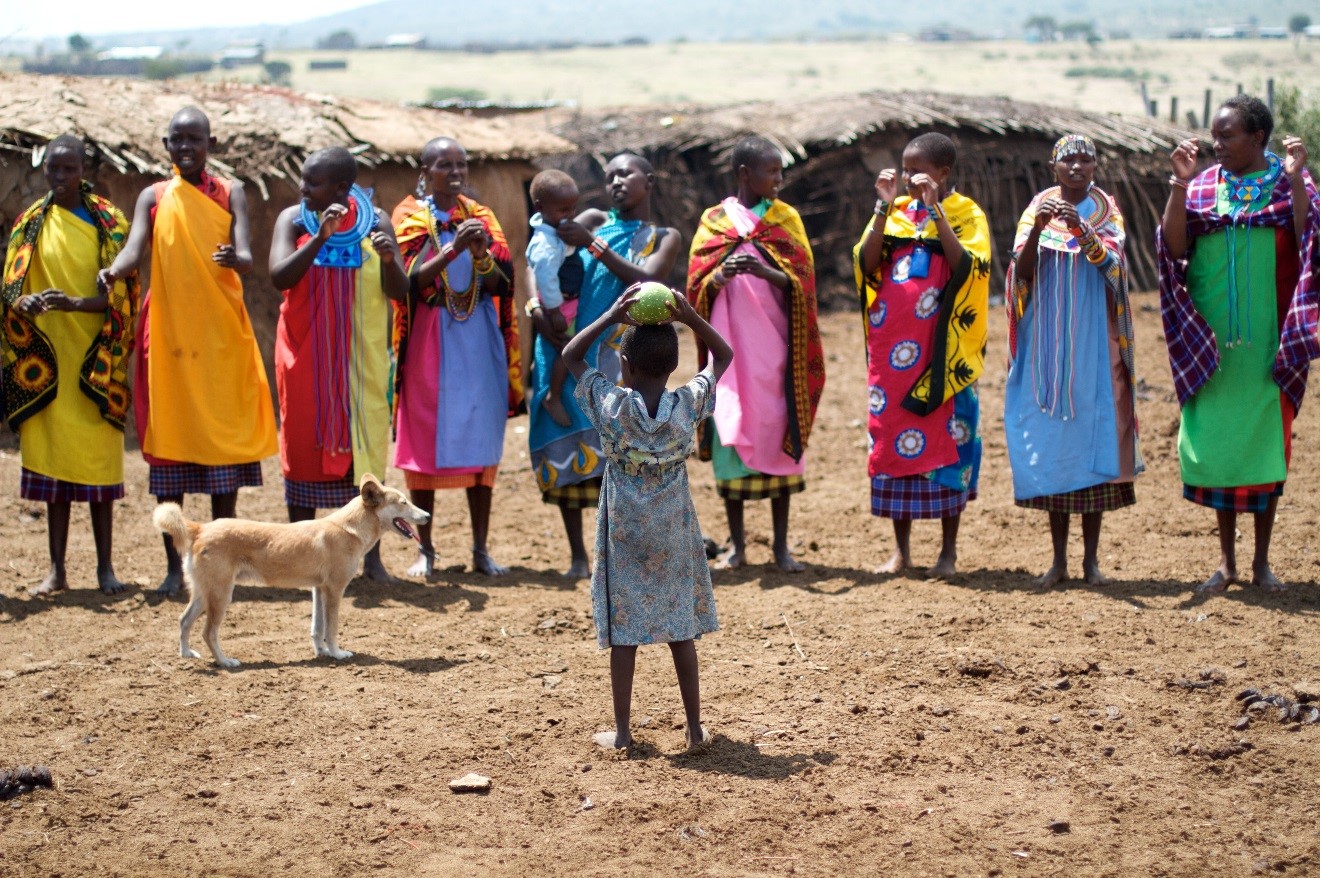
Whether you choose to “saturate” the photo in photoshop or similar, largely depends on your preferences and your camera. However, certain scenes like the one above photographed in Kenya’s Maasai Mara, allow you to capture colors beautifully and there is almost no limit to how much you can “oversaturate” them on your computer. Because of their natural contrast to the rest of the scene, they are already vibrant, and will become even more so as you scale up that saturation slider.
This is by no means an exhaustive list of the creative ways and considerations to make when photographing people. If you have a favorite tip, please share in the comments below!
Go forward and give it a shot,
Leave a reply